Adding the trousers

The next step is to refine the body proportions by sanding and adding more Magic Sculp. I also started to rework the resin boots in the areas where they have been cut to allow for flexible poses, and to sculpt the trousers:

Stabilizing the poses

Now Magic Sculp is added to the wires to stabilize the poses, and to provide a basis for further refinement of the body proportions. It does not have to be nice, only stick to the wires…

Armatures for scale figure sculpting

I just started to redo the figures that go with the Panzer I and the PaK 37. Here, I would like to show how I build up my figures.

I start with building an armature from wire. I take two pieces of wire (e. g. brass, 0.6mm), and twist them together to form the “spine” (pictures 1 and 2). I then bend the arms and legs (picture 3), and add a “neck” made from a short piece of wire to the spine (picture 4). Finally, I partially fix the armature by adding a “pelvis” and a “chest” from Magicsculp (picture 5):

To get the size of the armature right, I searched on Google for a skeleton picture used by artists to help in painting humans. This was then scaled to 1/35 scale and printed. So I can check the appropriate size of my armature by simply placing it on the printout.

Some figures for the Panzer II tank

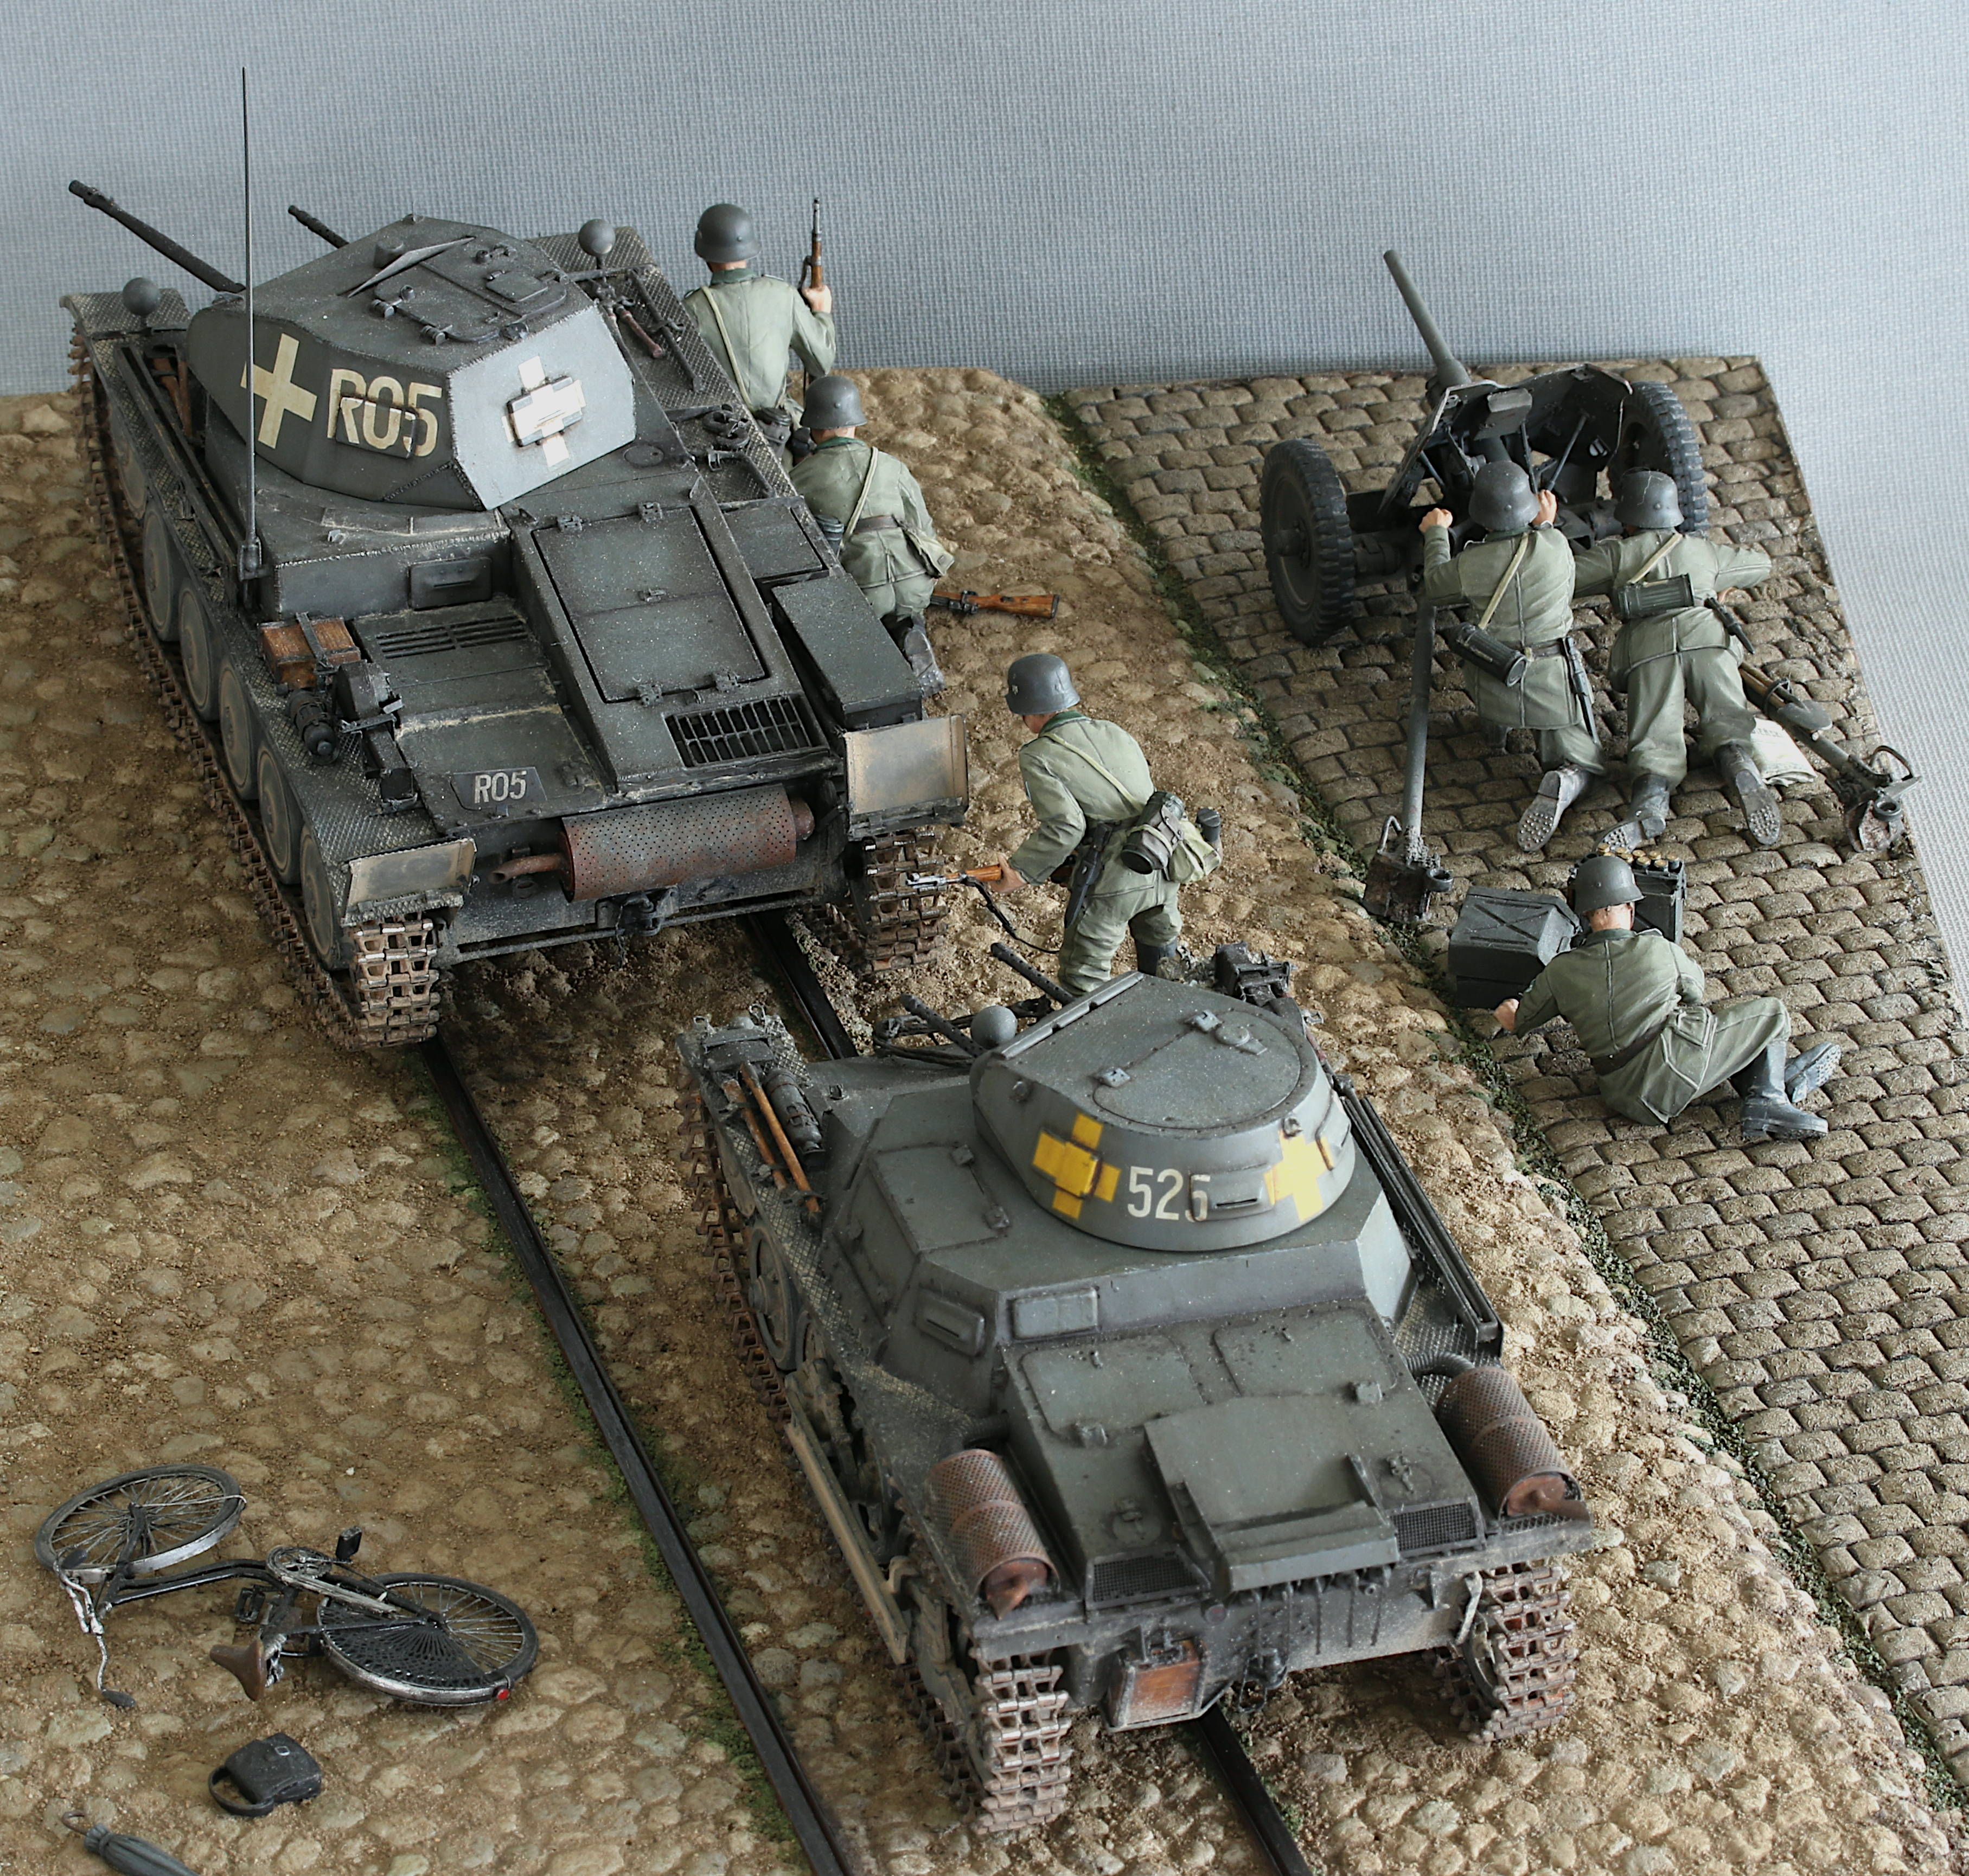
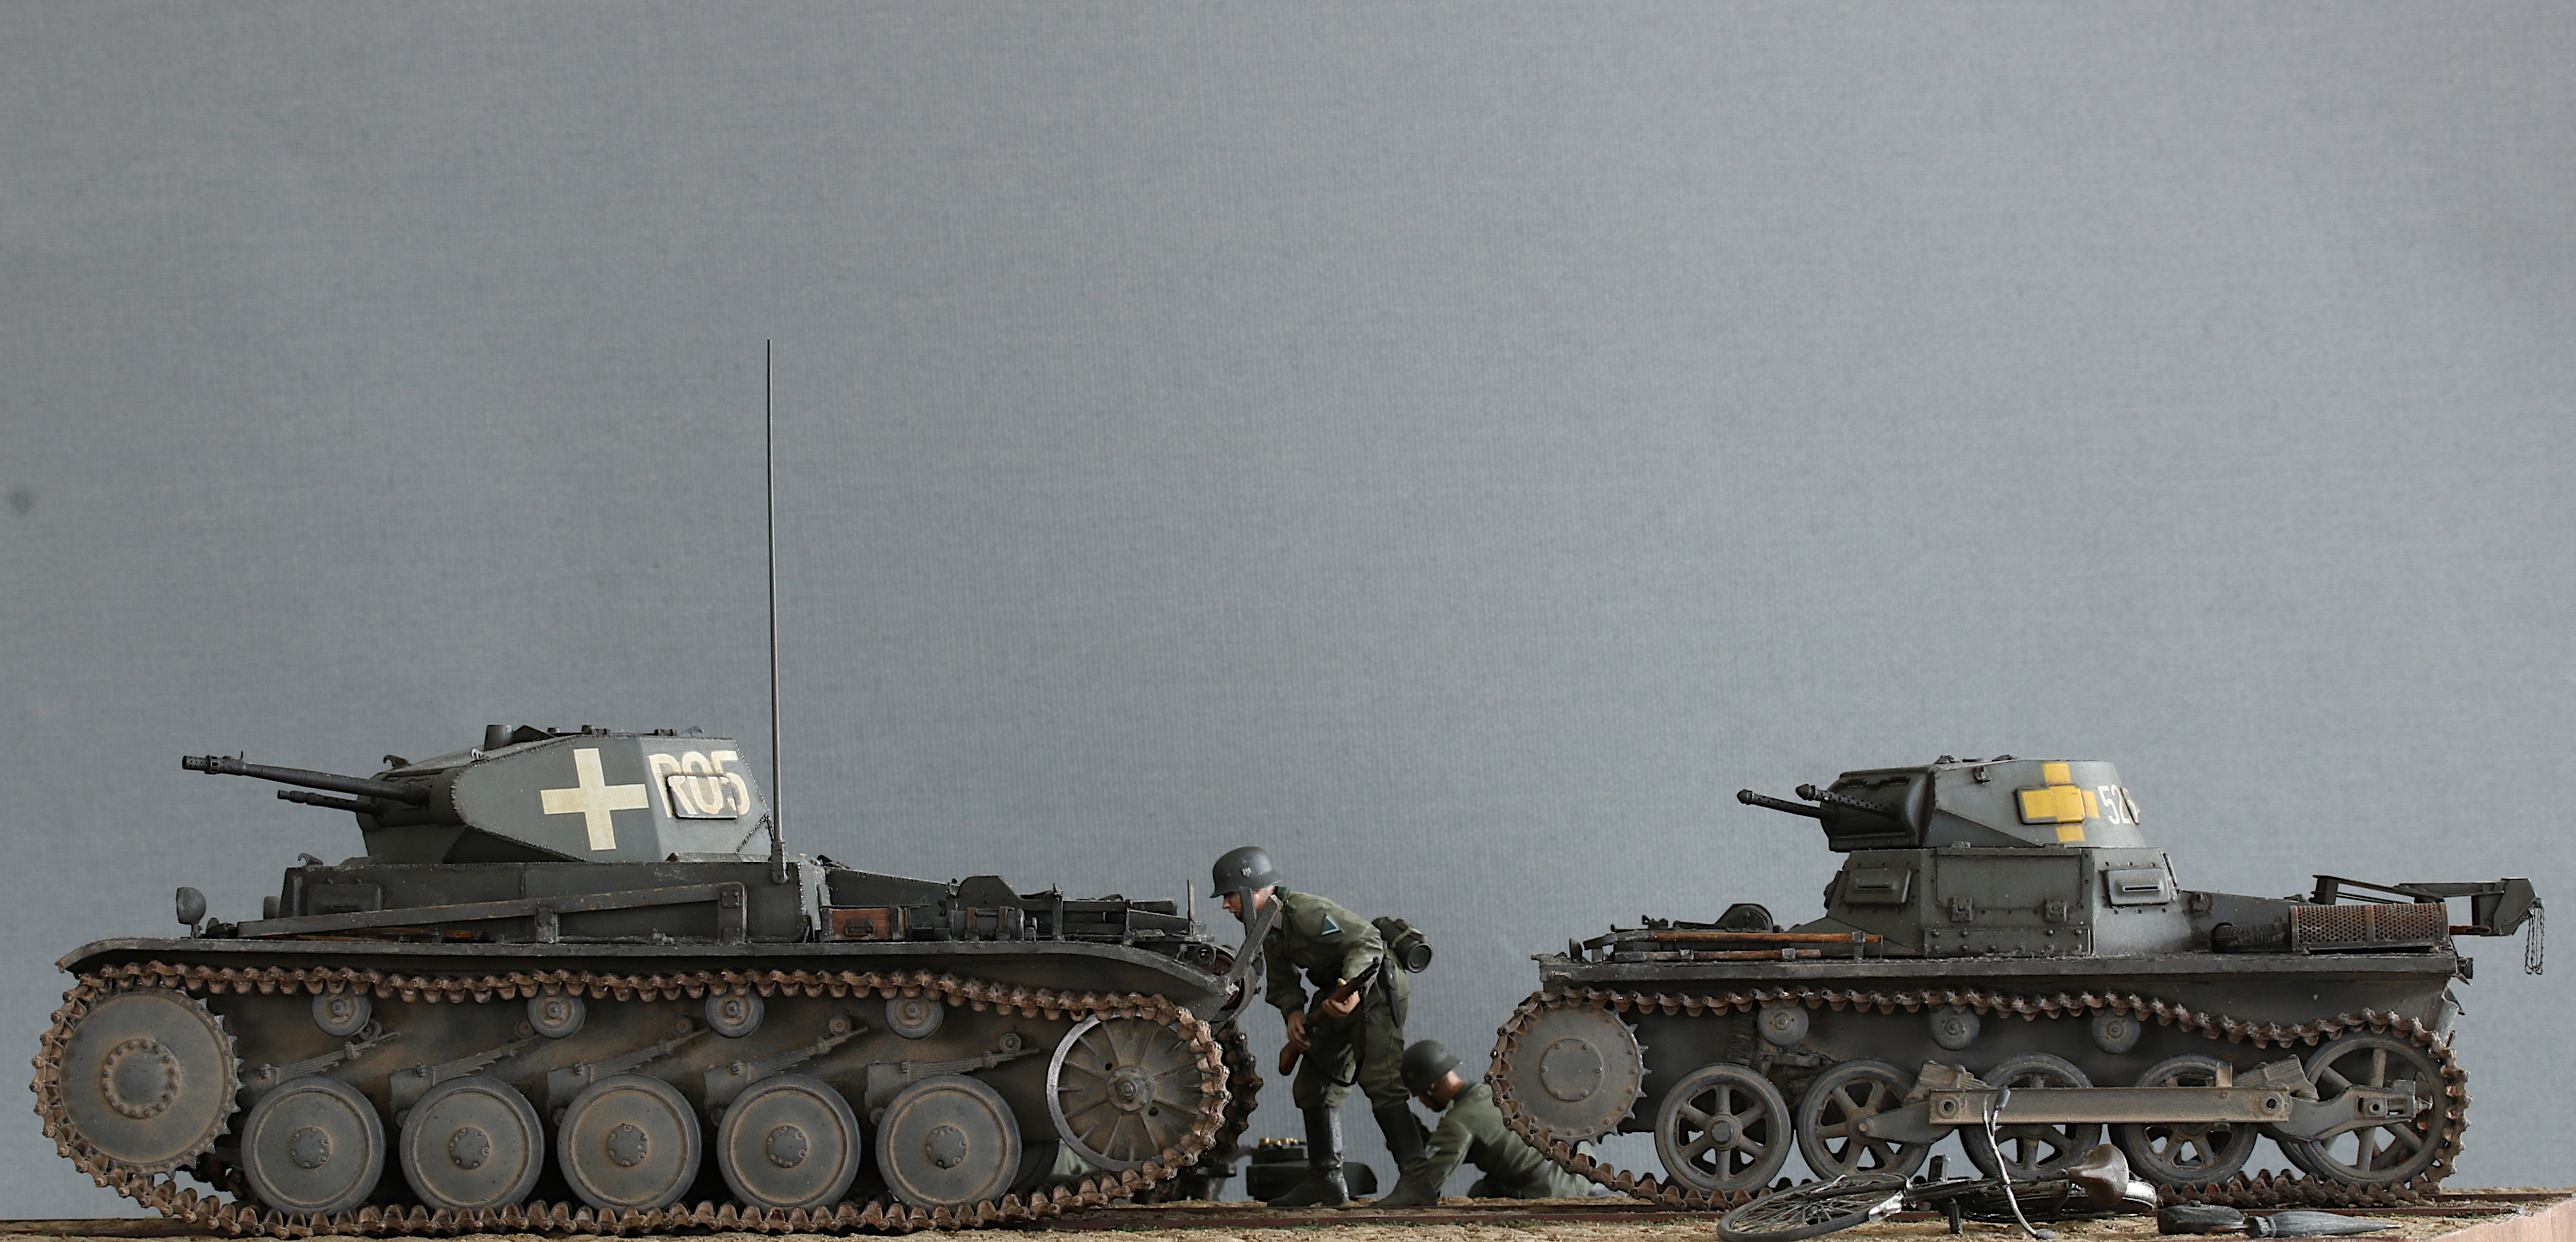
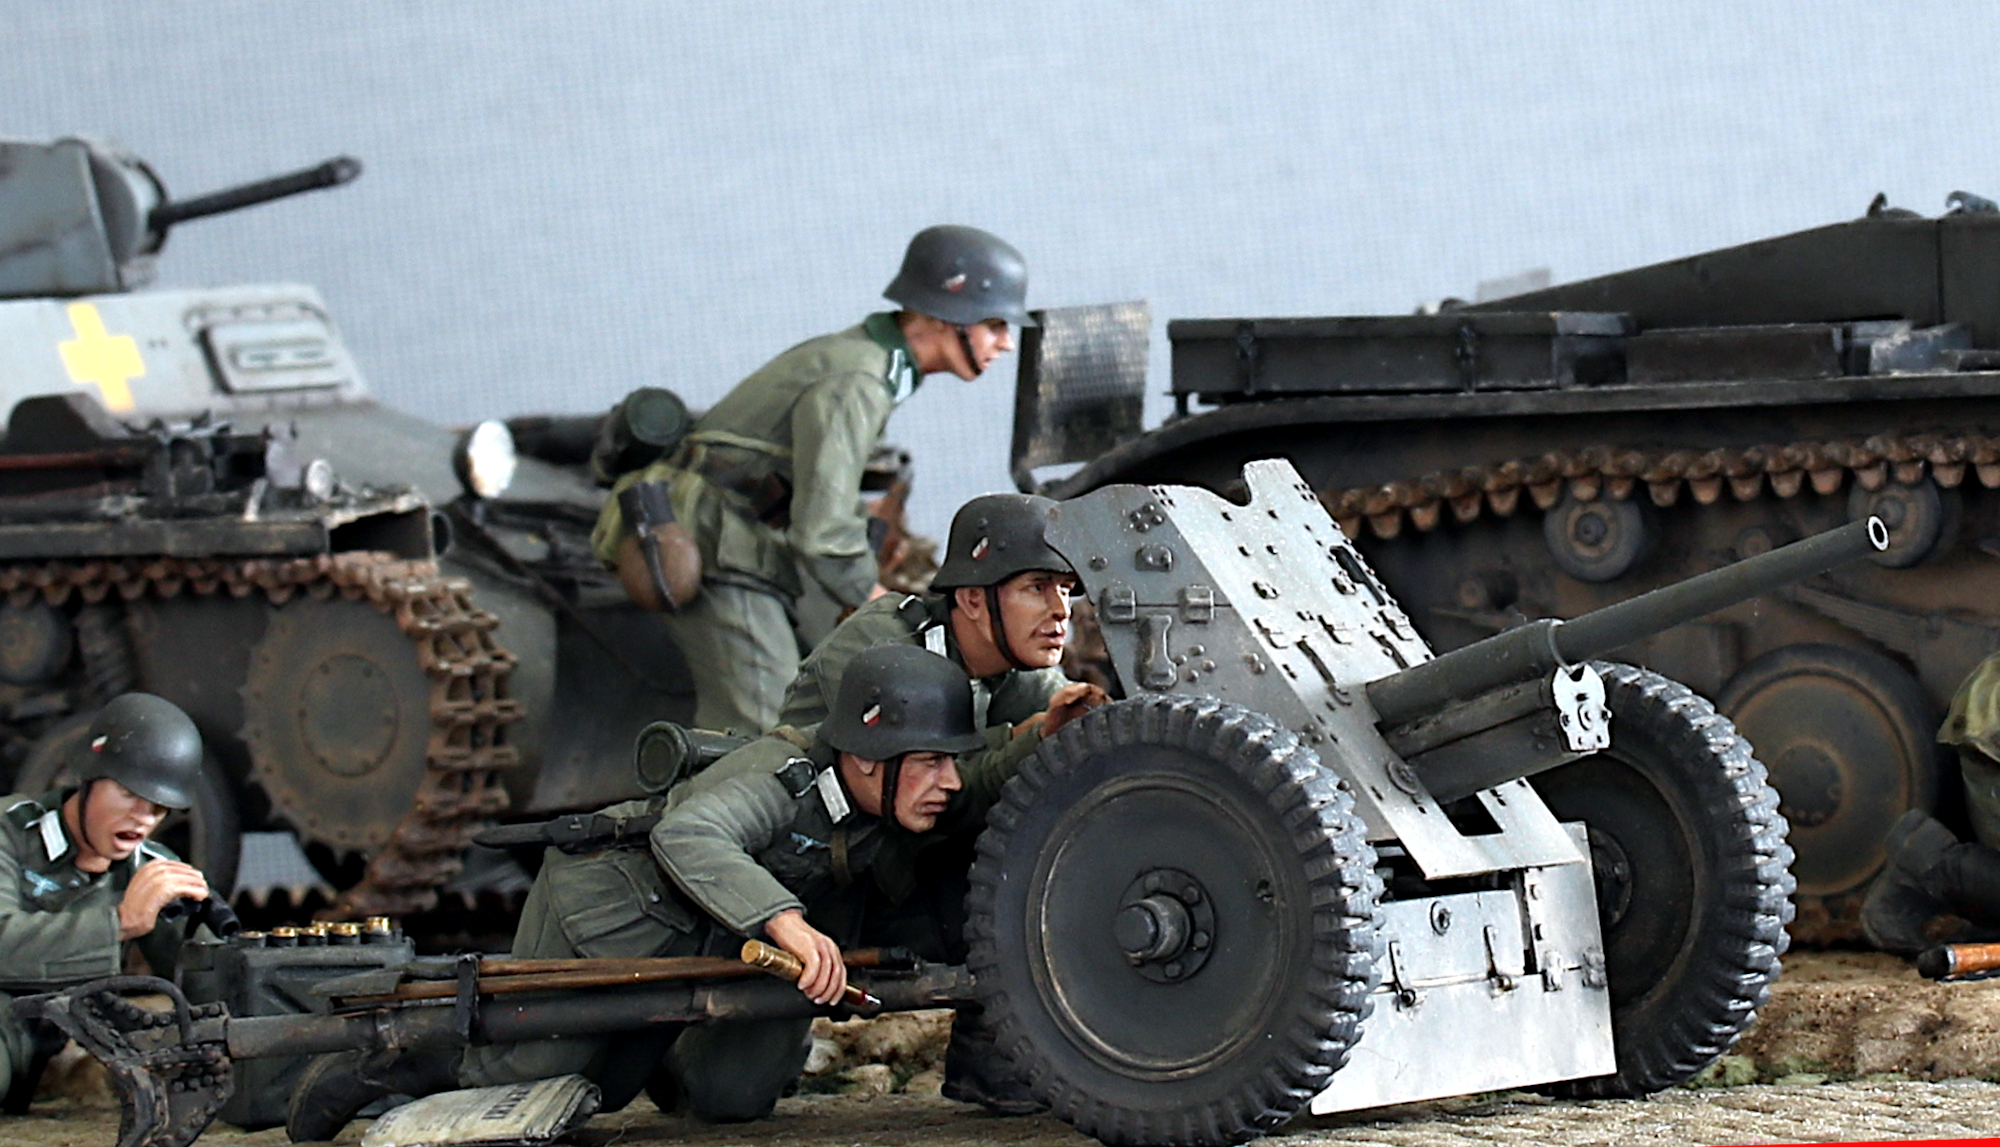
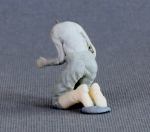
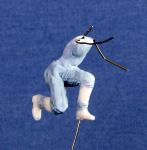
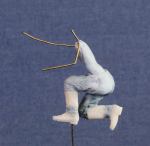
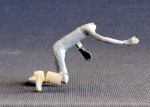
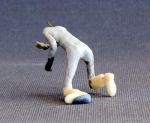
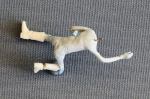
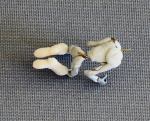
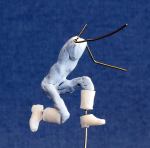
After a long break, I continued to work on the second Warsaw street fighting scene, and started to work on some figures to be added to the Panzer II tank. I bought a resin figure set from Stalingrad. The figures are ok, featuring some nice poses. I replaced the heads with Hornet offerings, and the rifles and the other equipment is from my spare box.

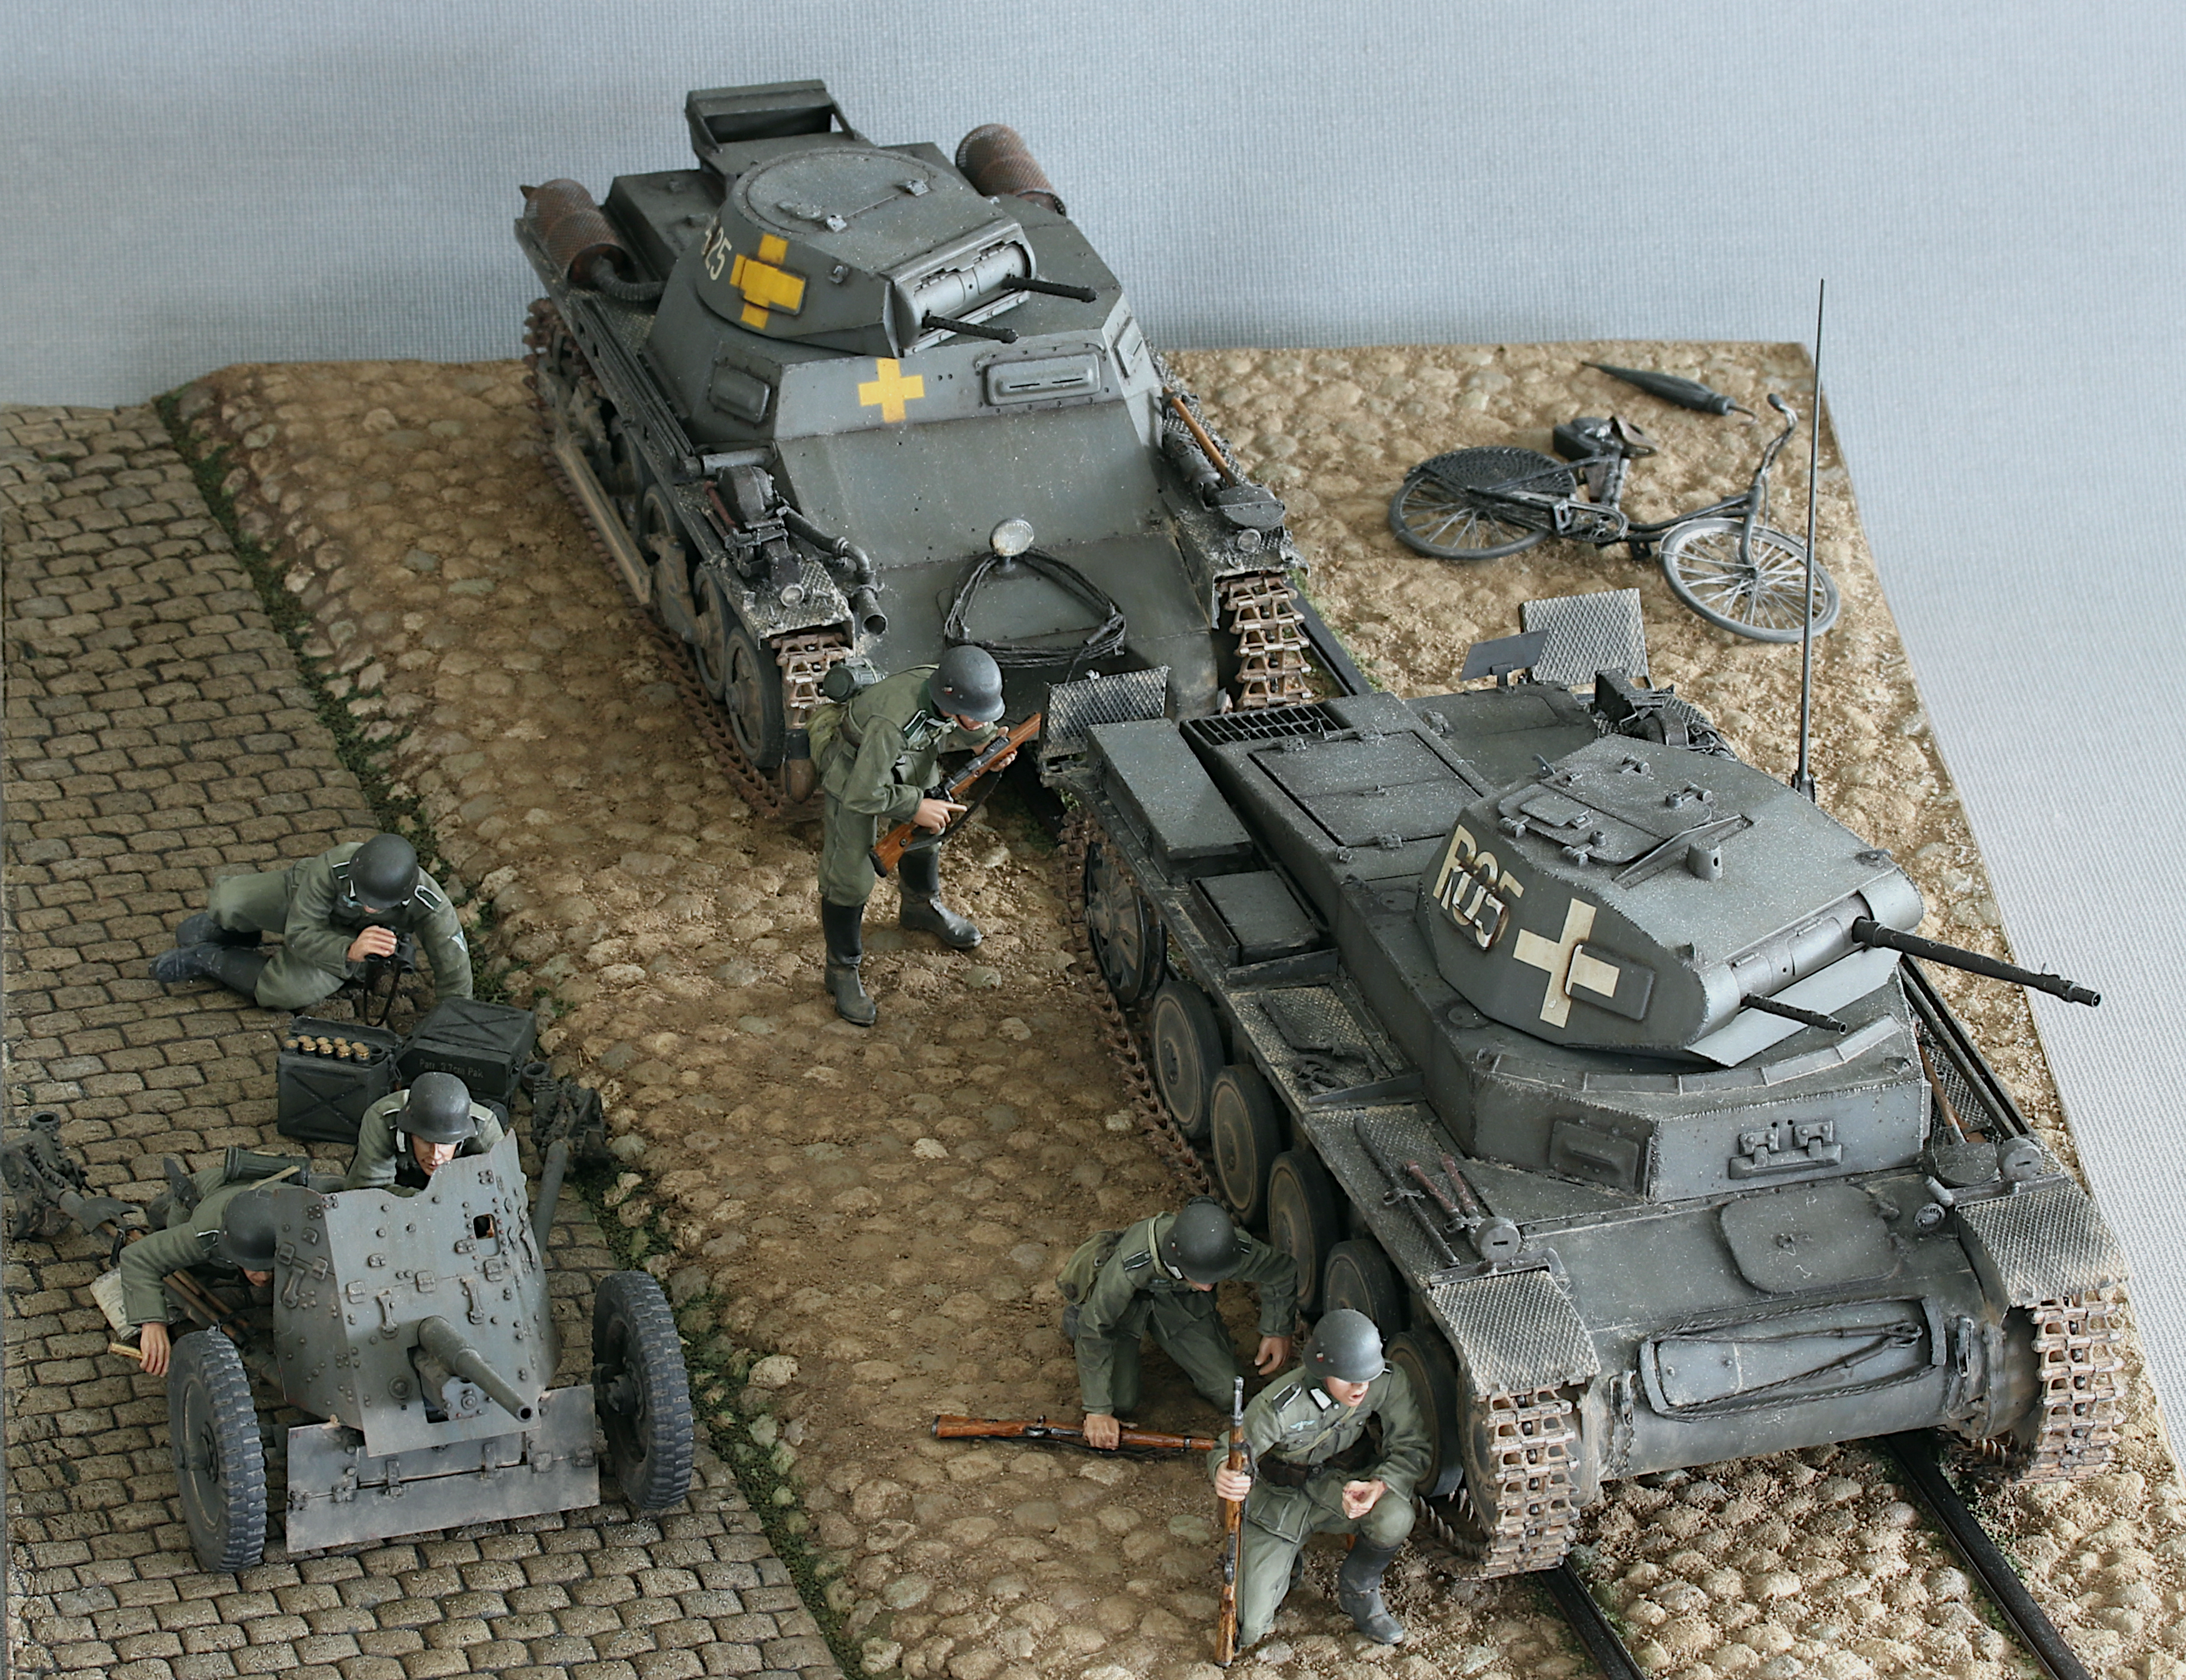
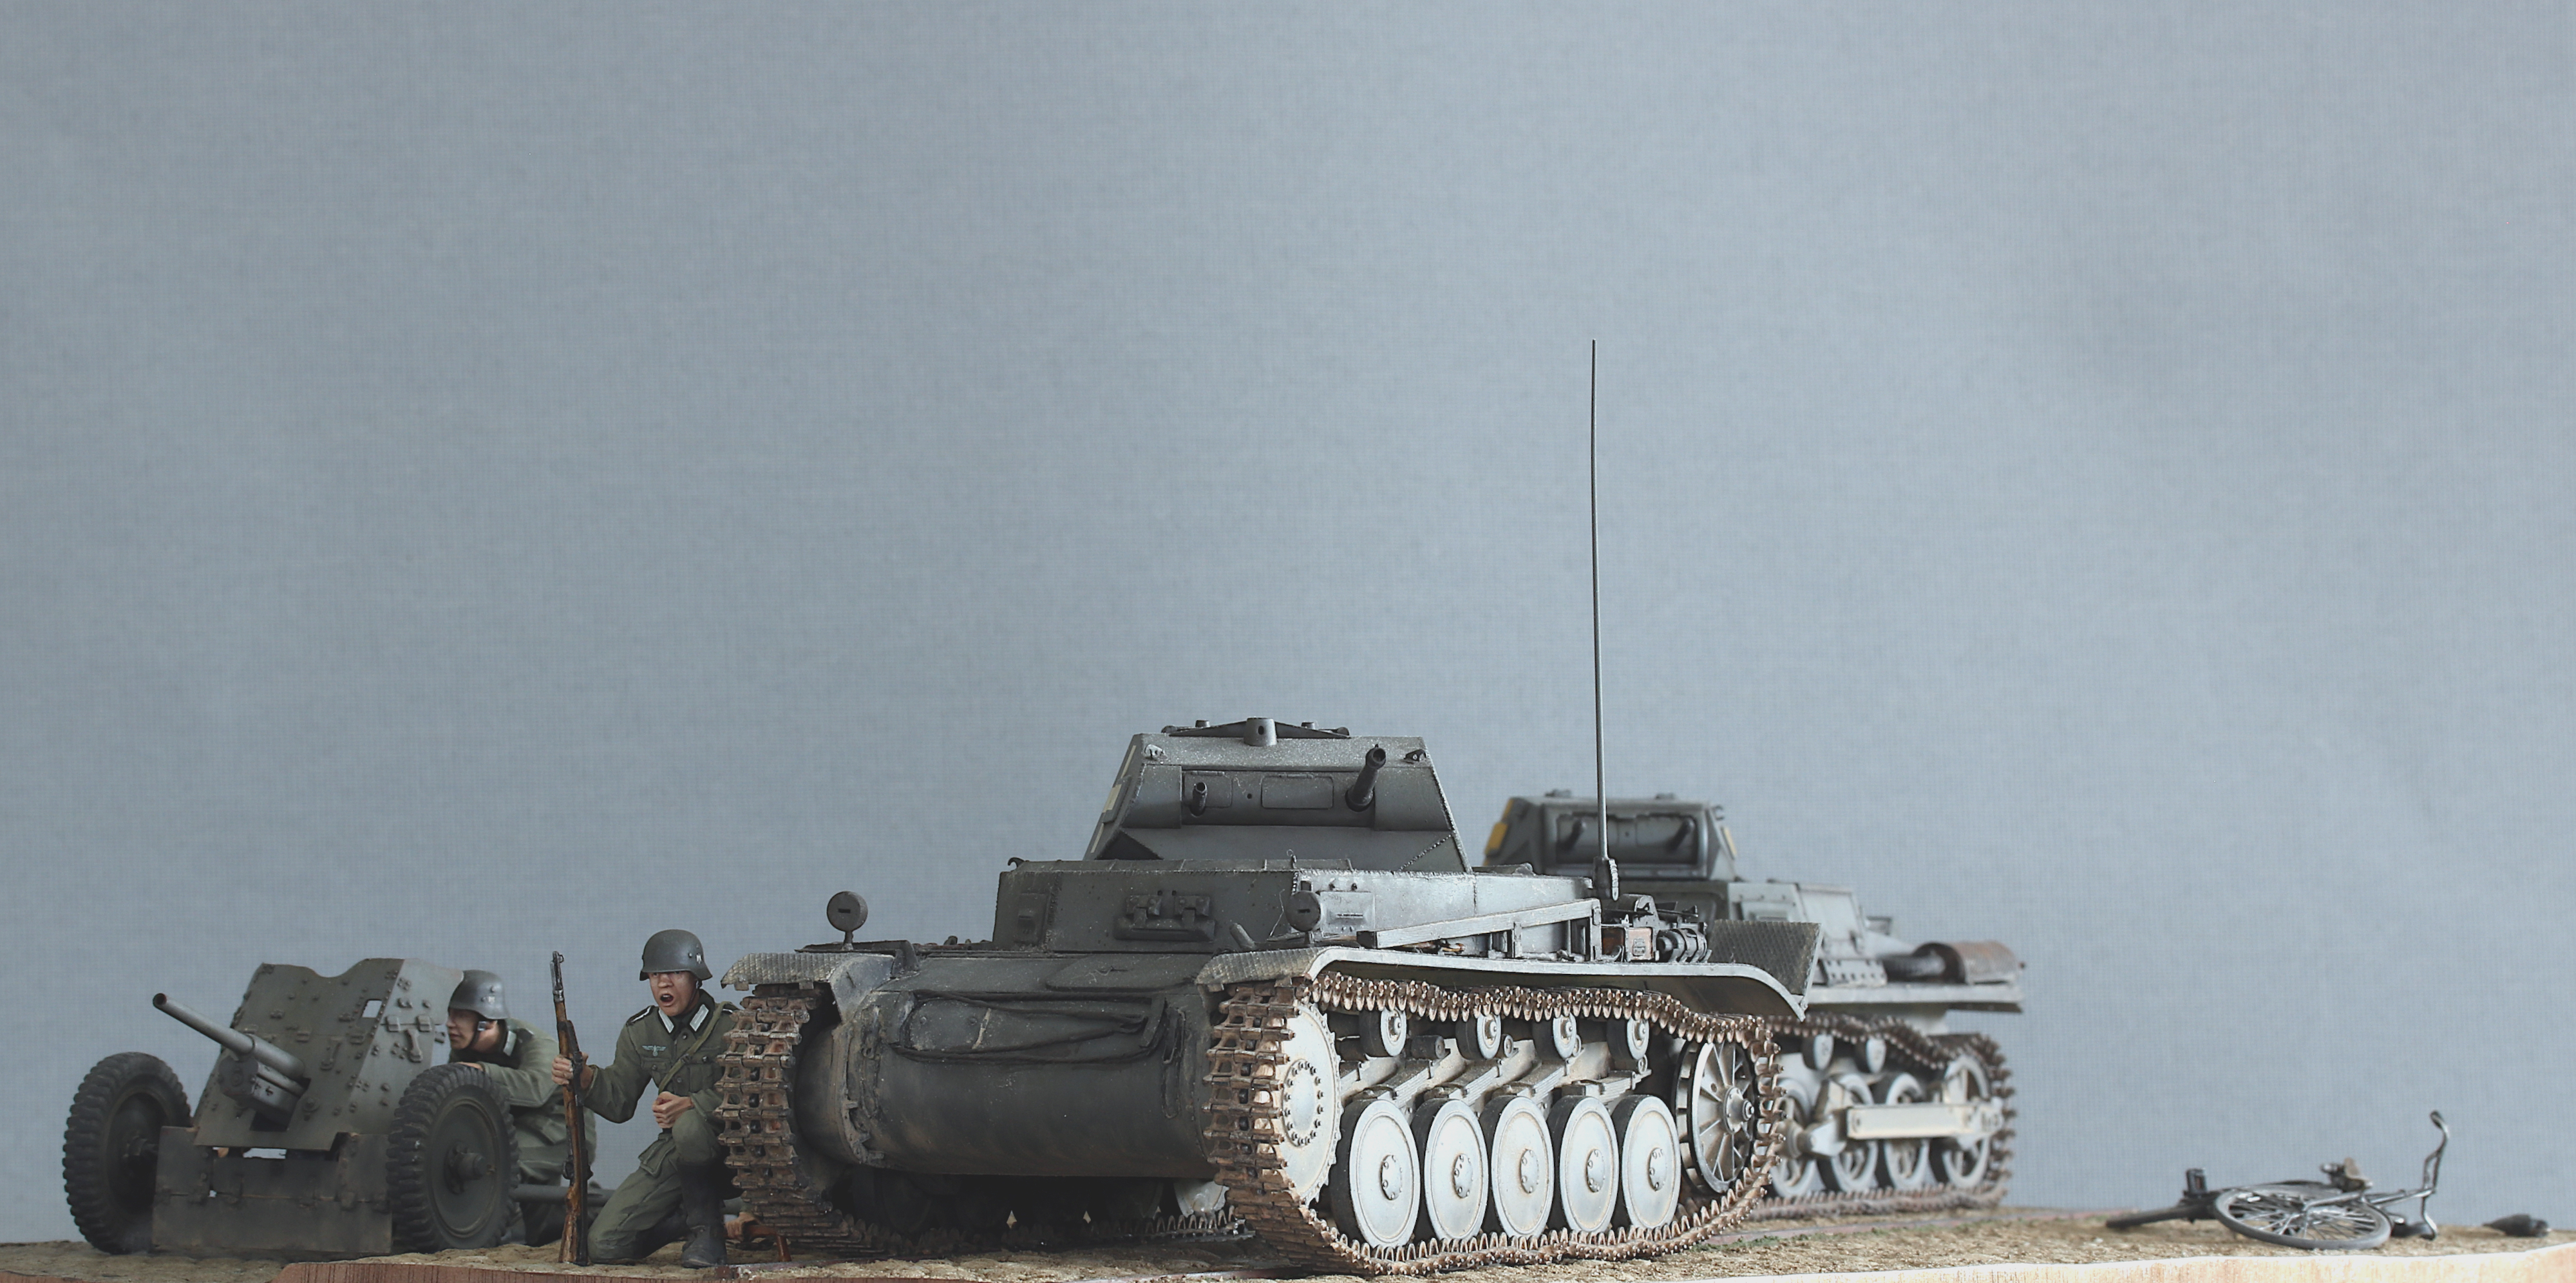
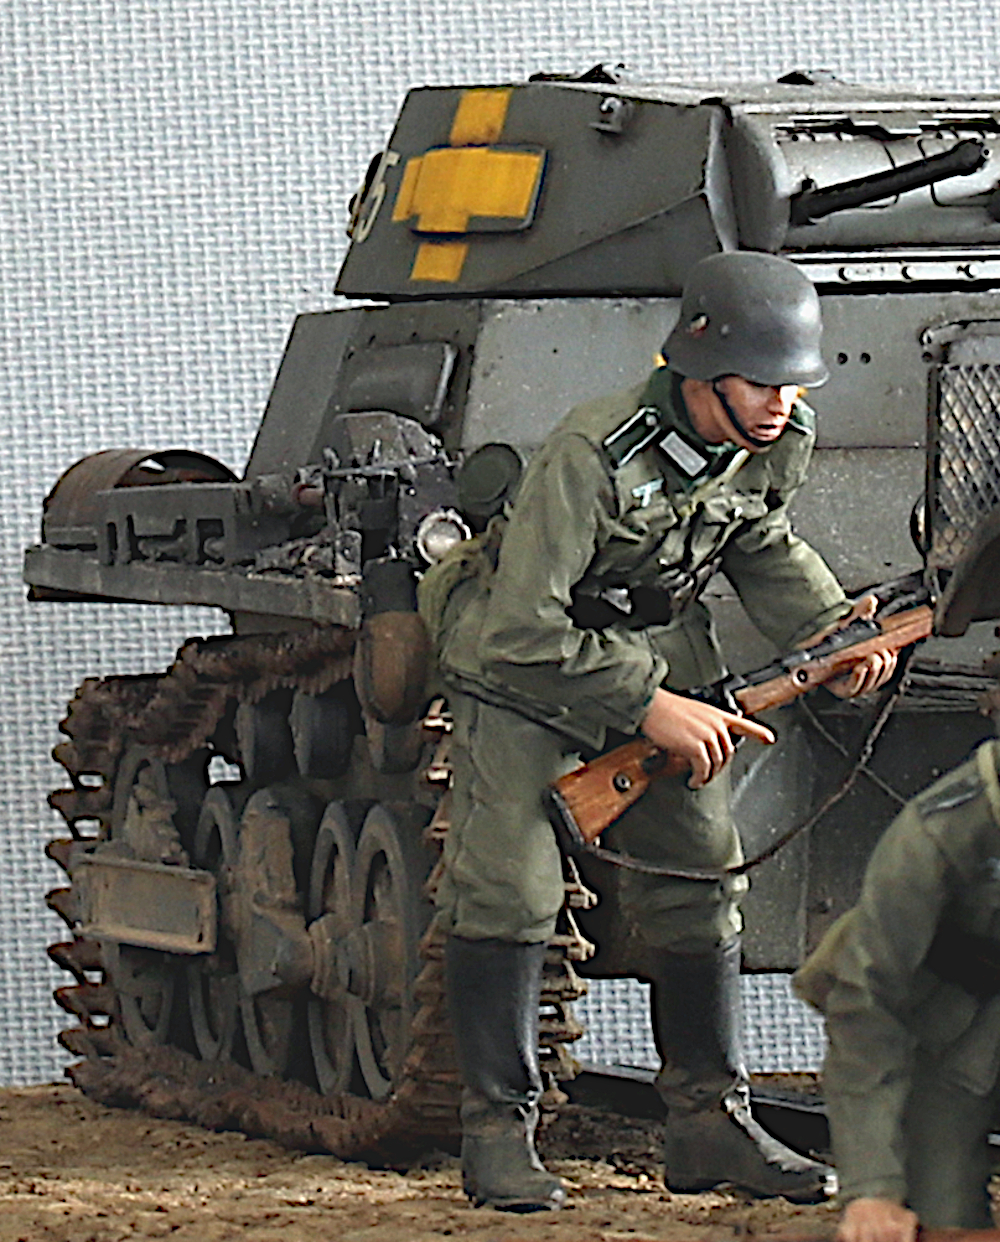
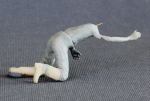
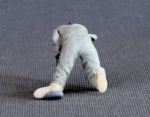
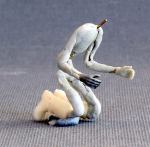
I built all three figures, reworking the poses and fixing some flaws. Then I painted the first figure and added it to the base:

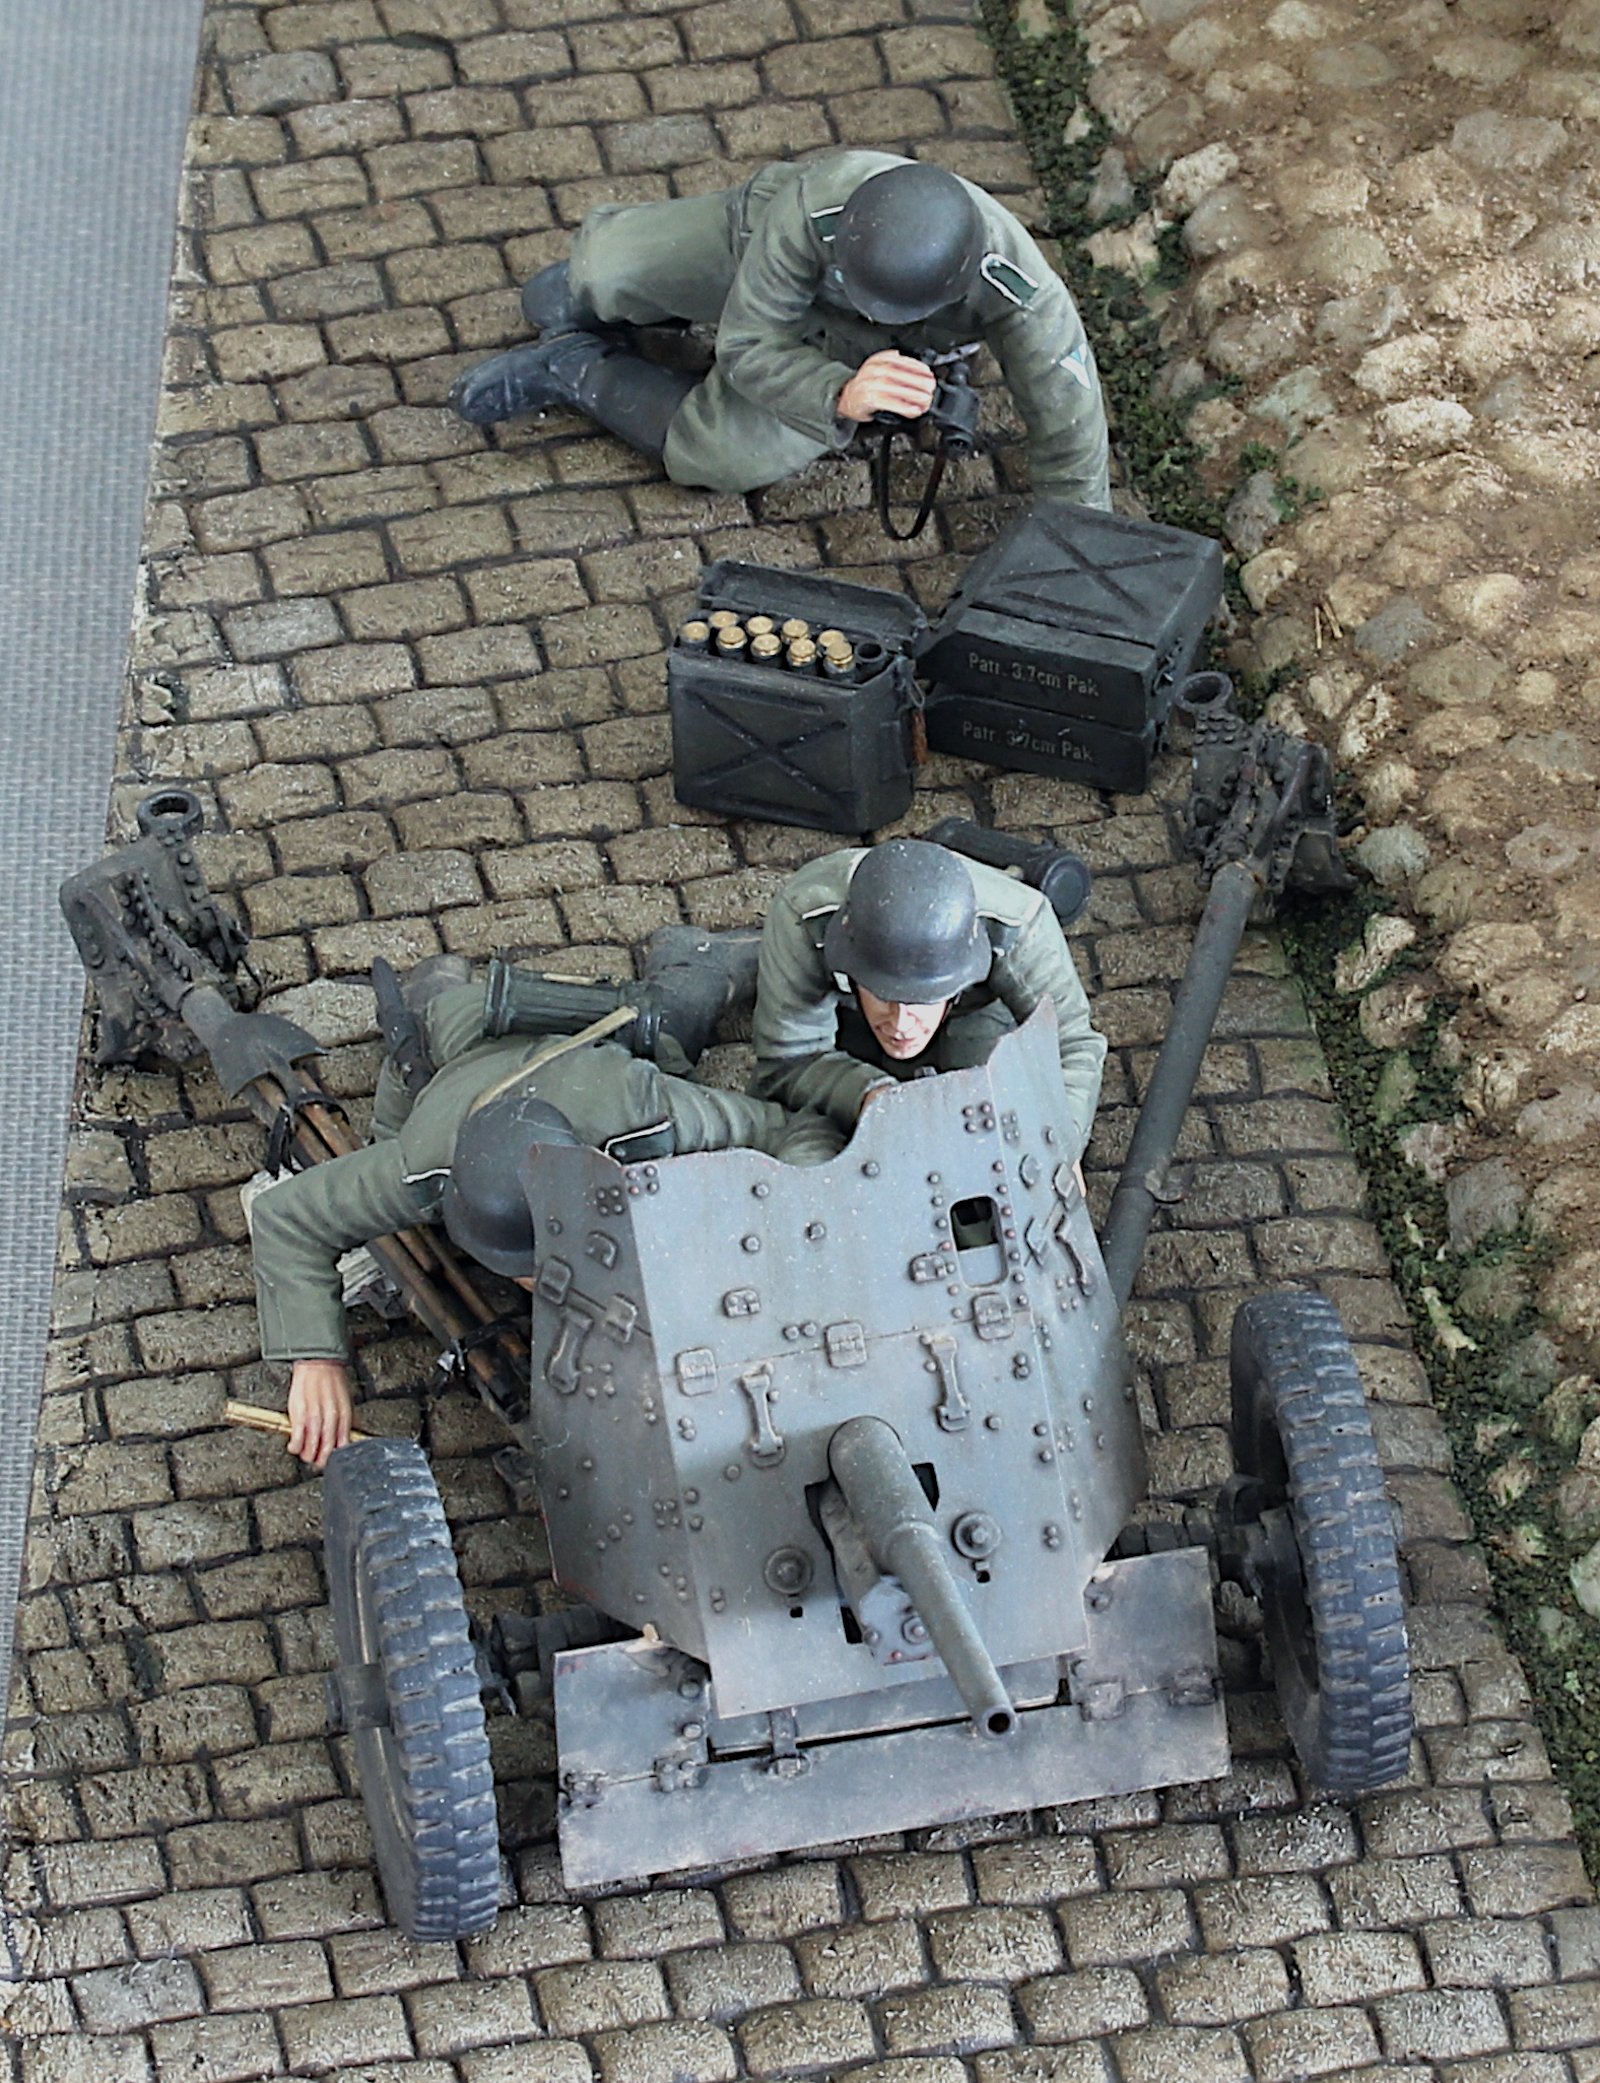
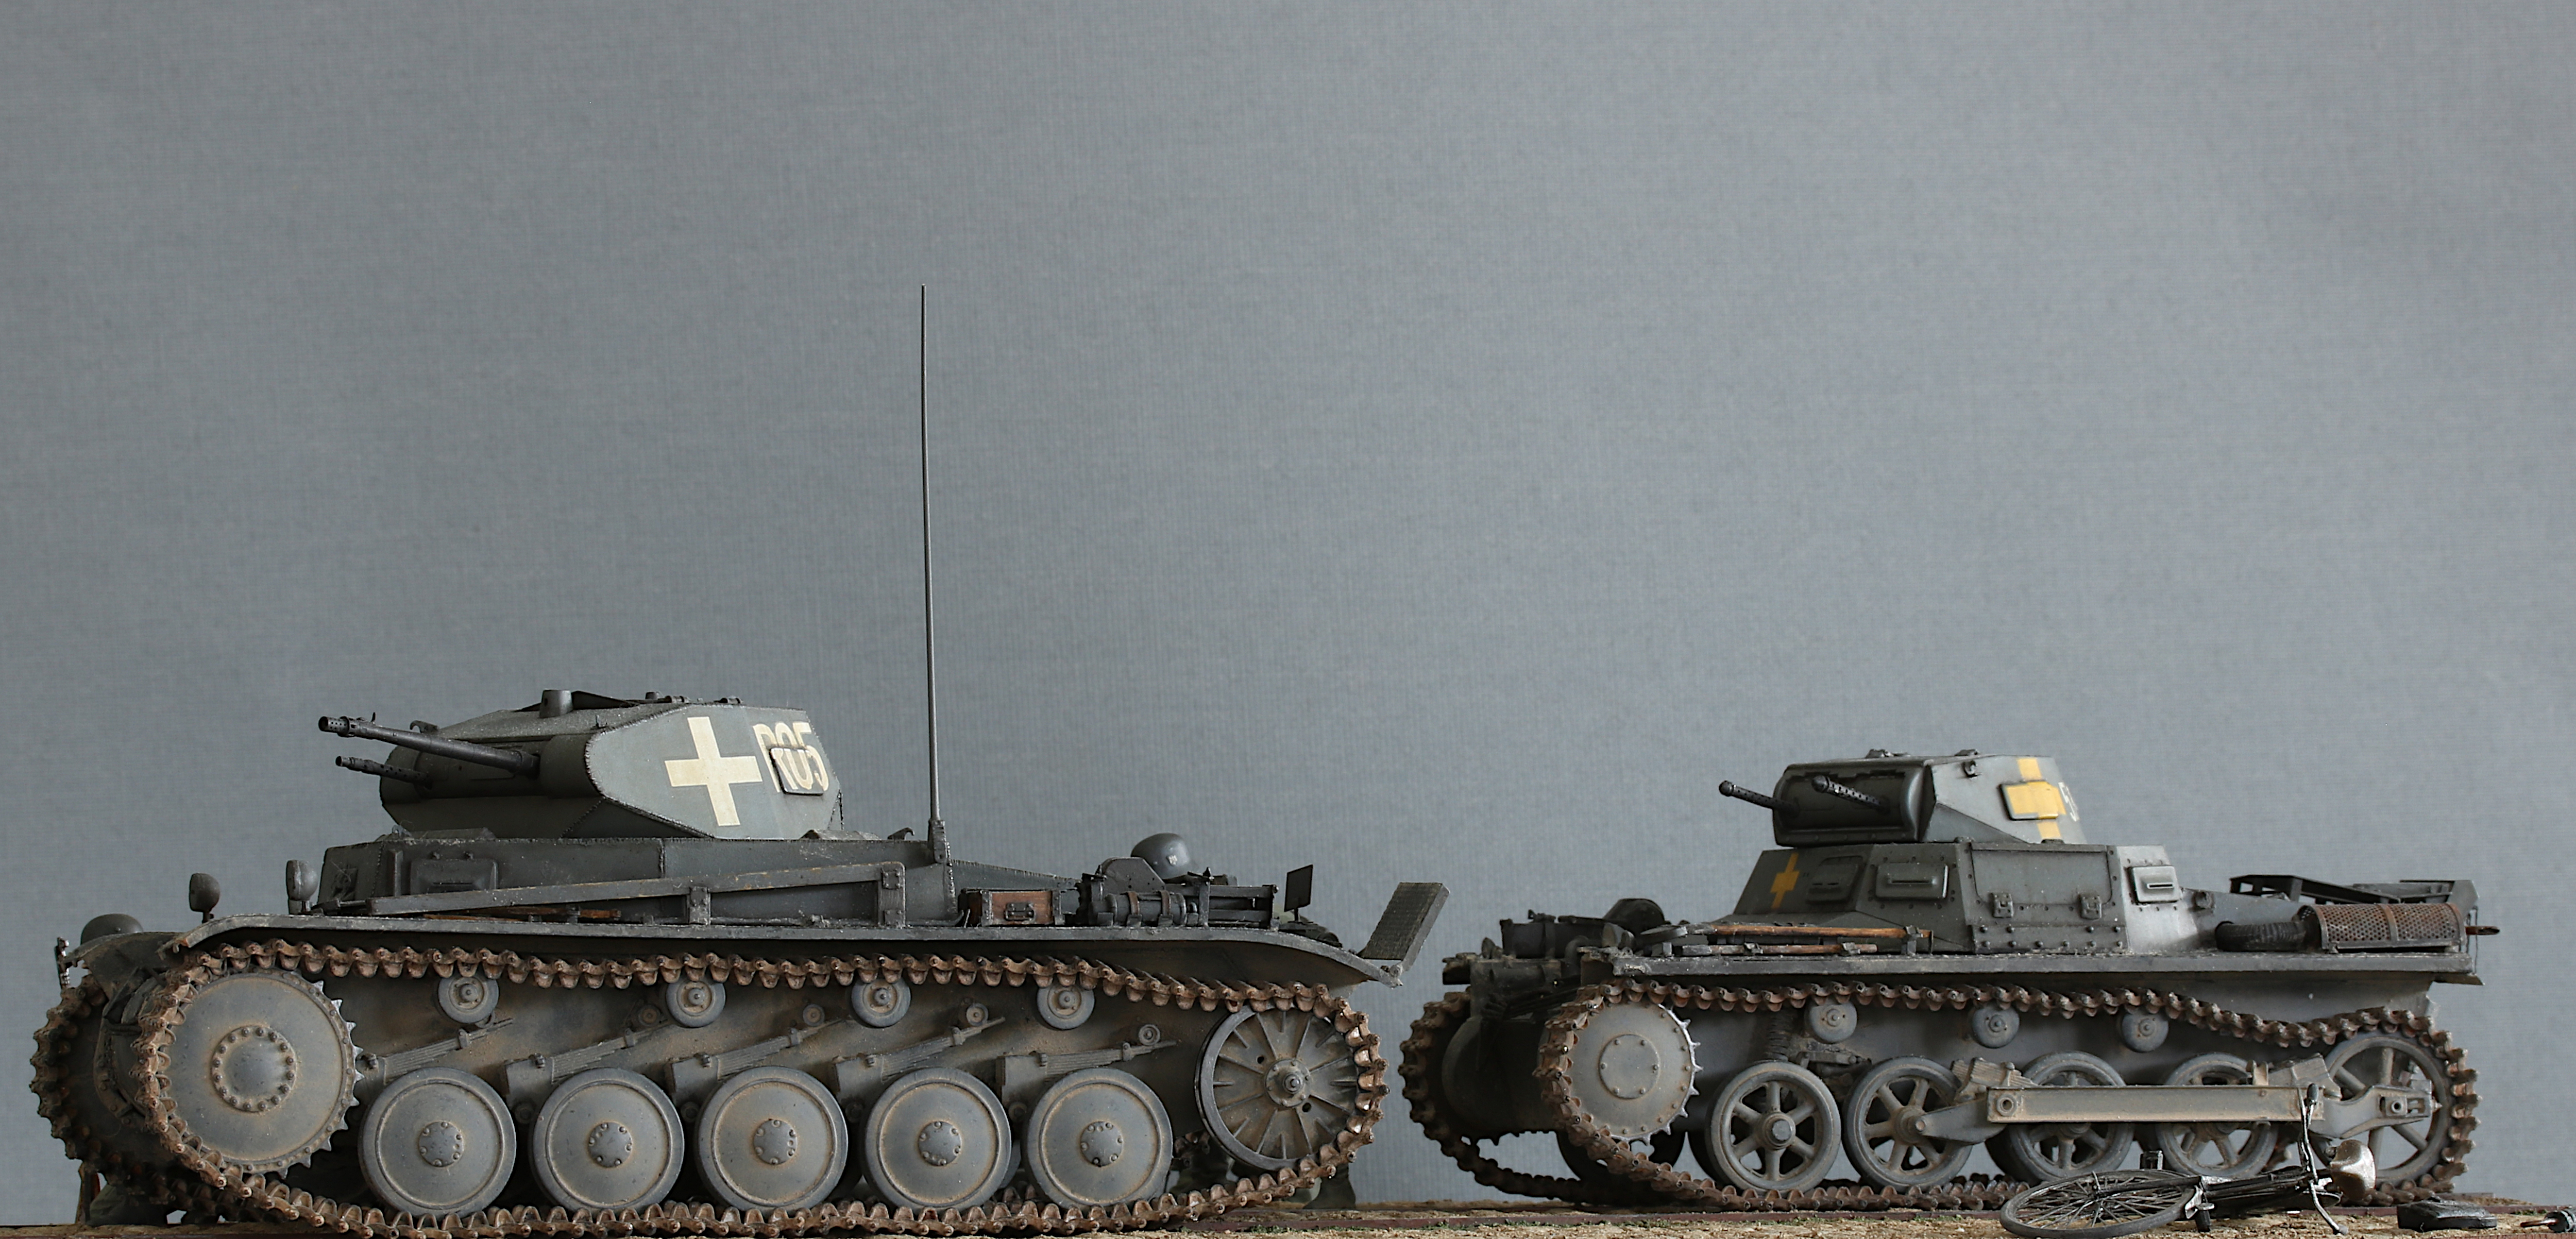
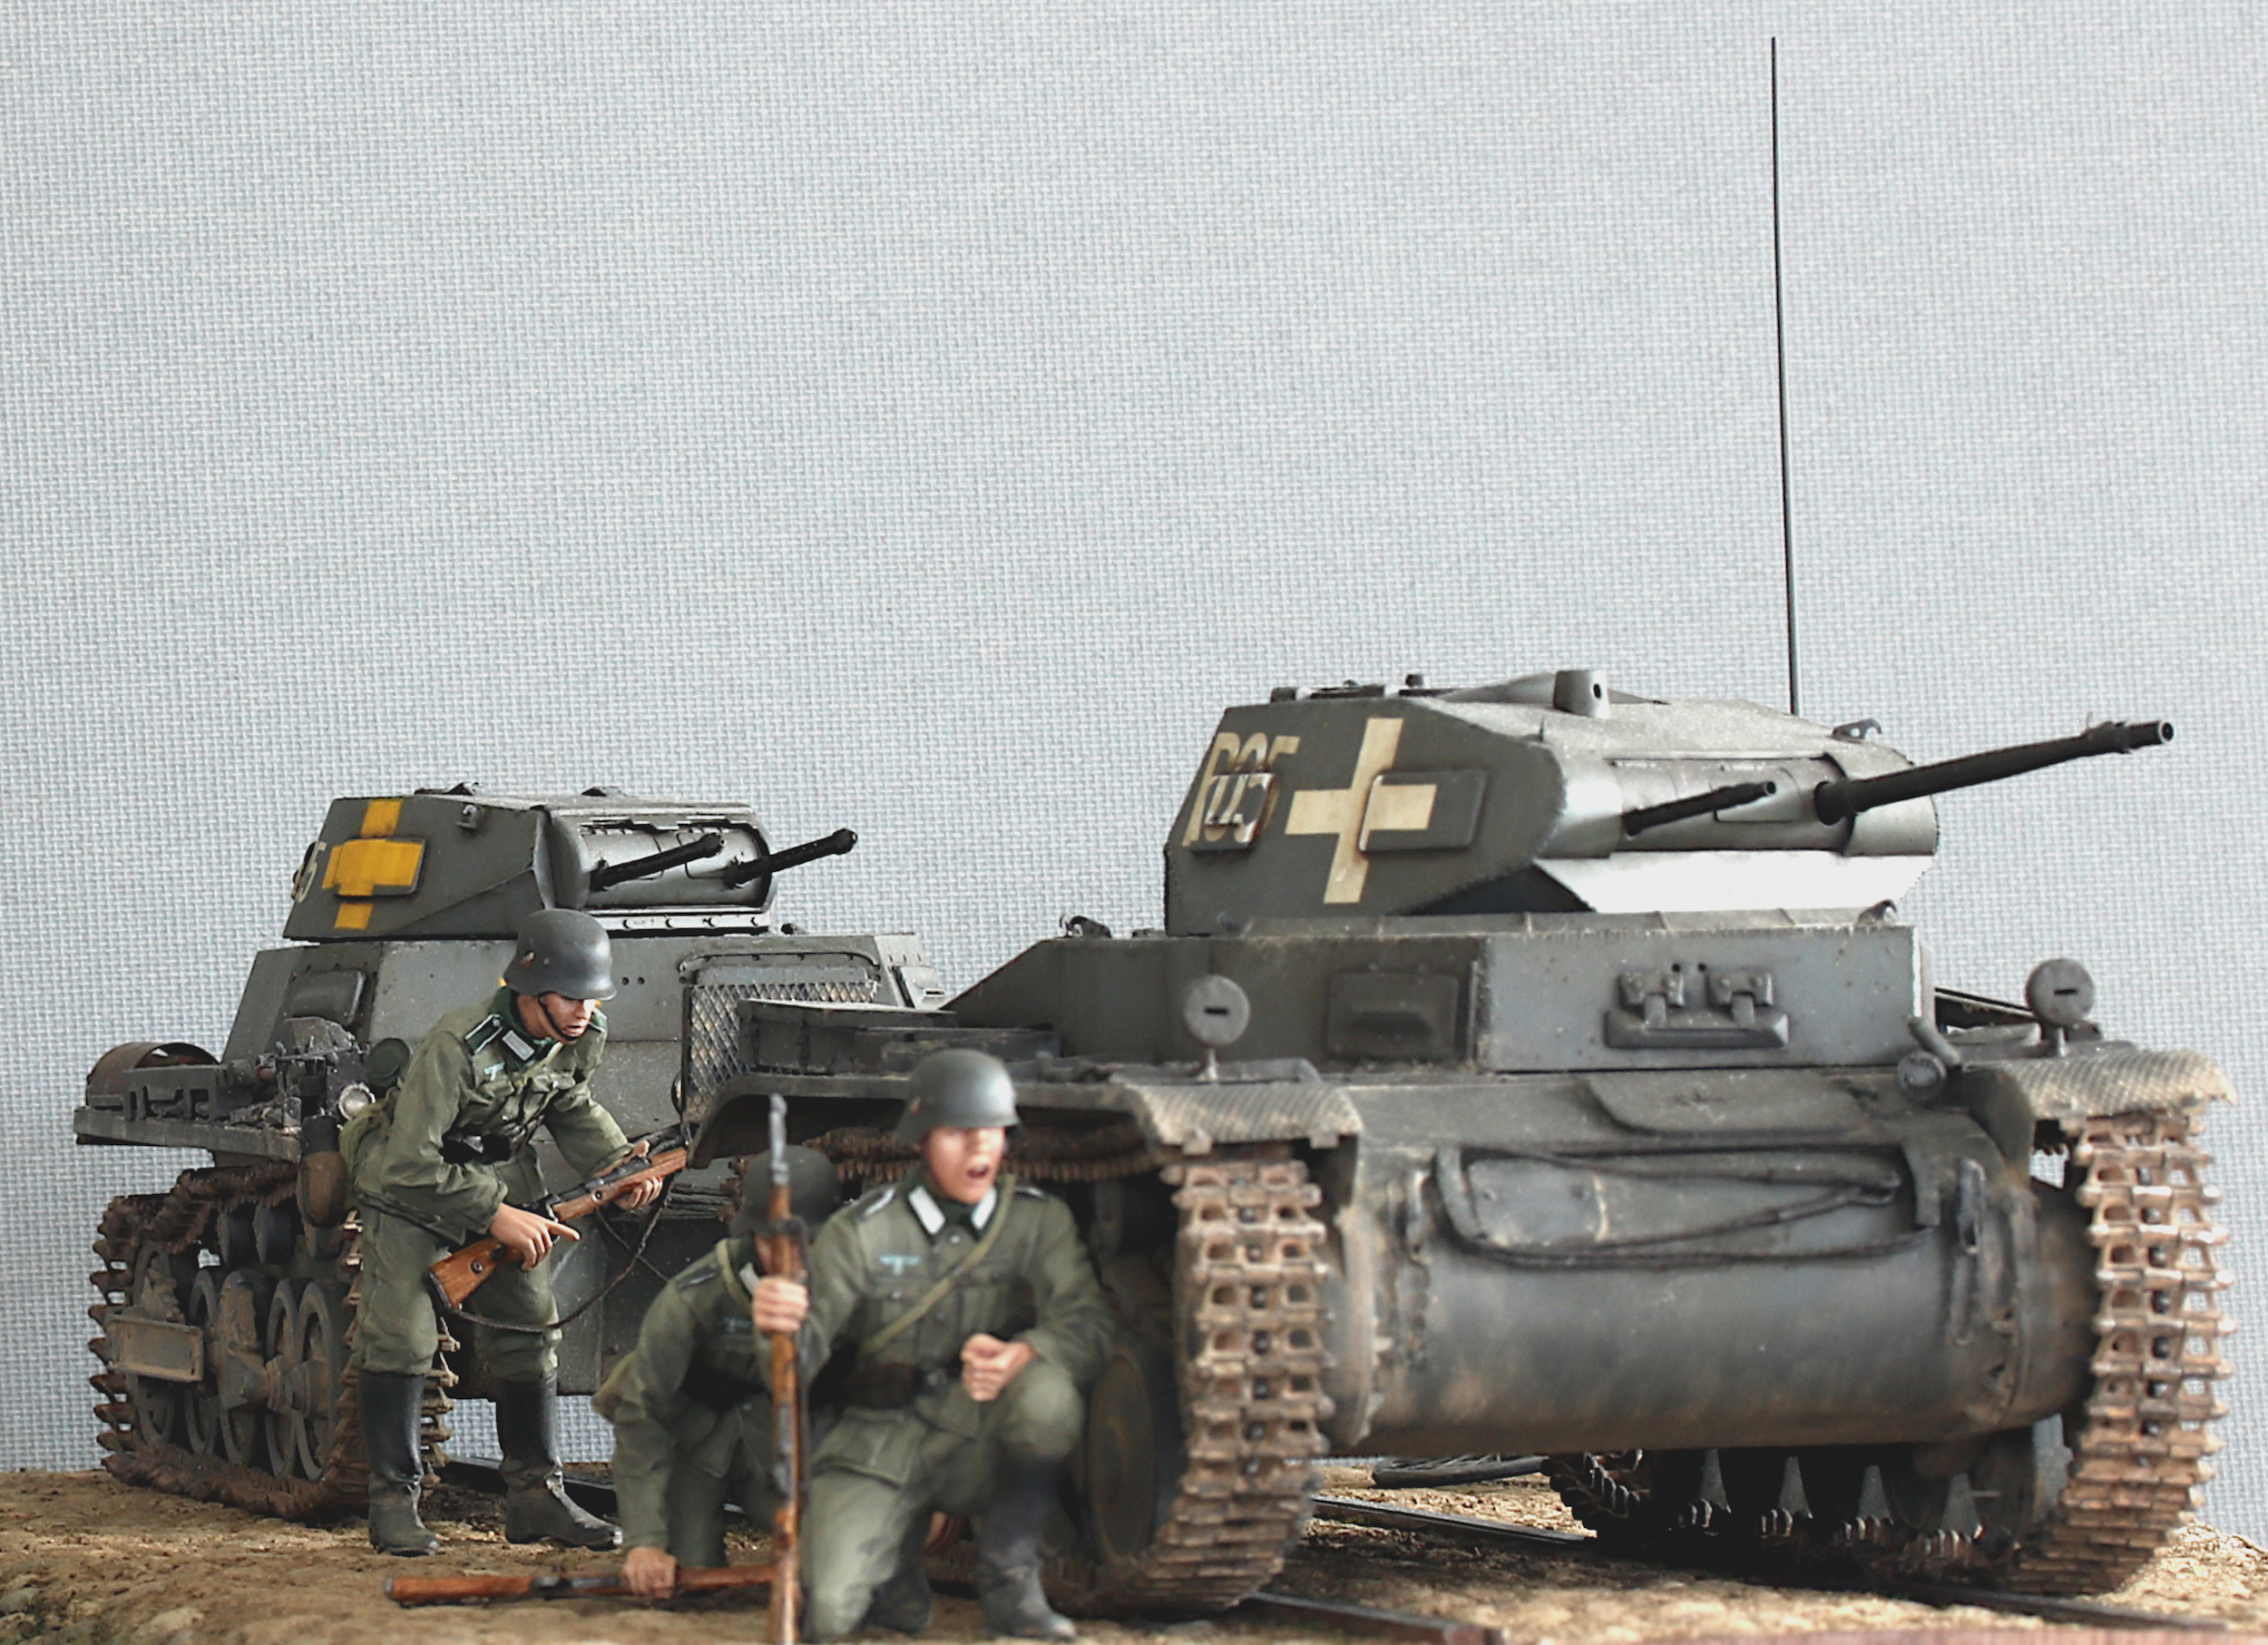
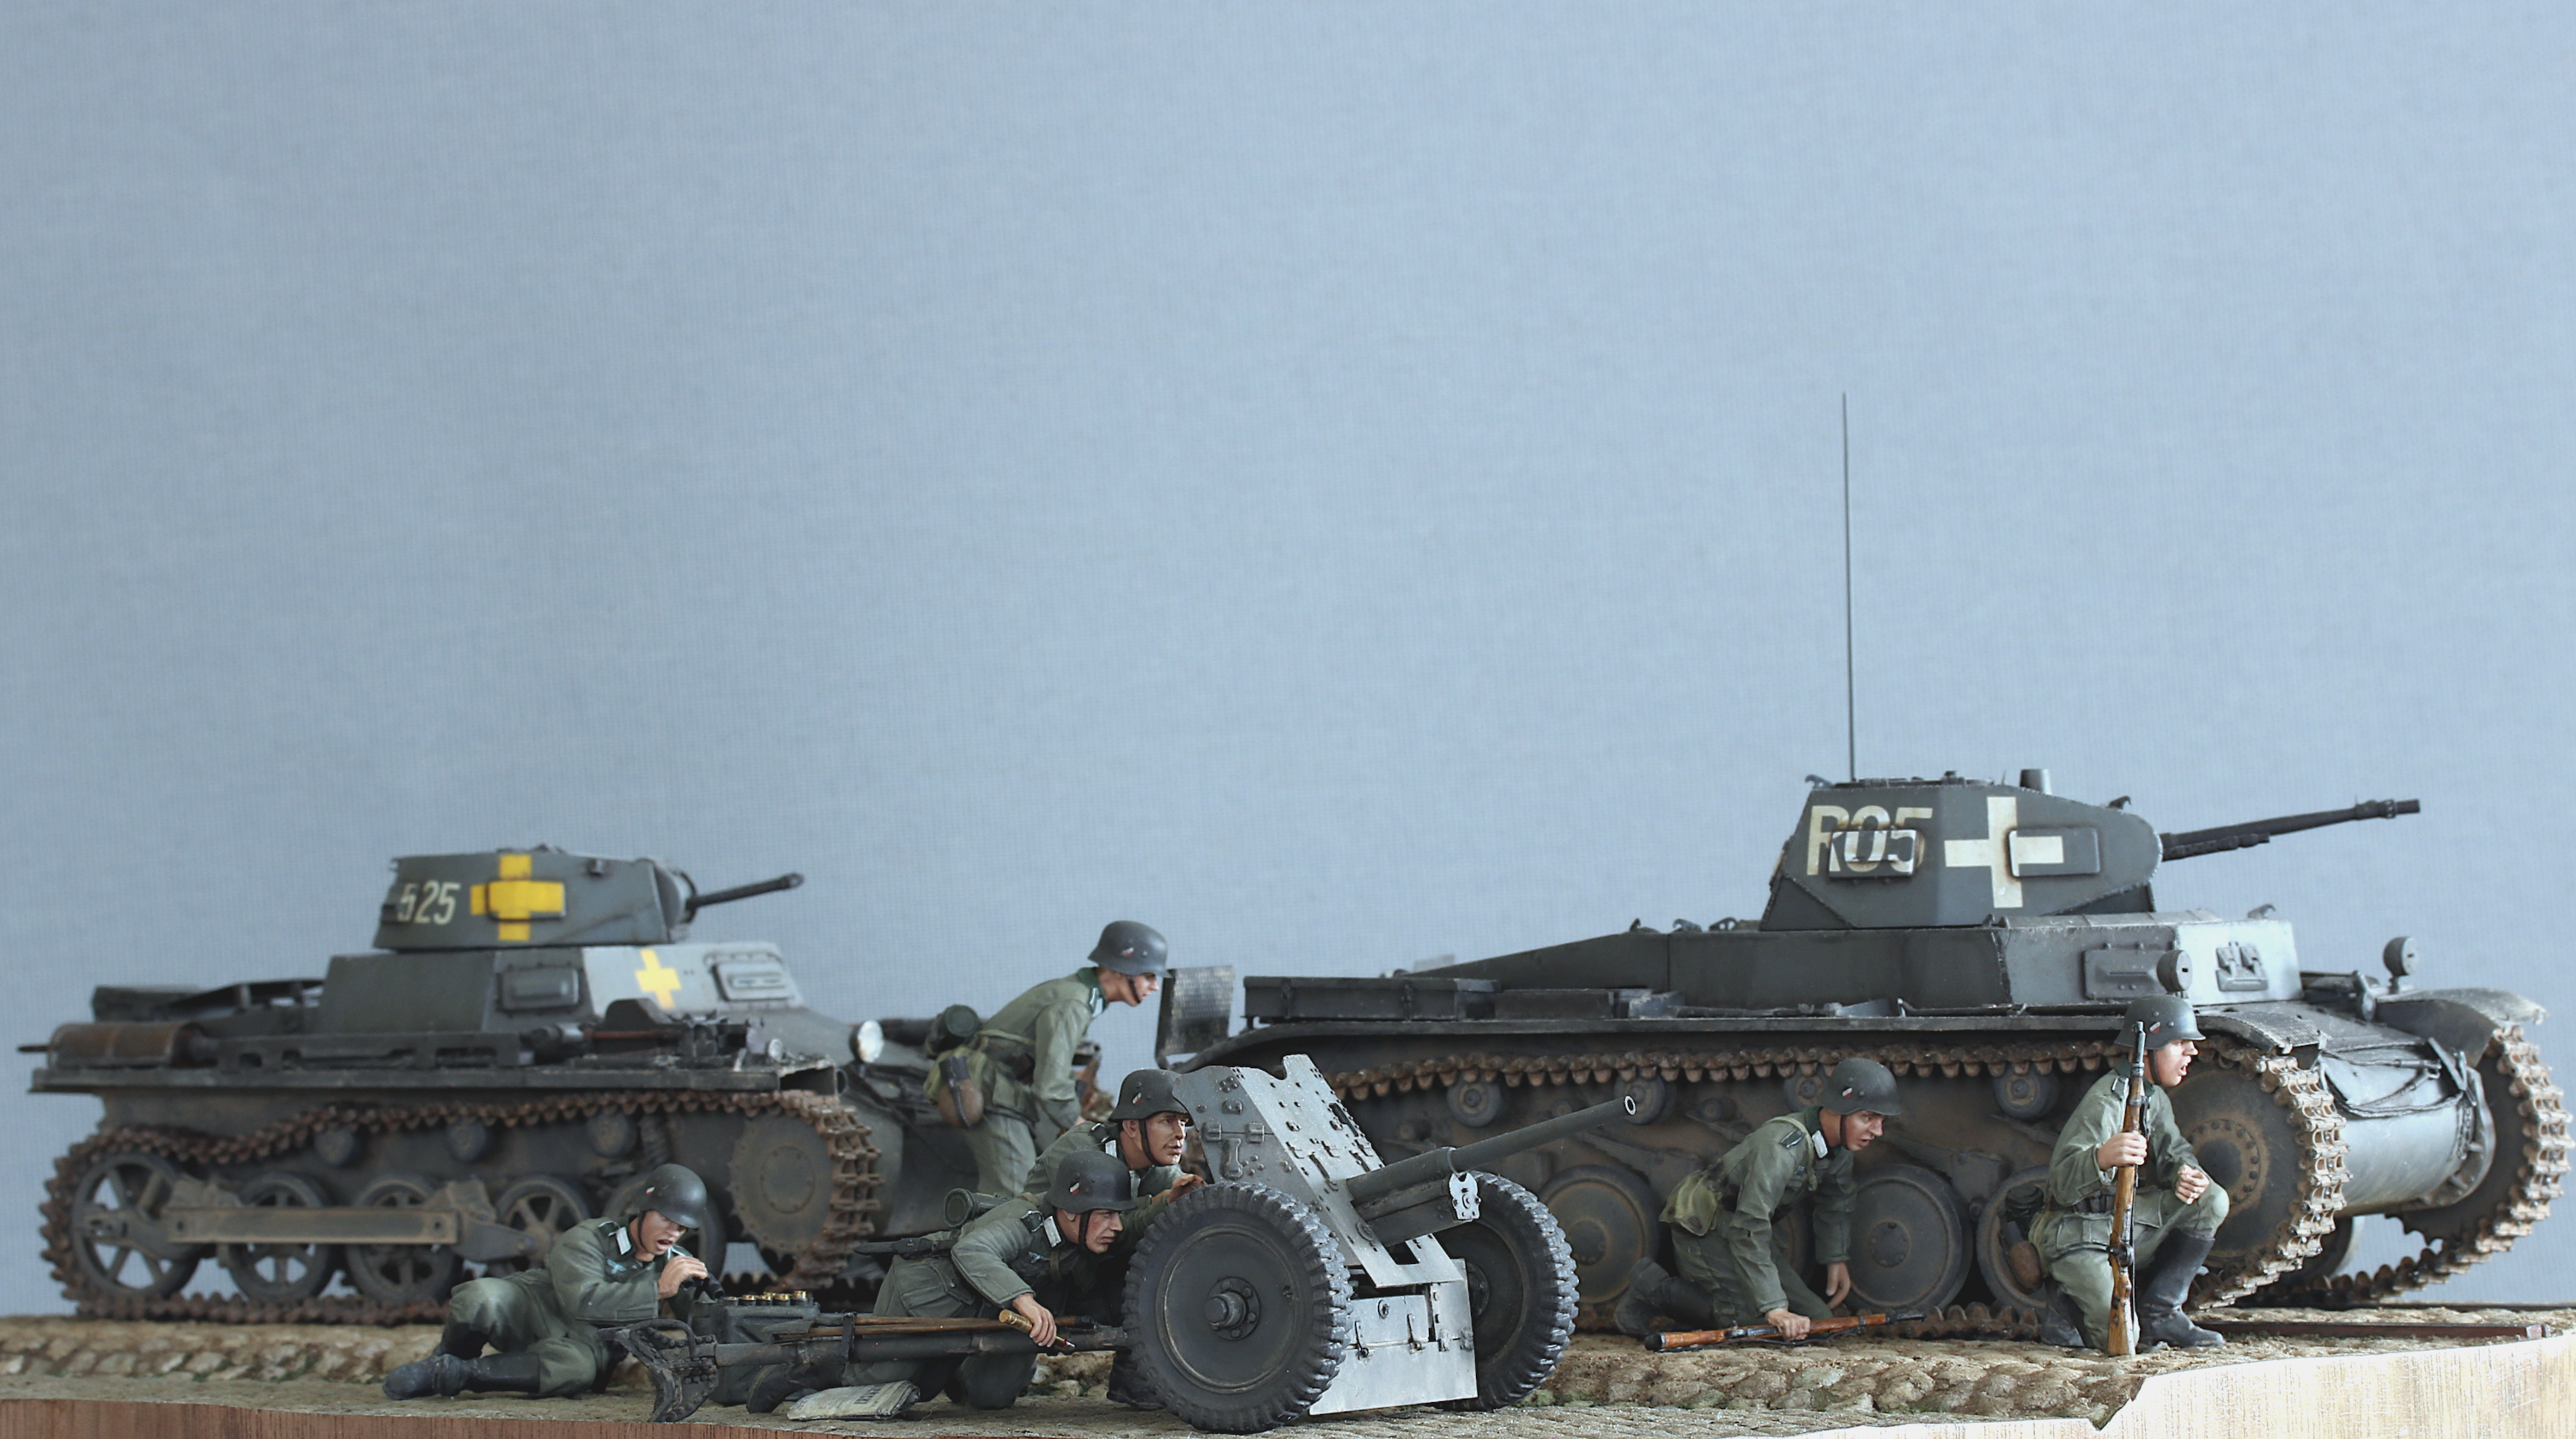
Now I also added the second figure:

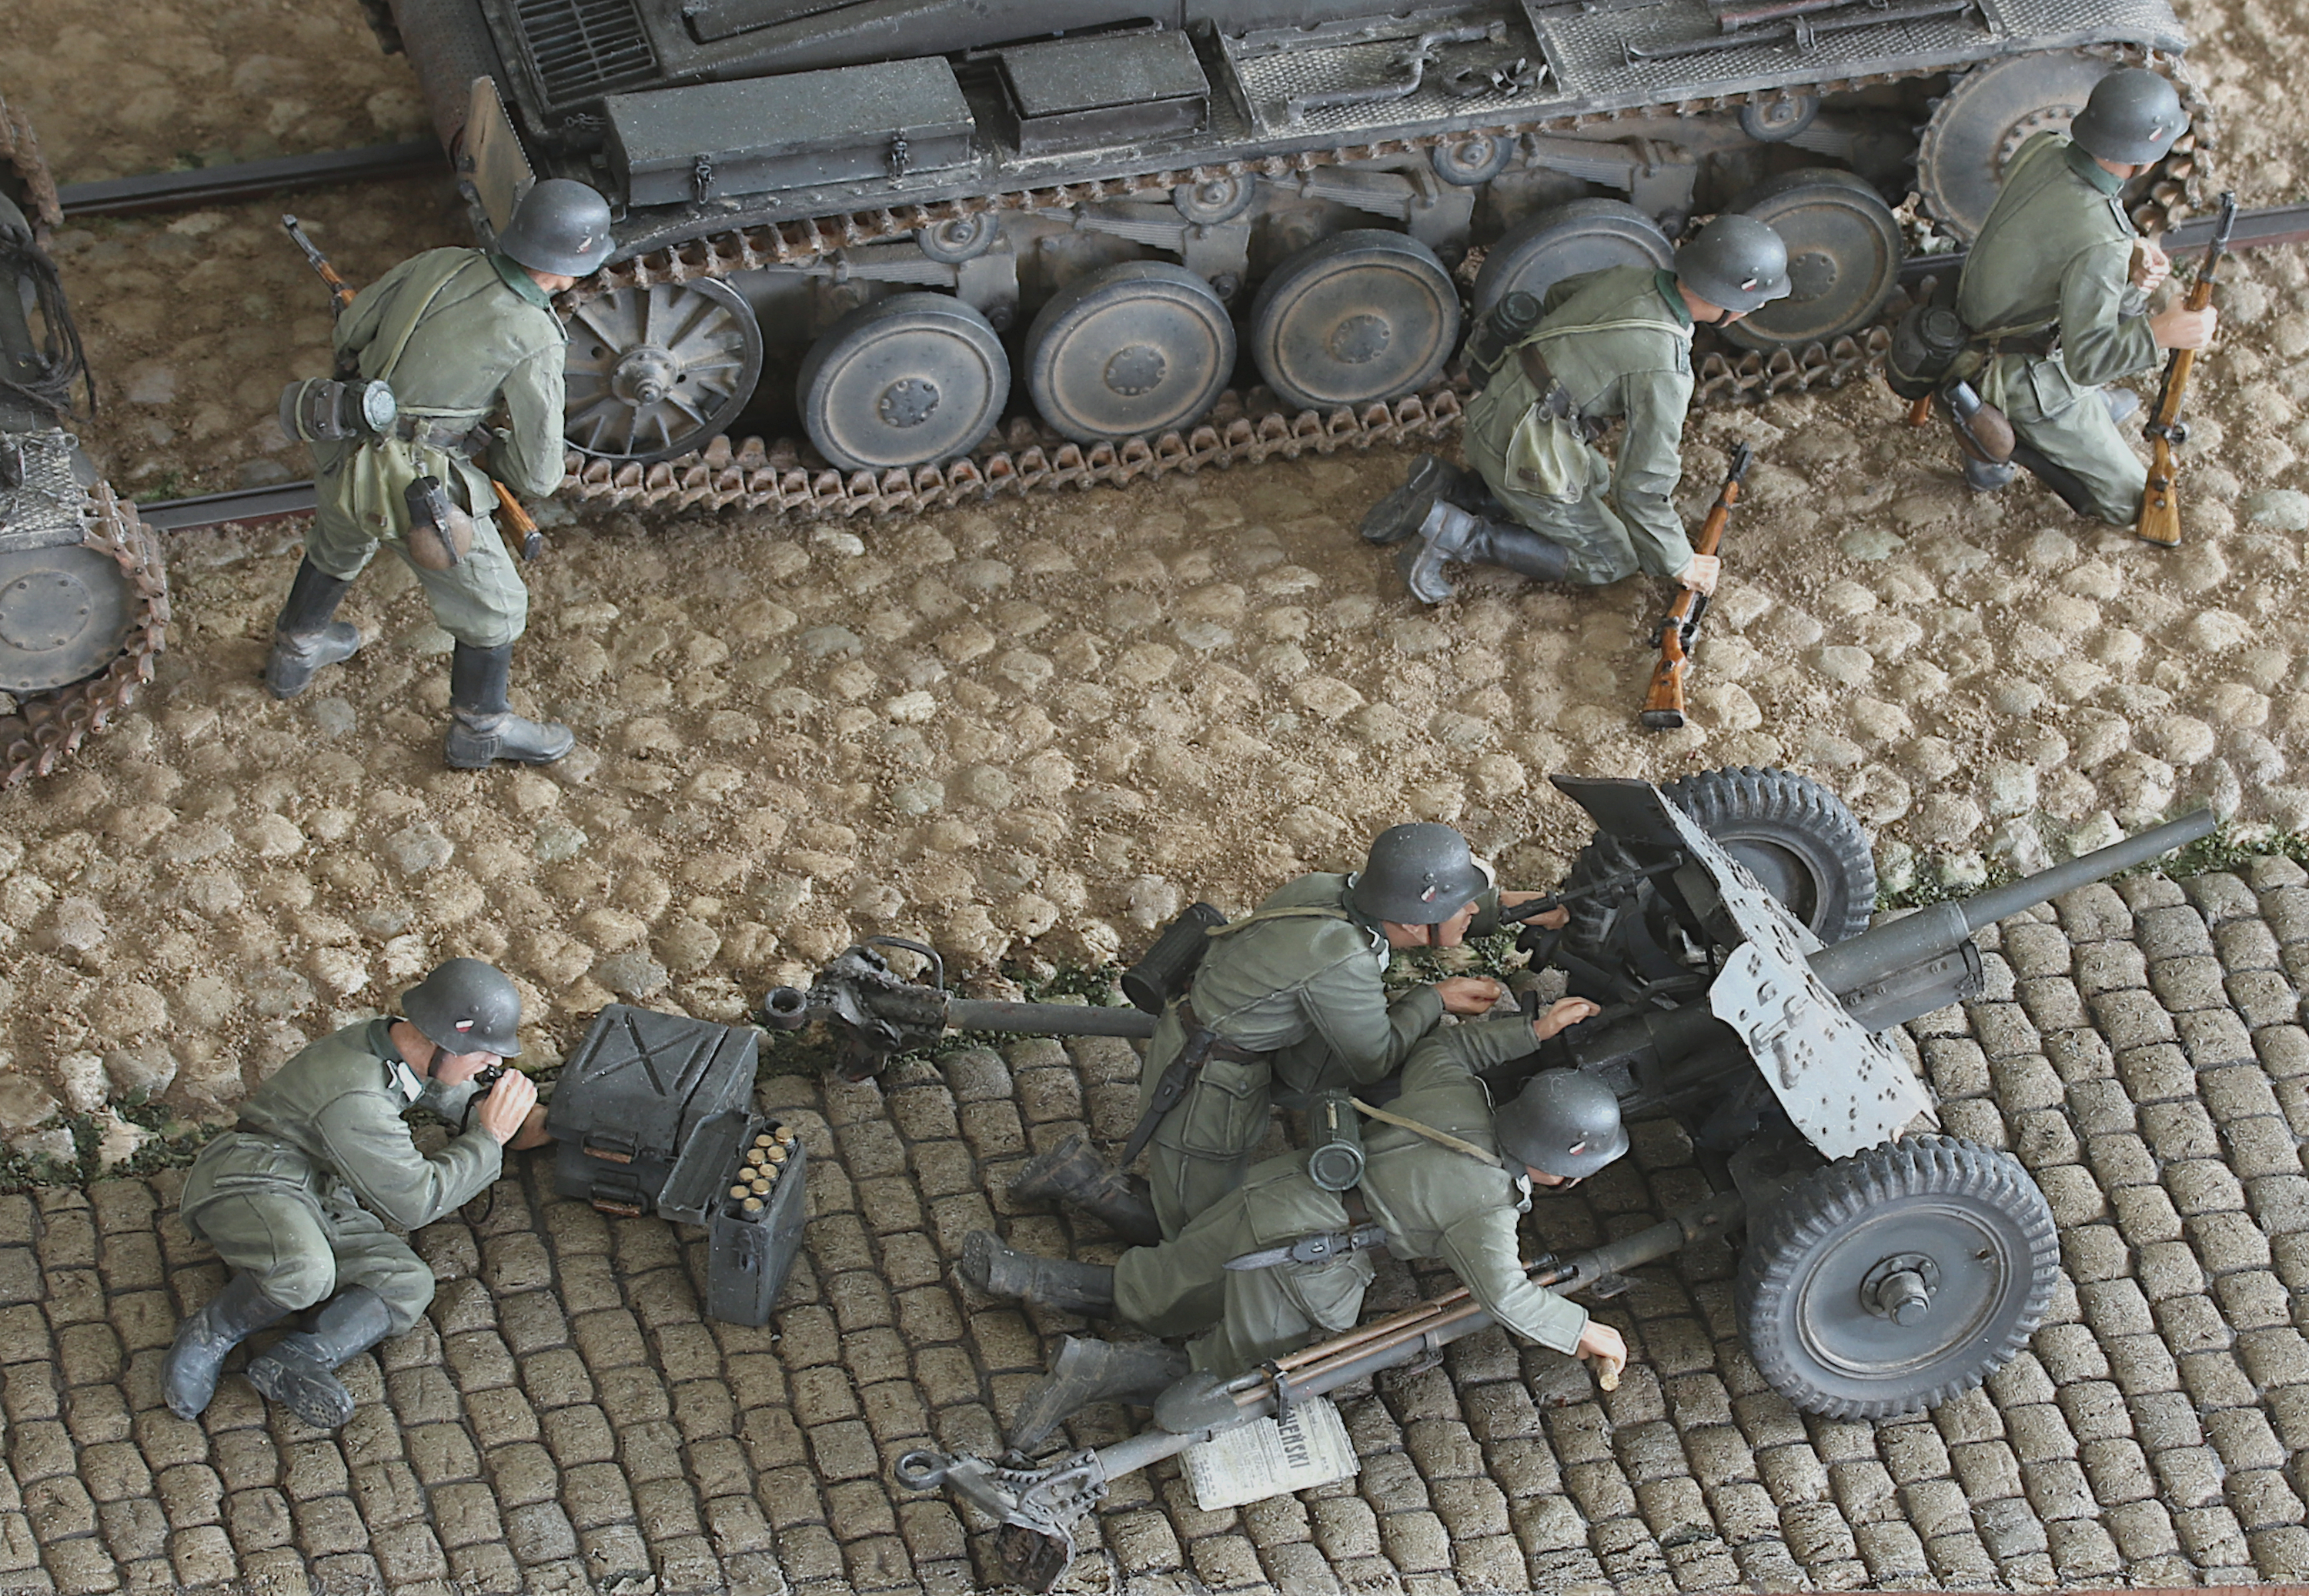
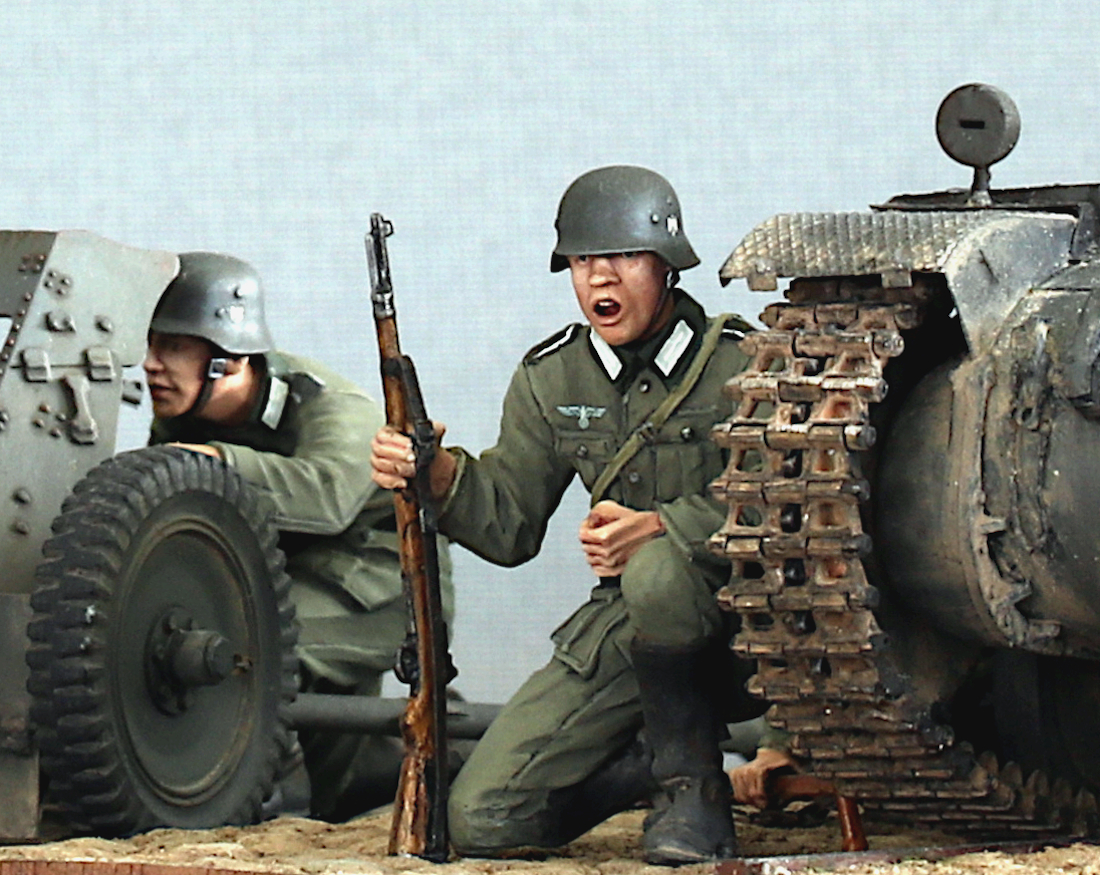
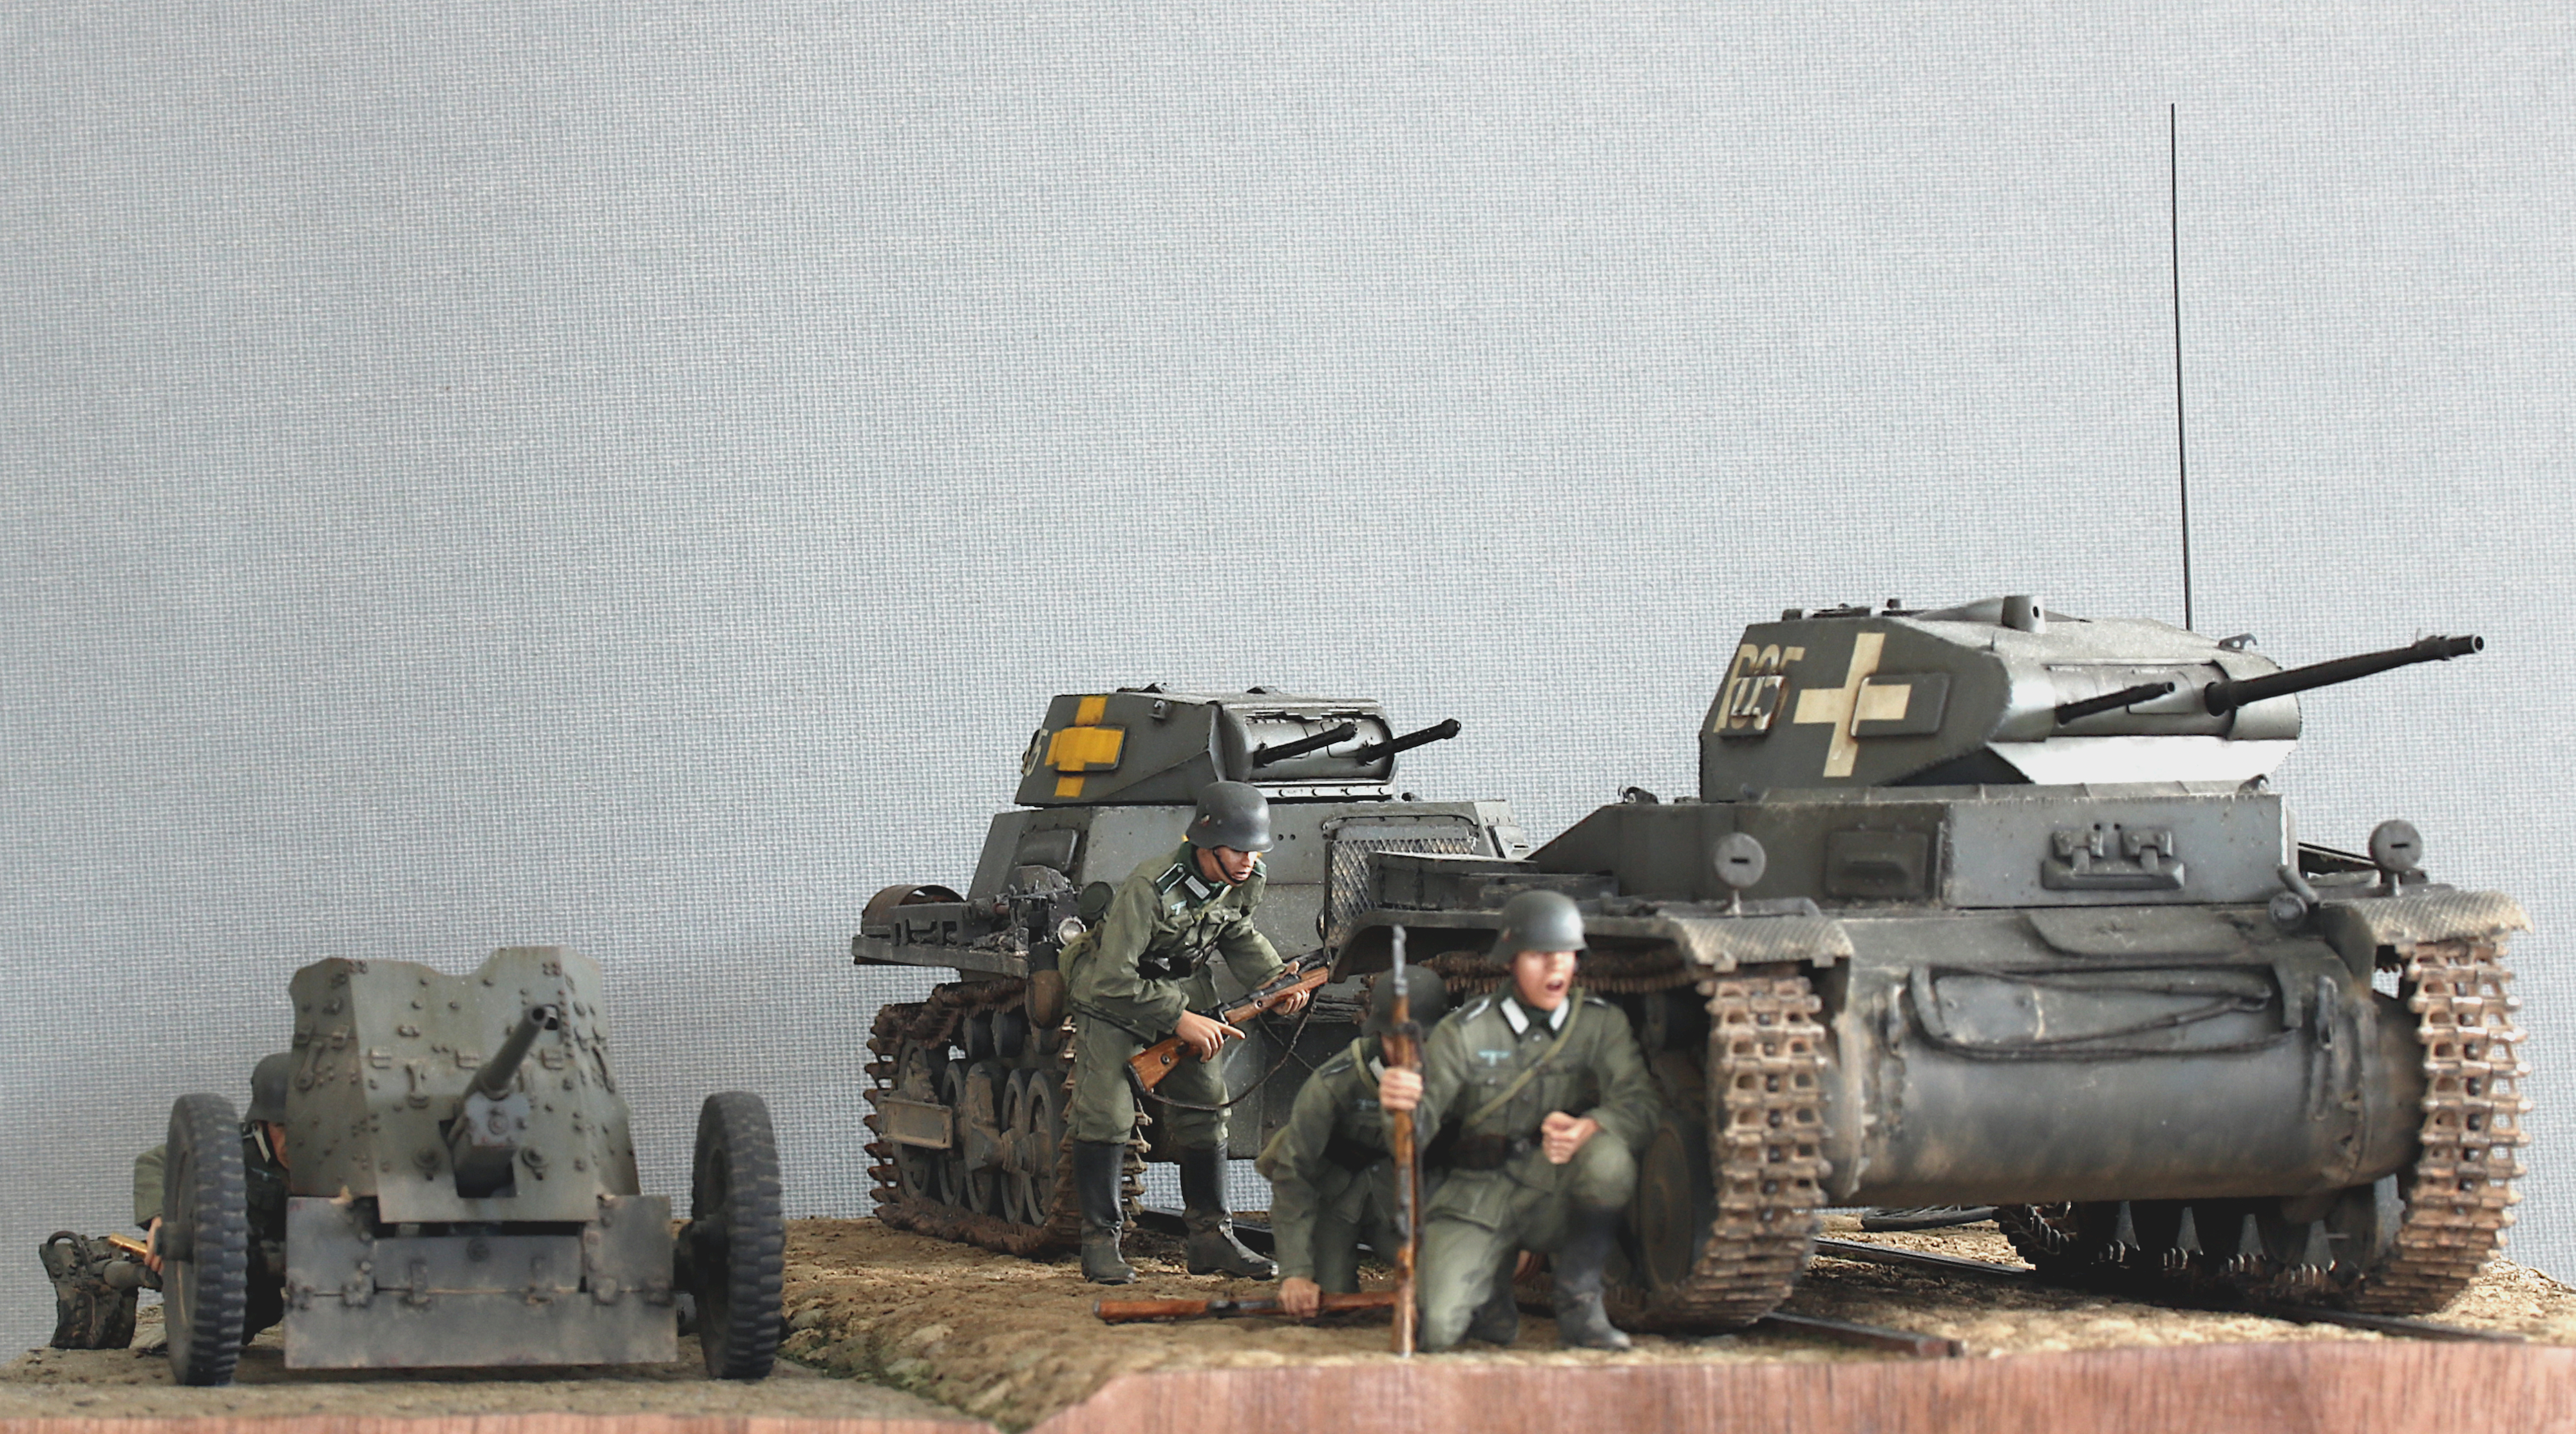
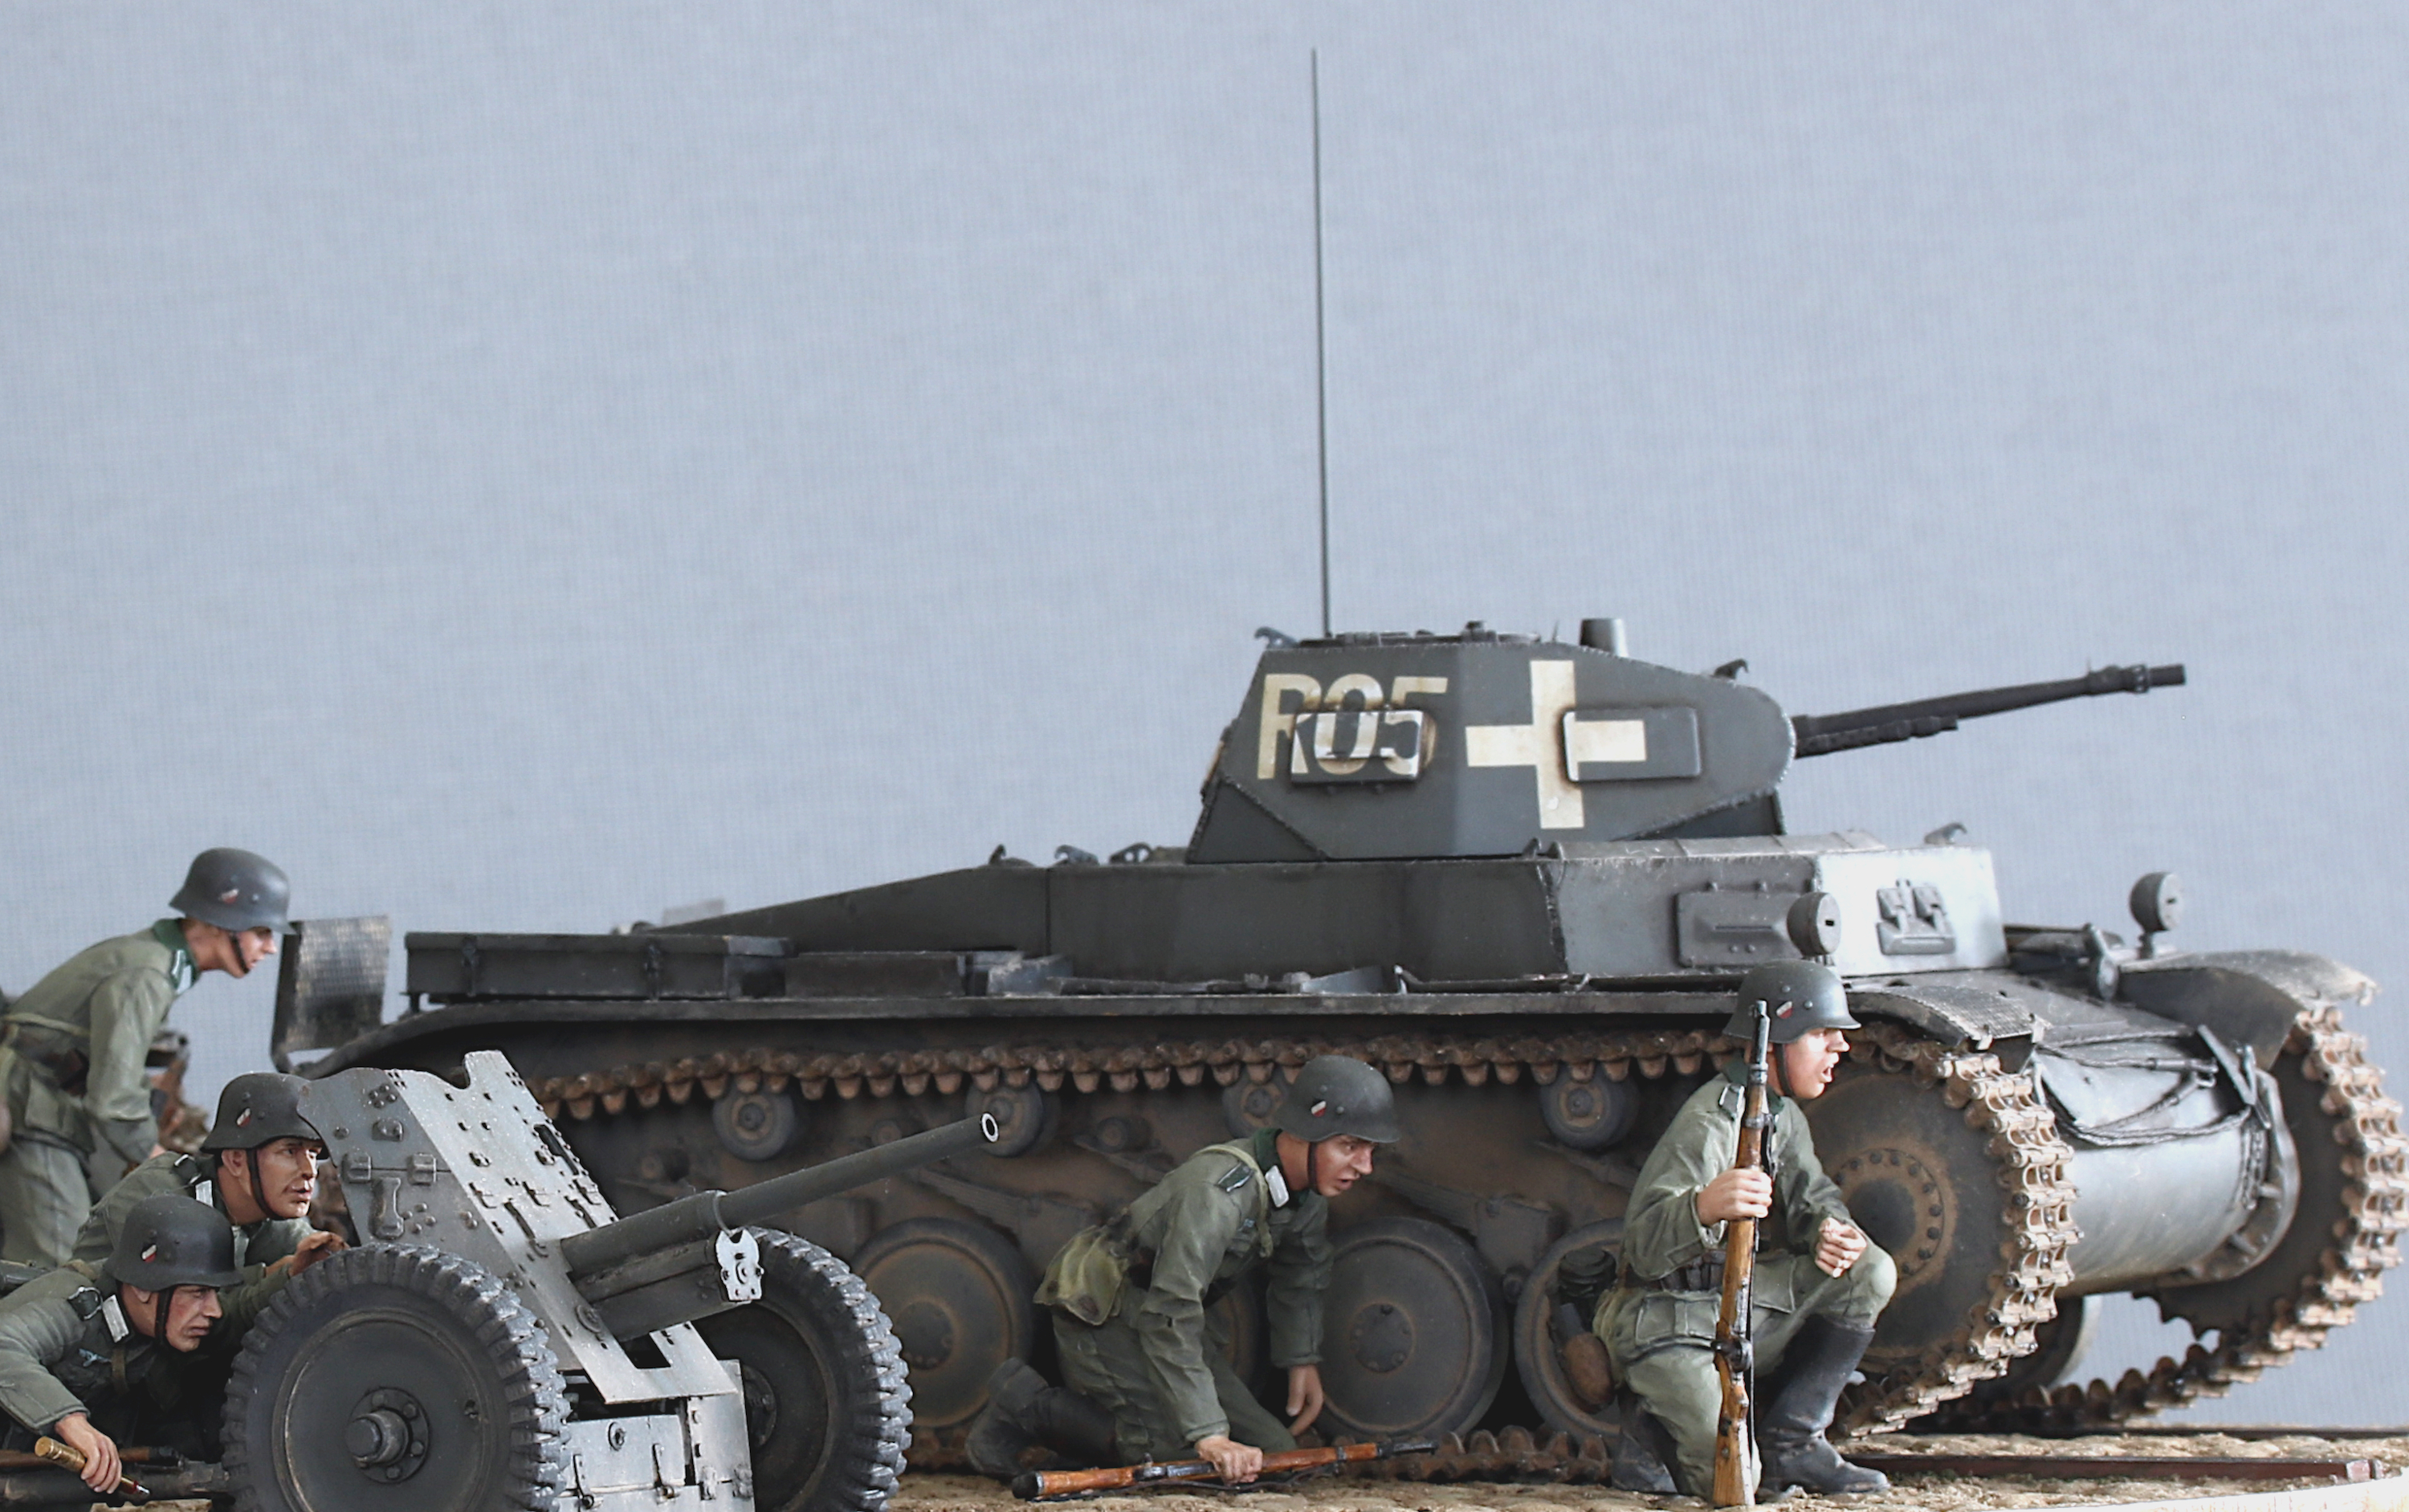
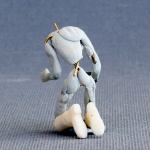
Finally, I added the third and last figure to the scene: