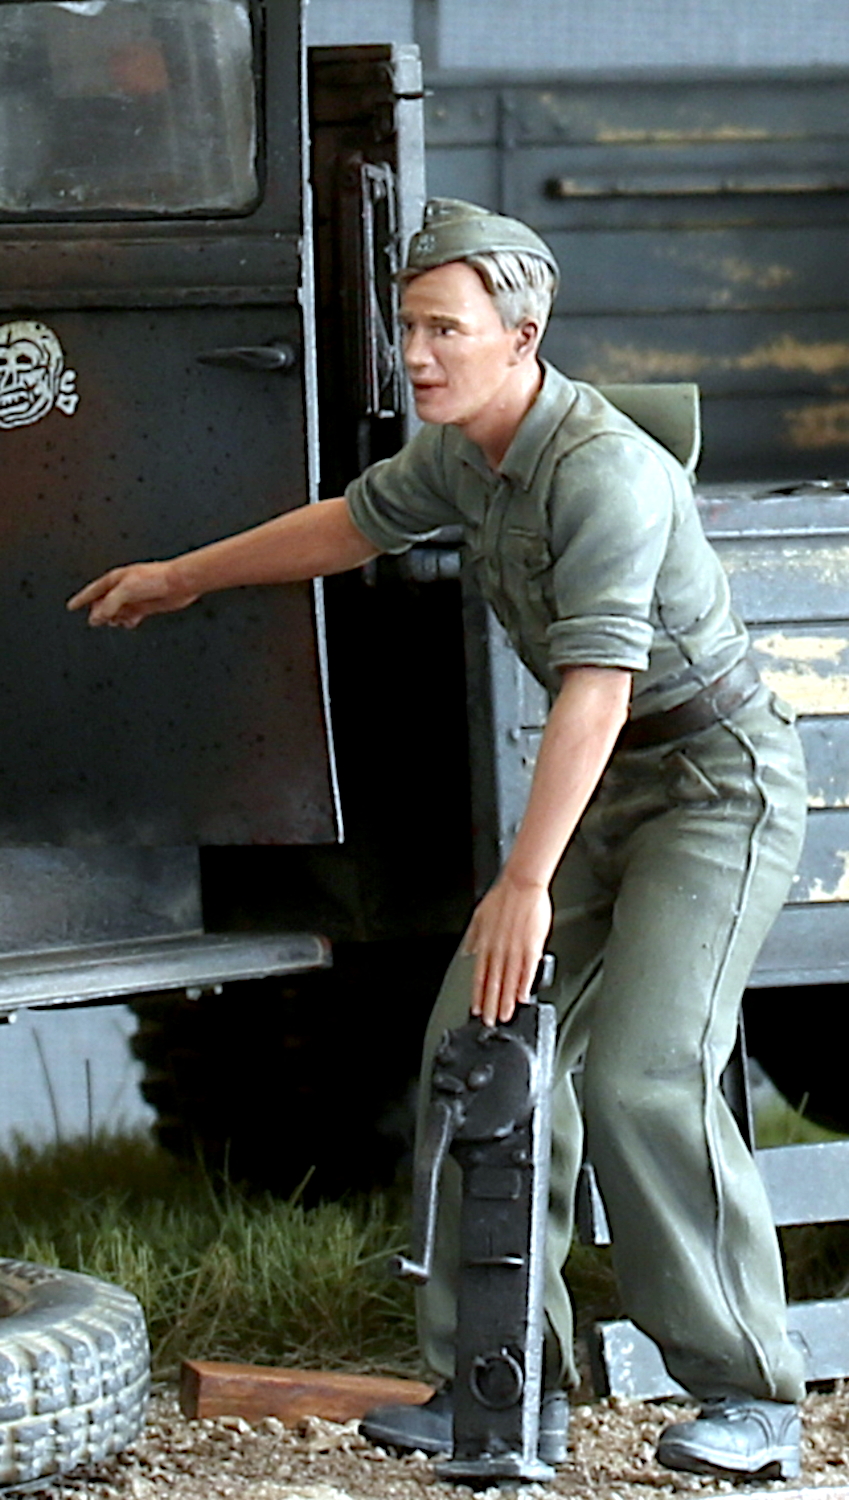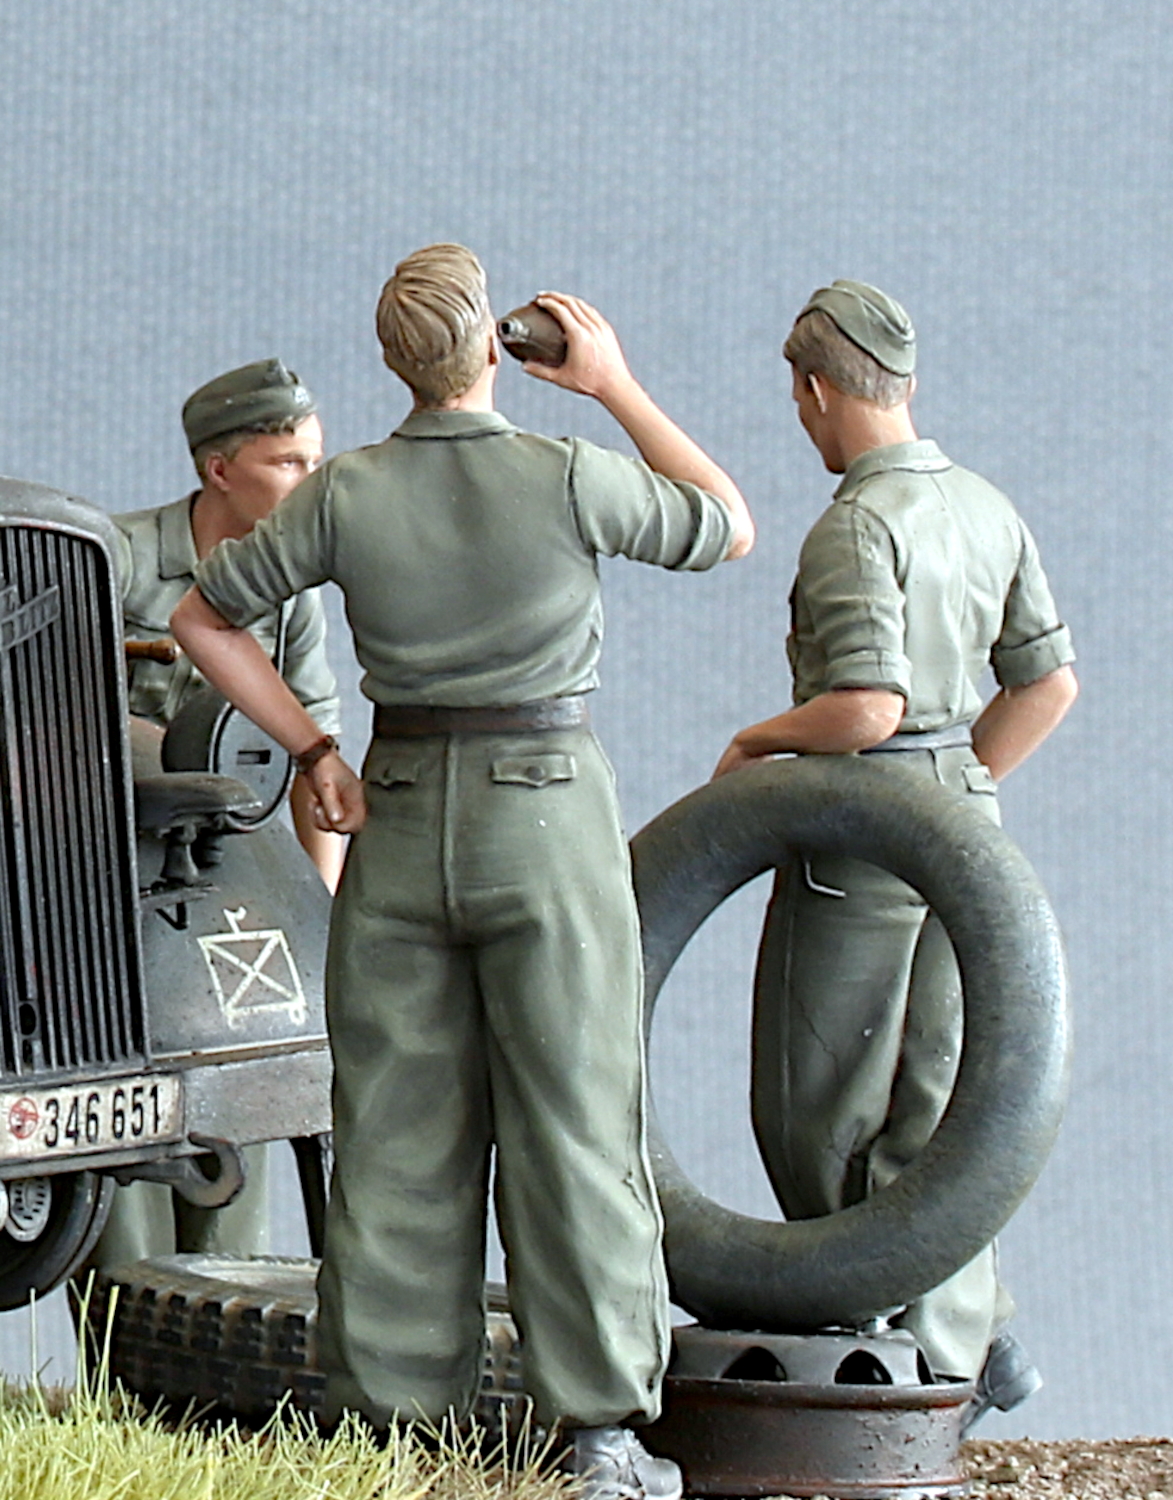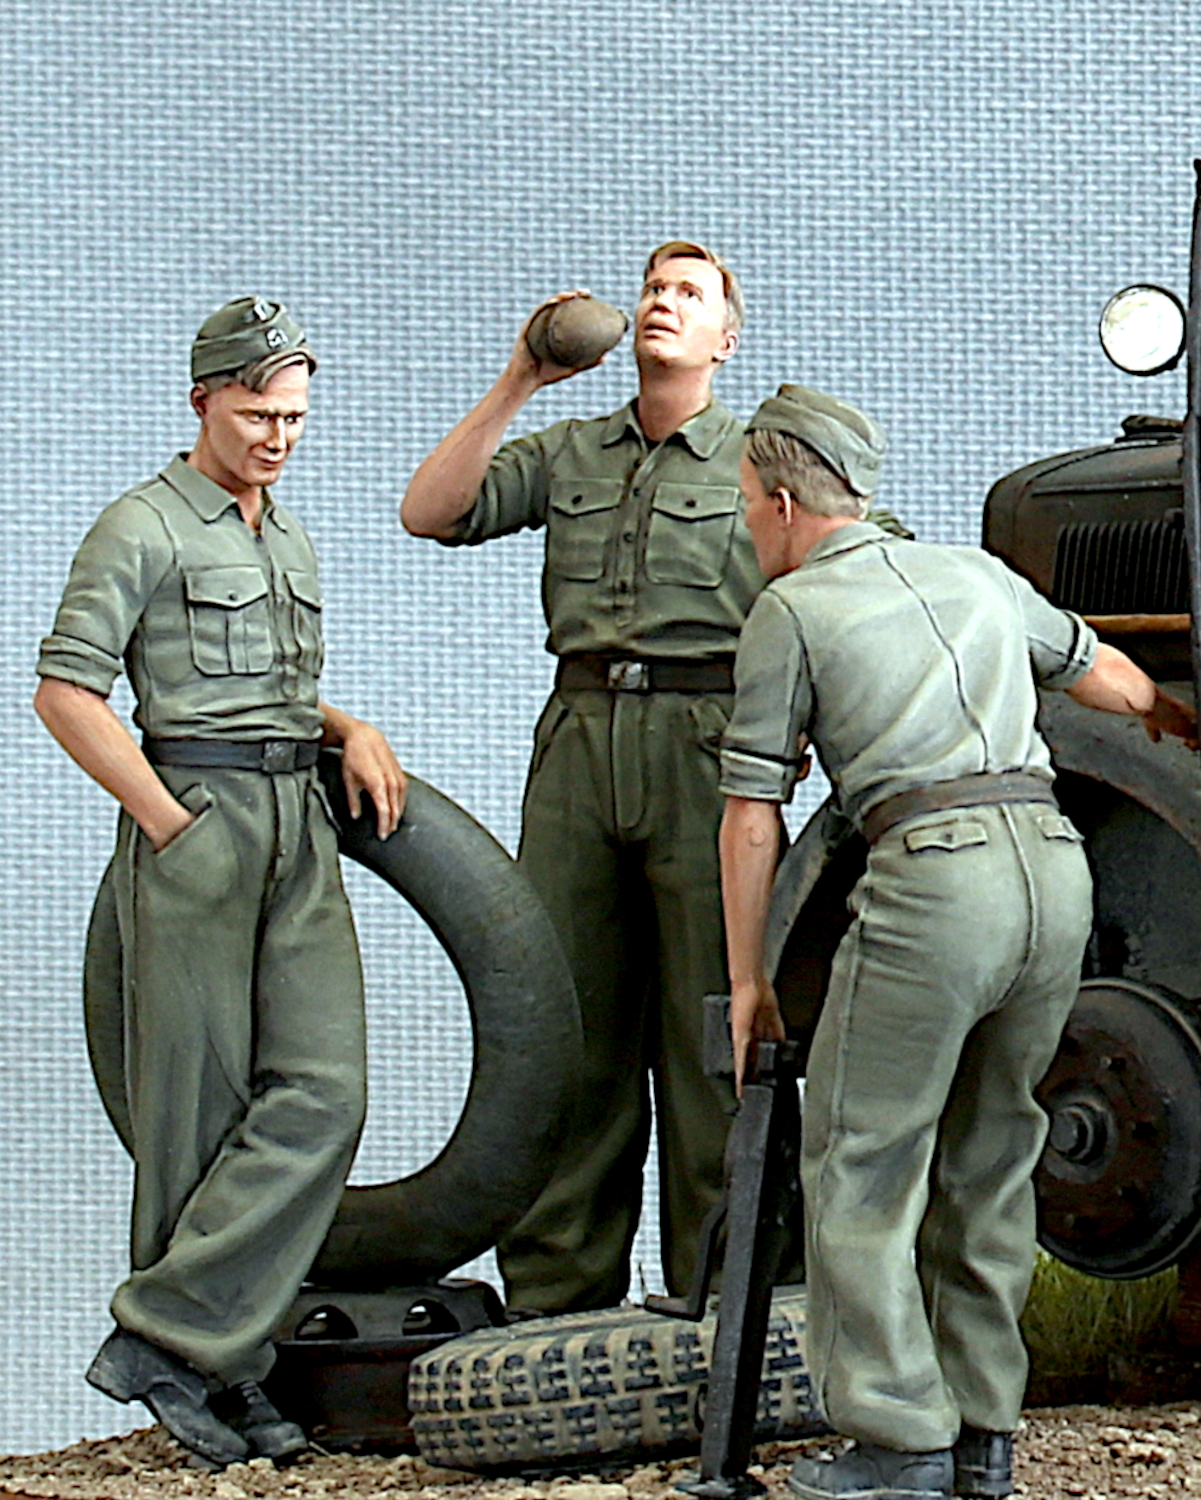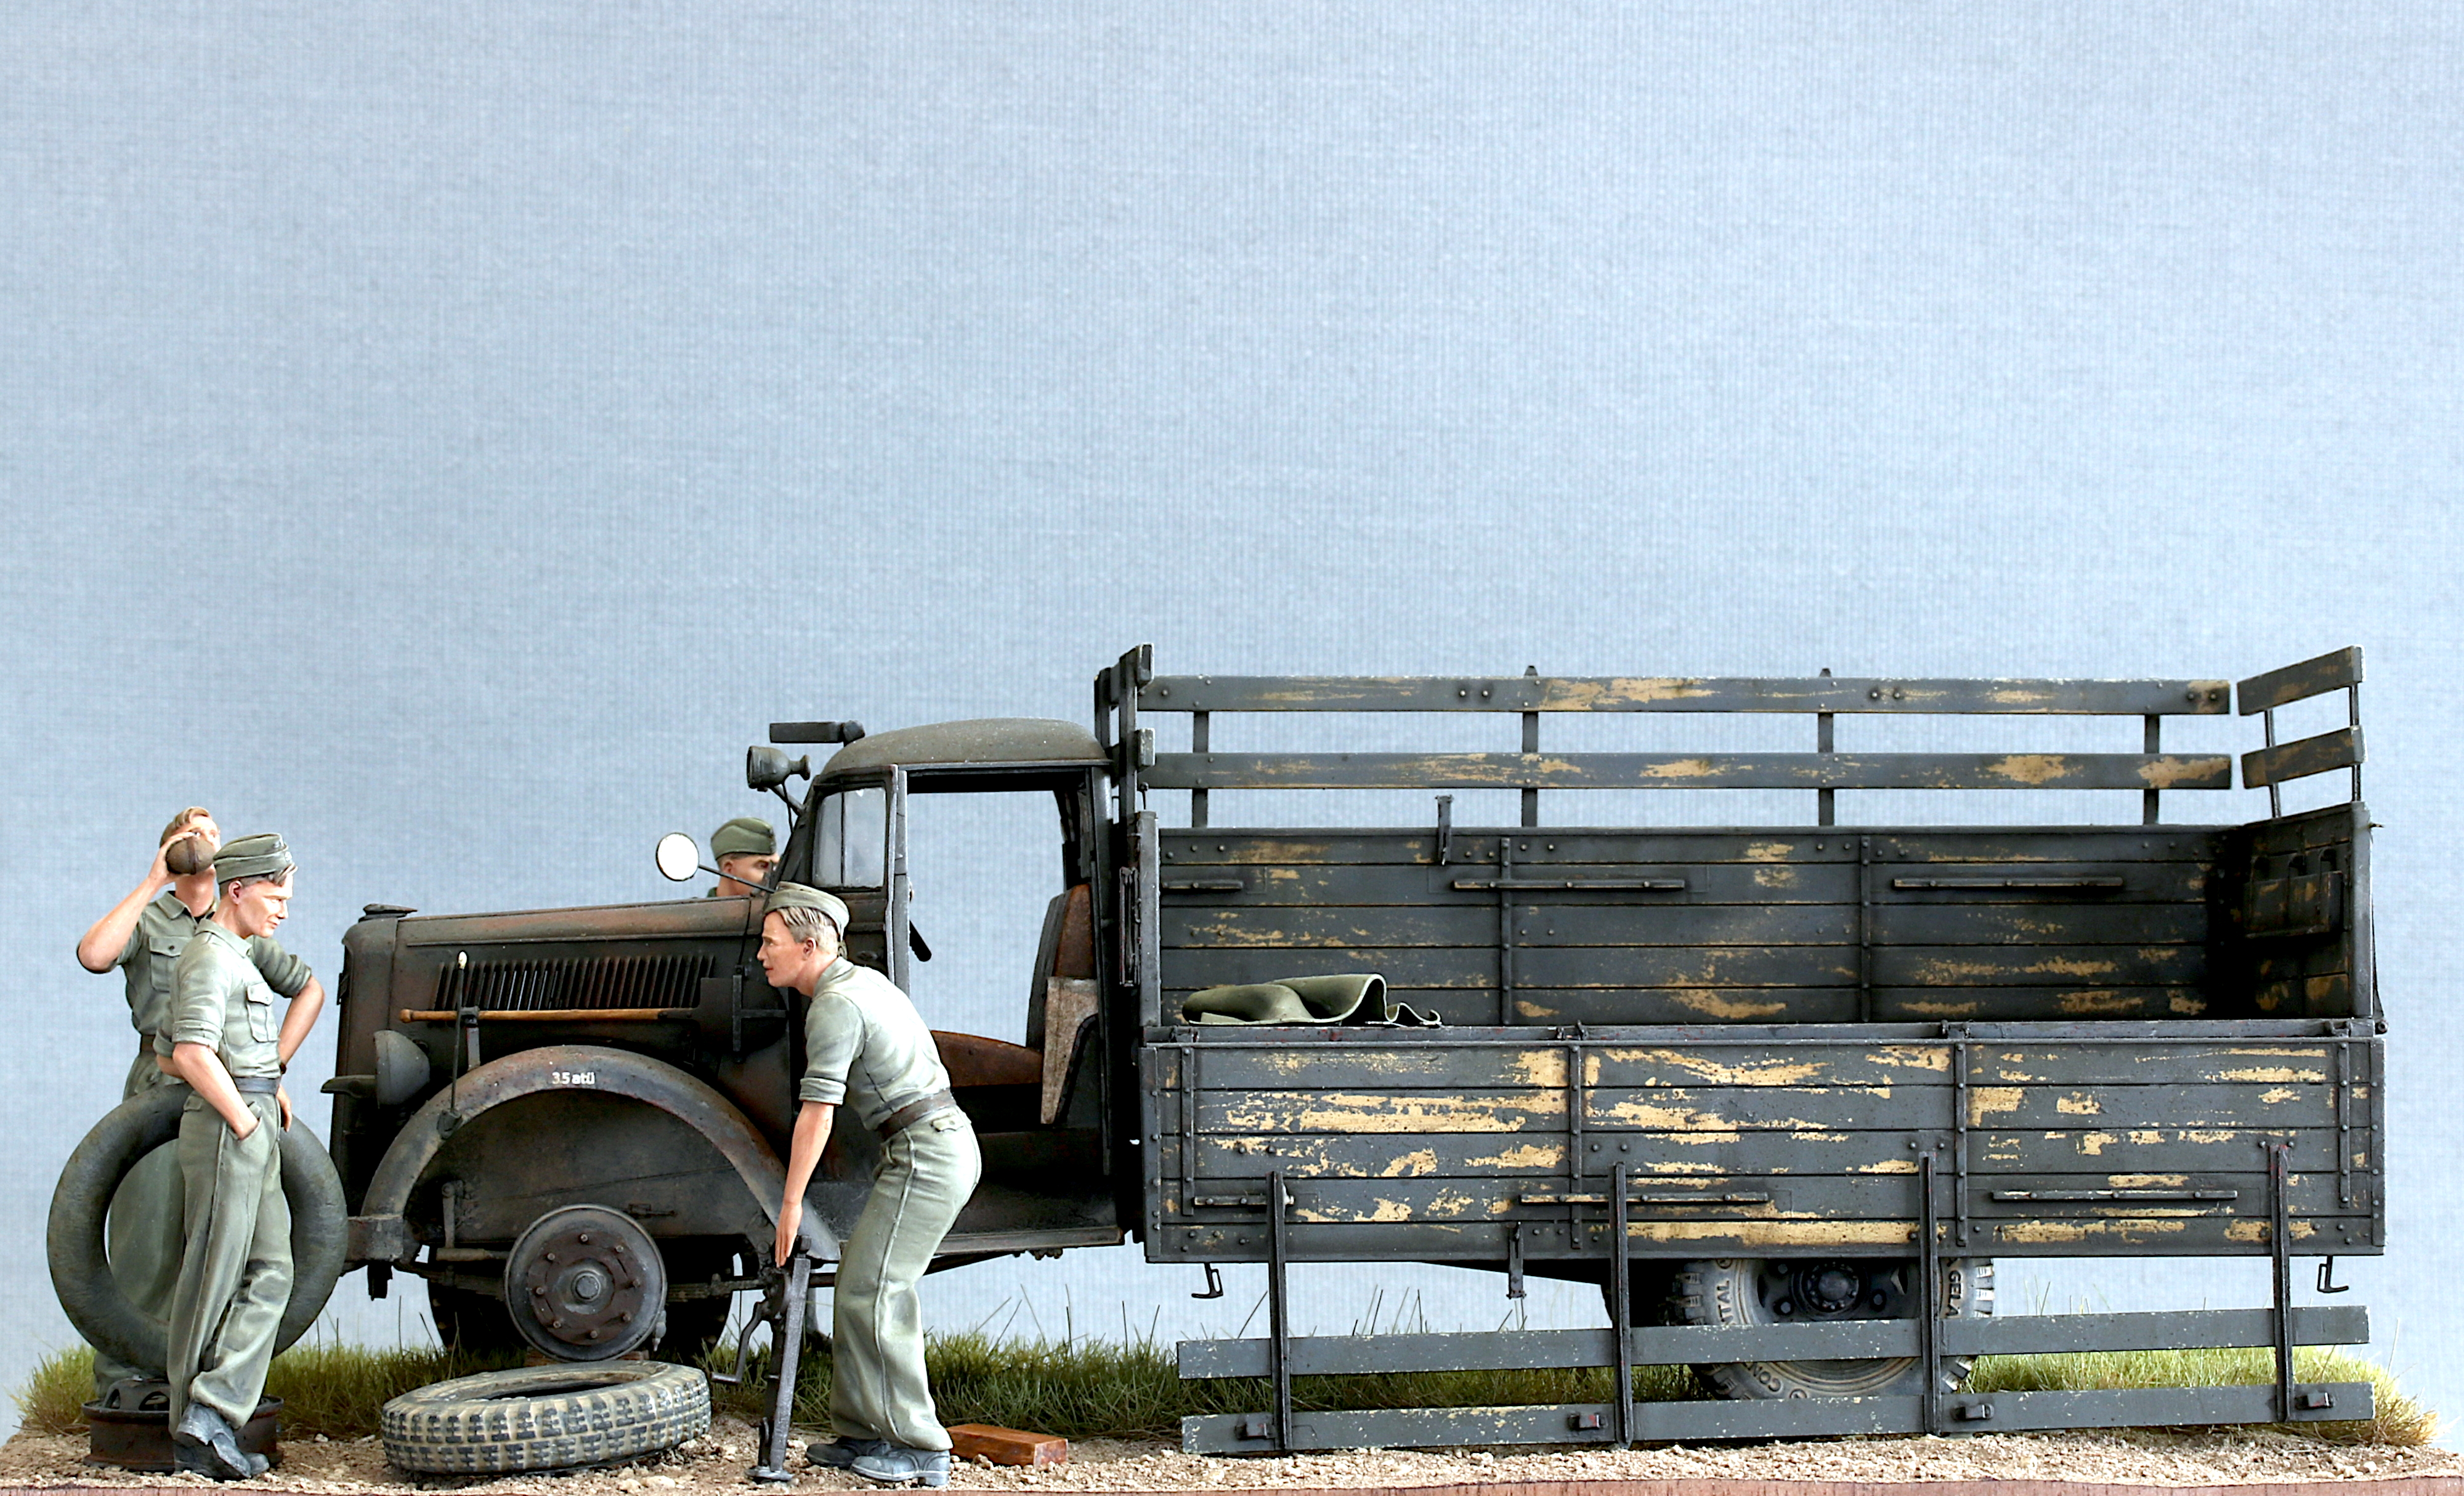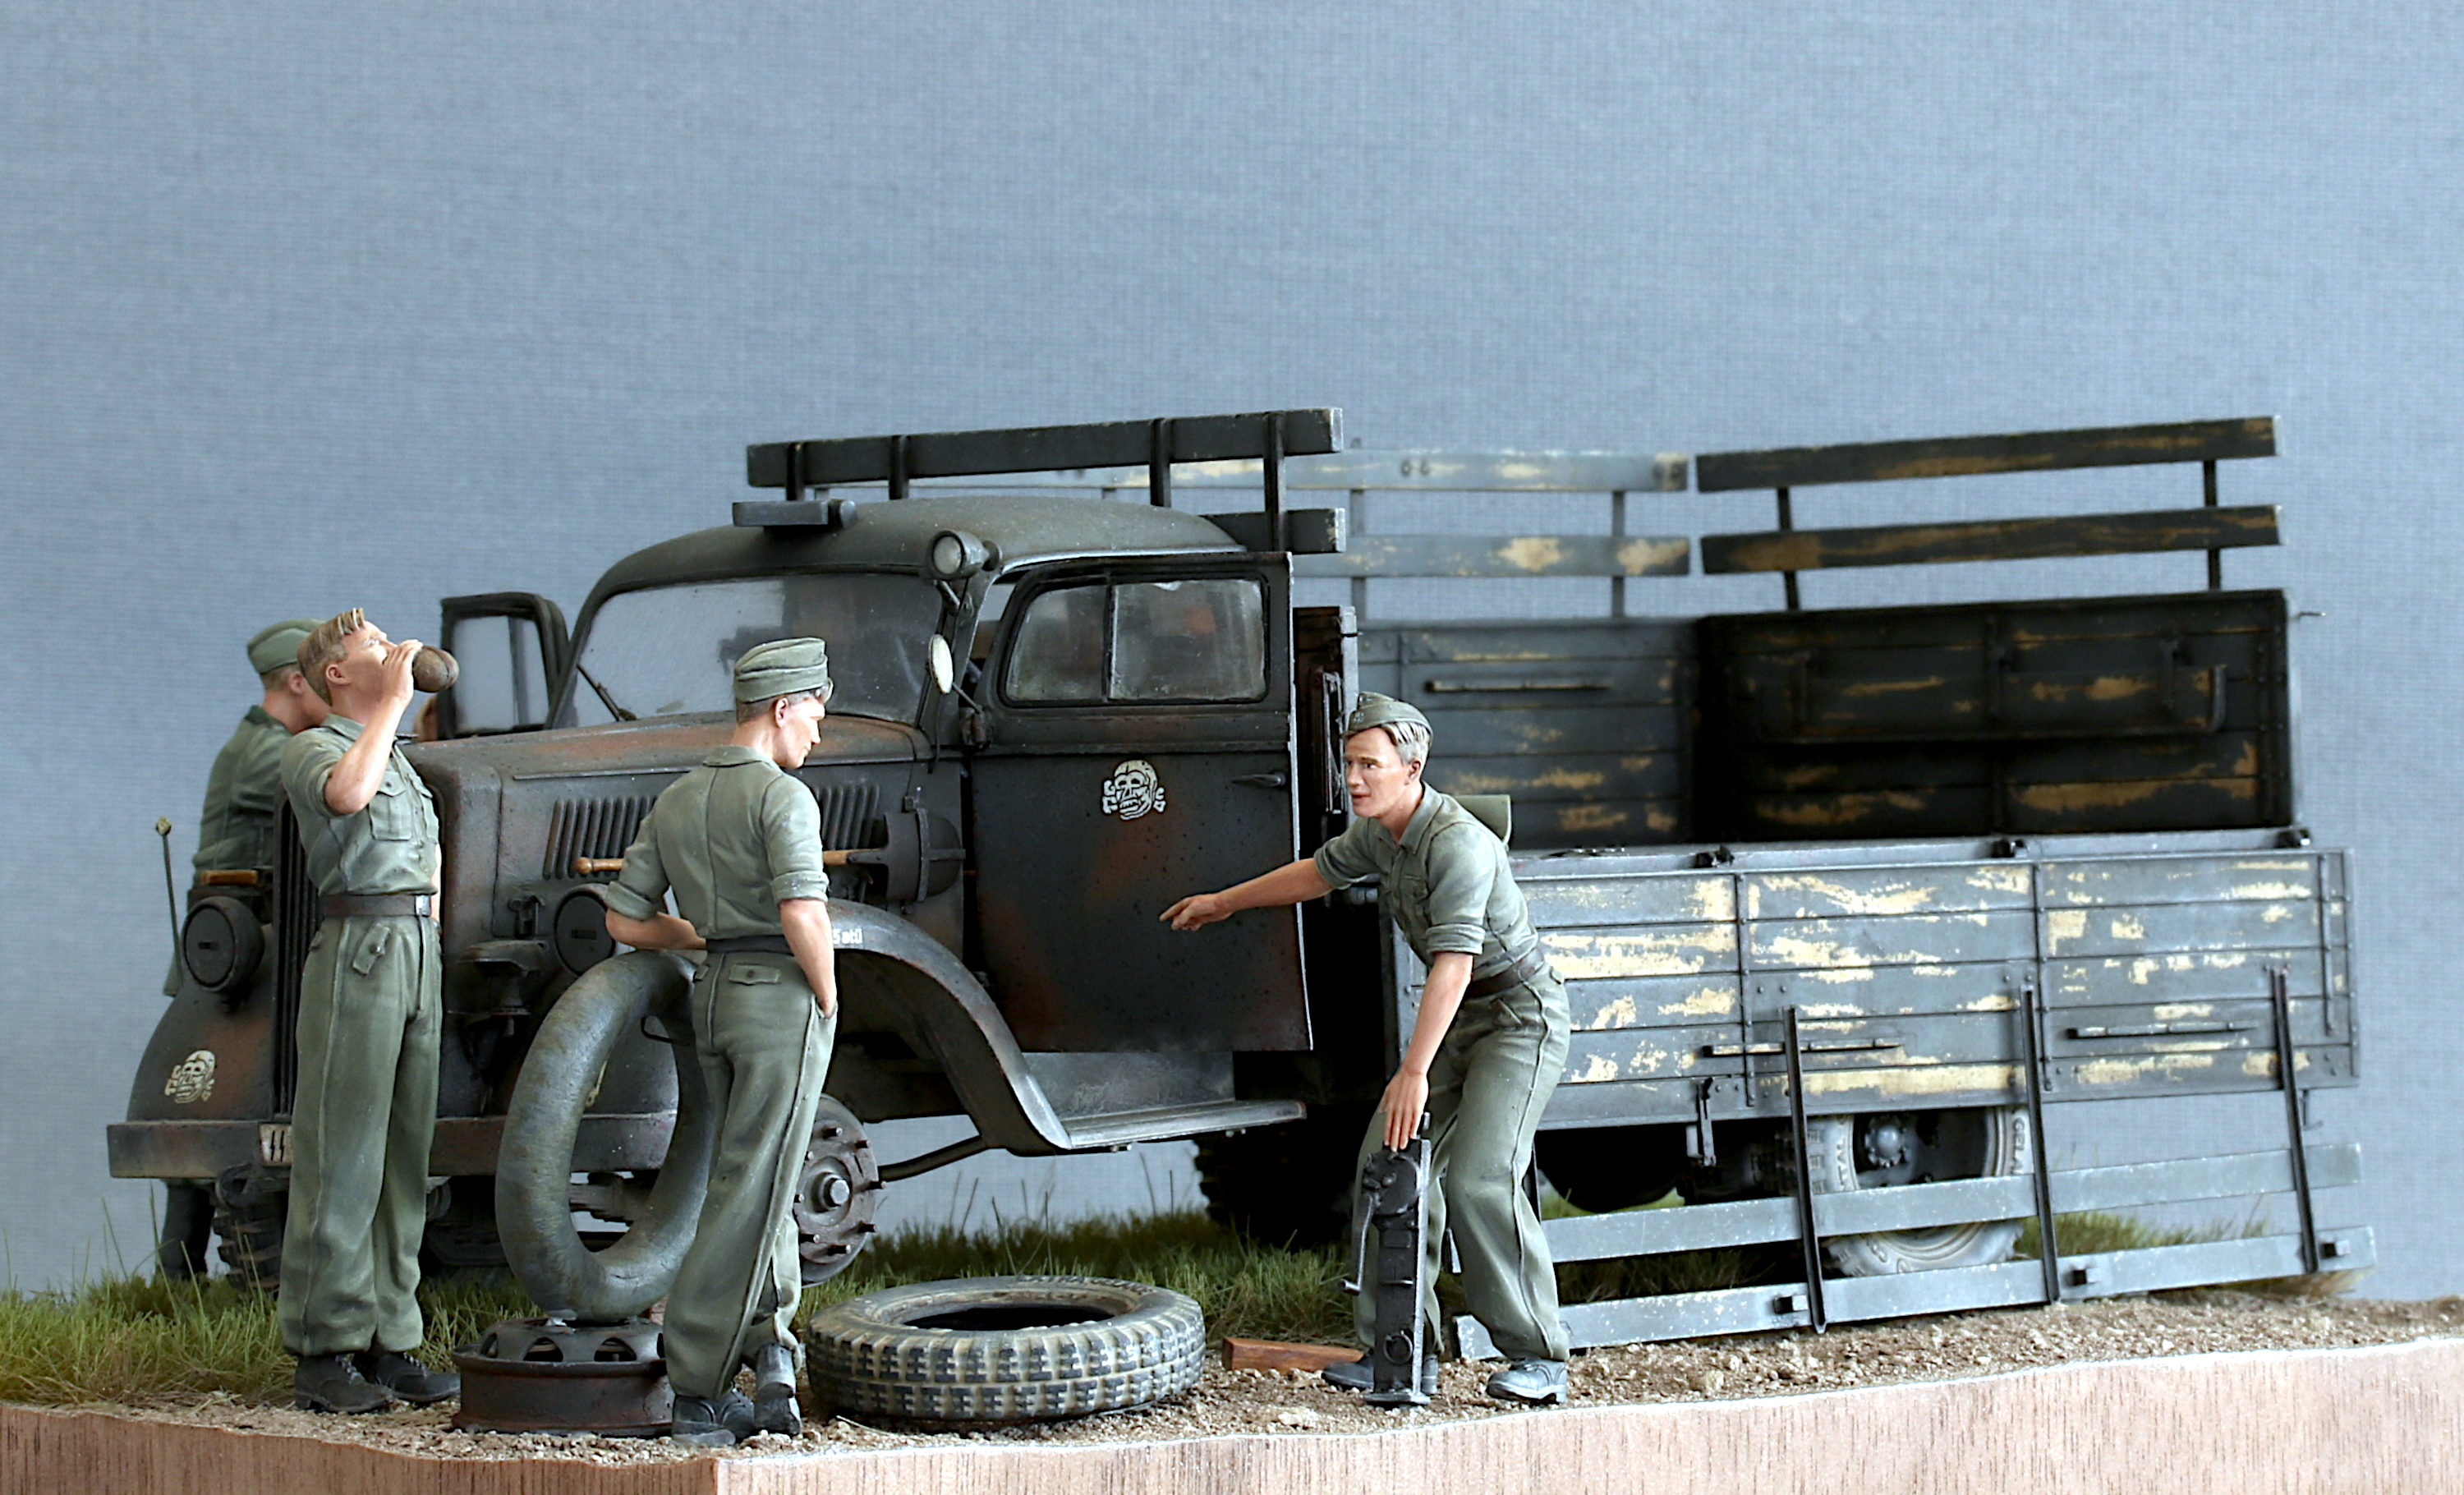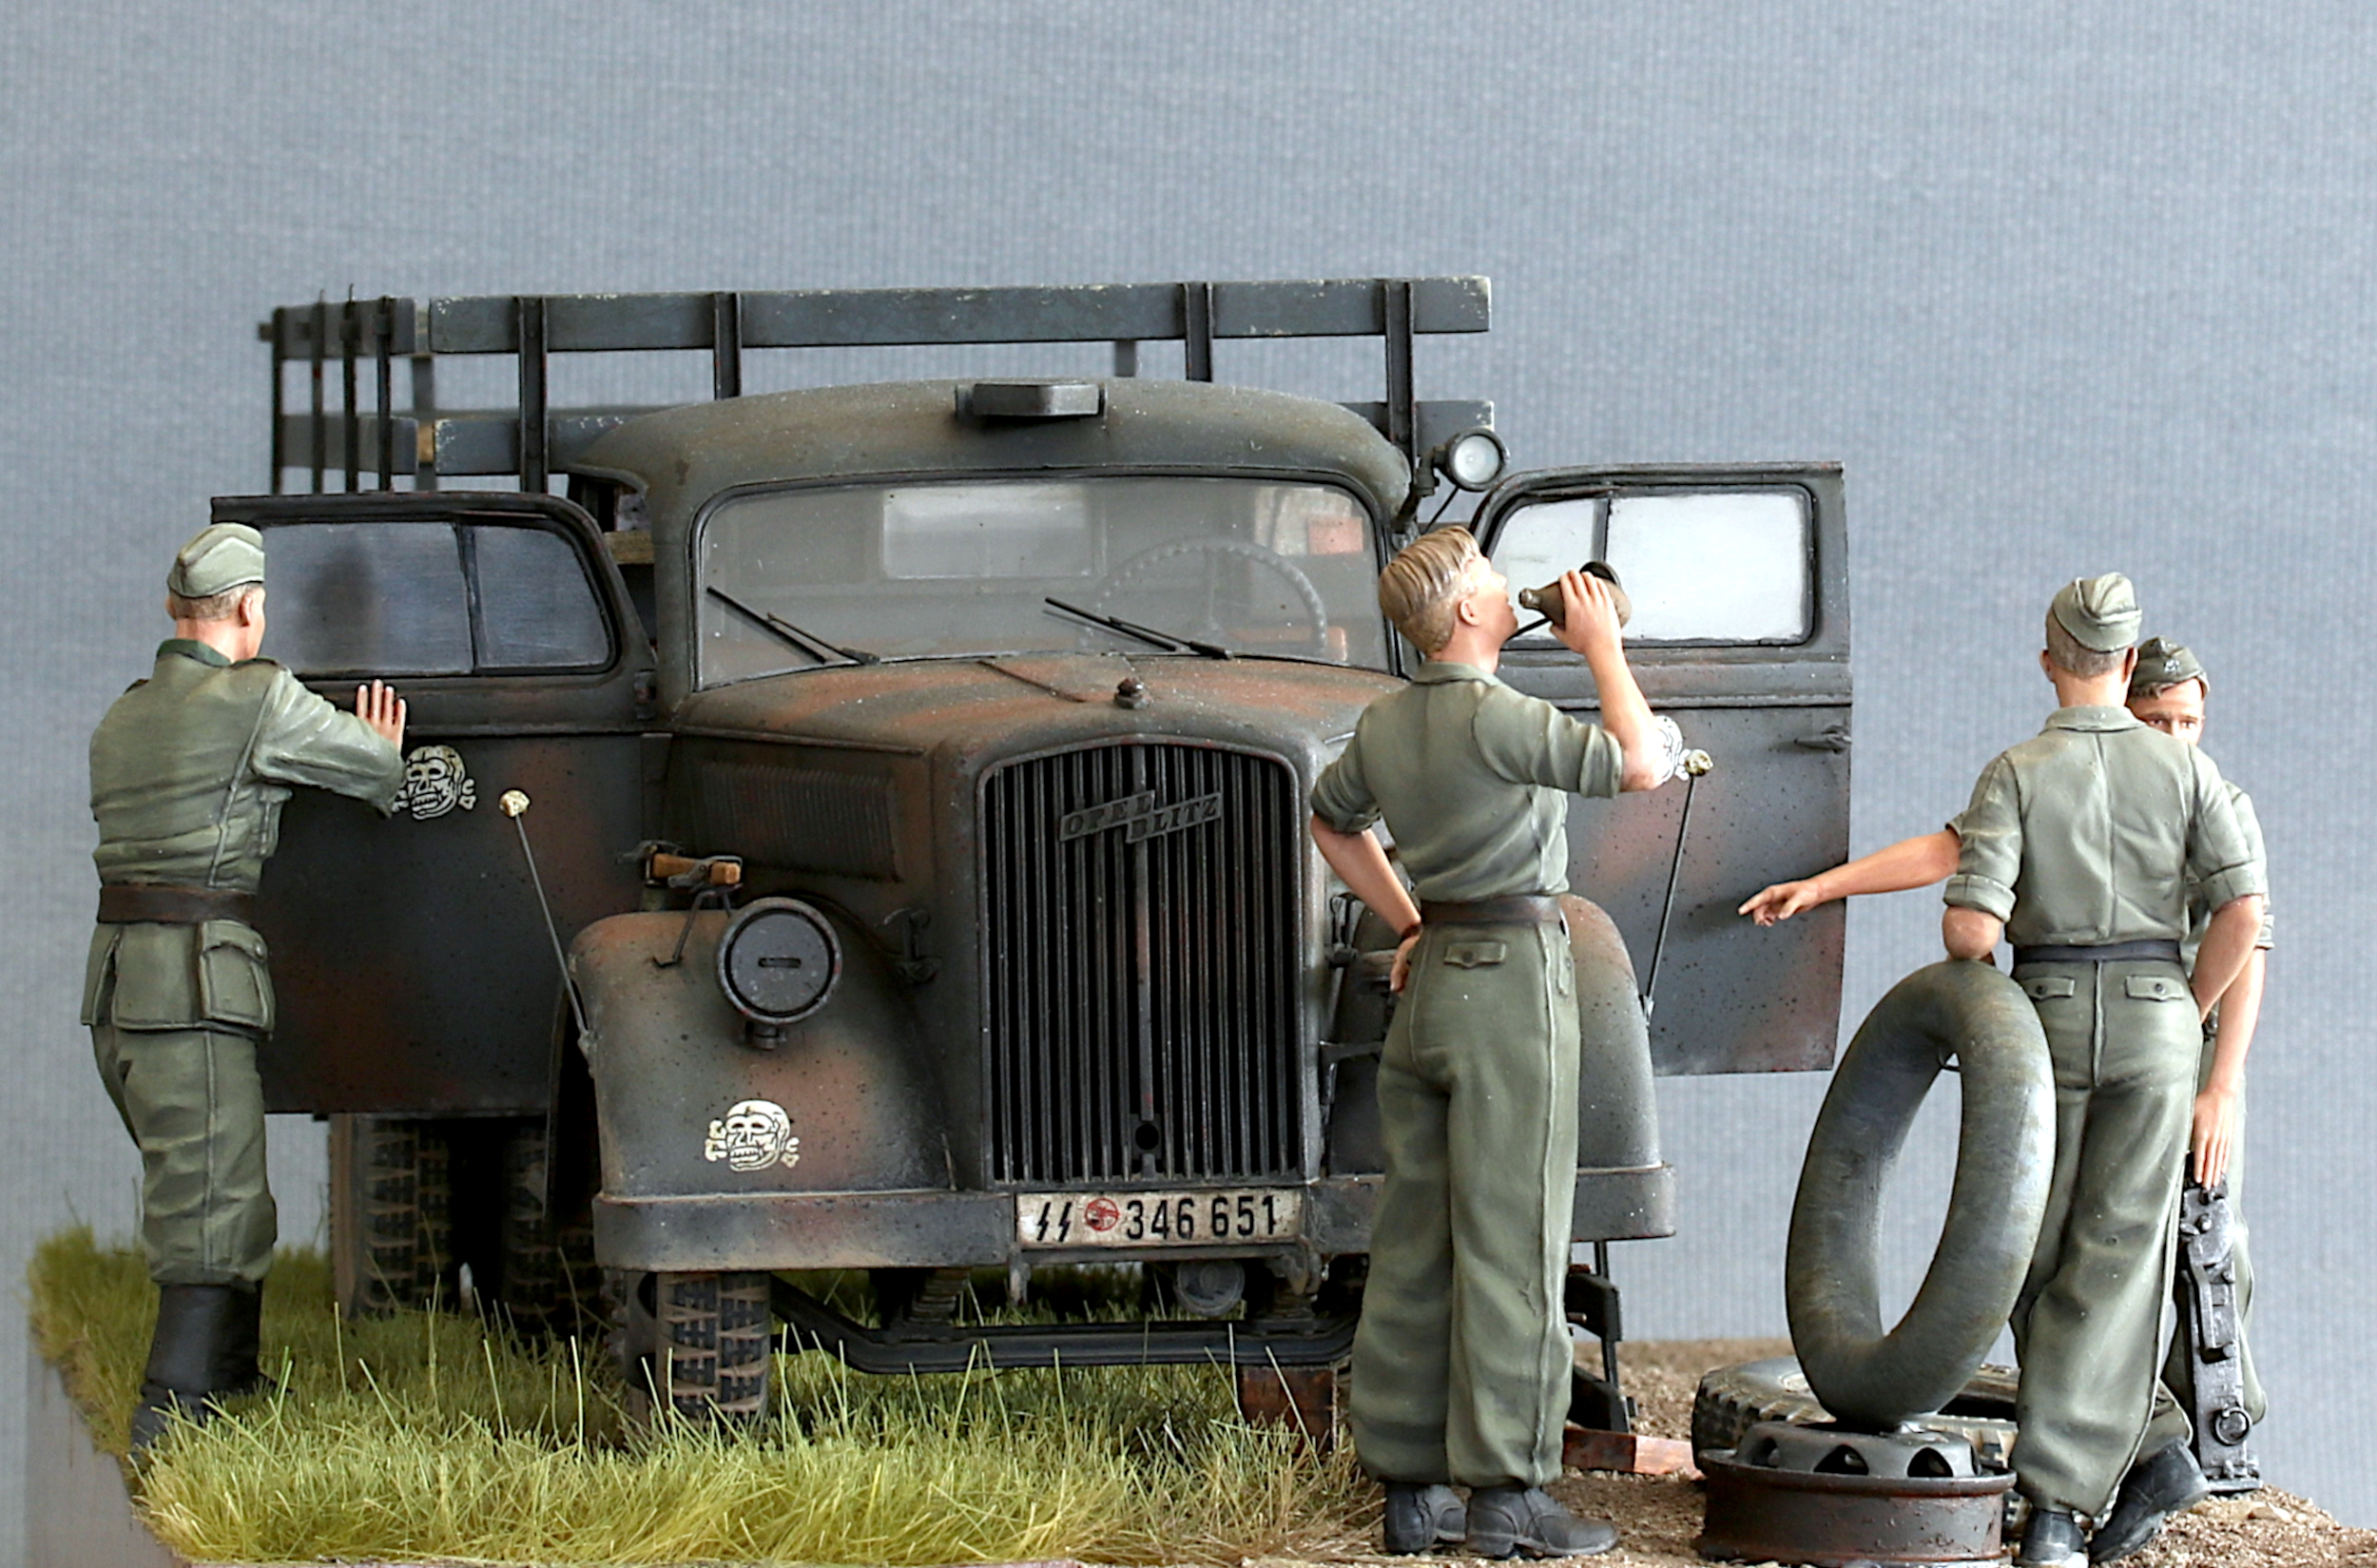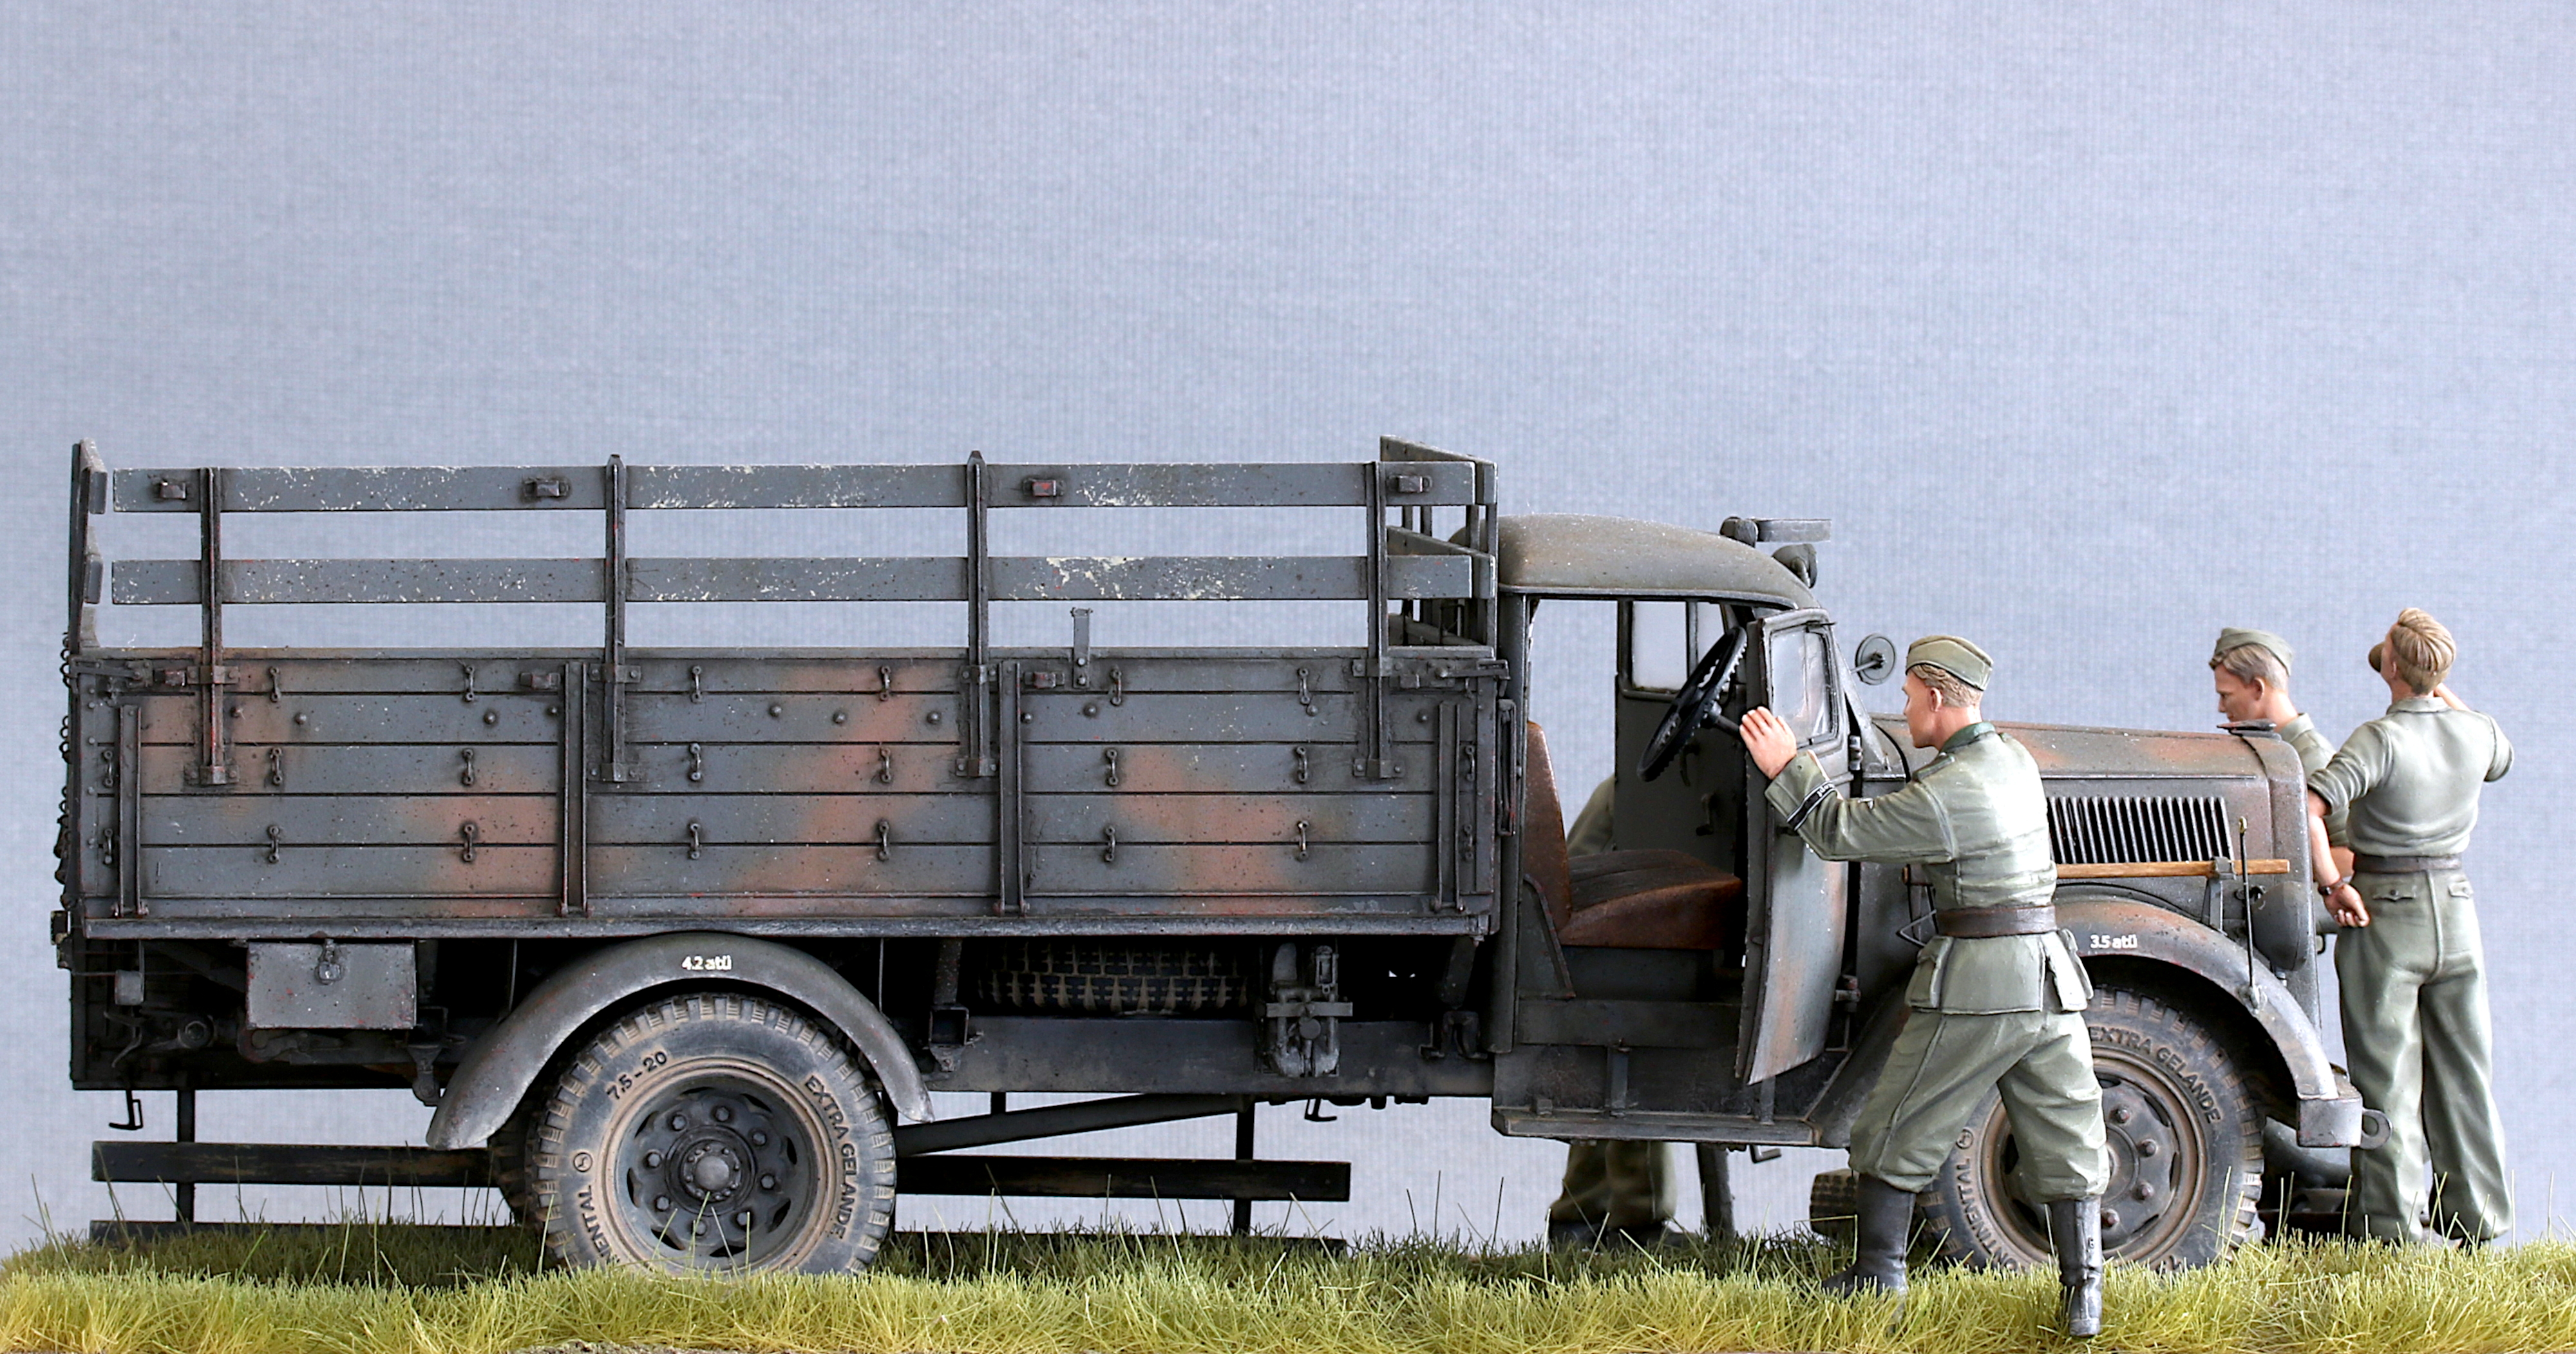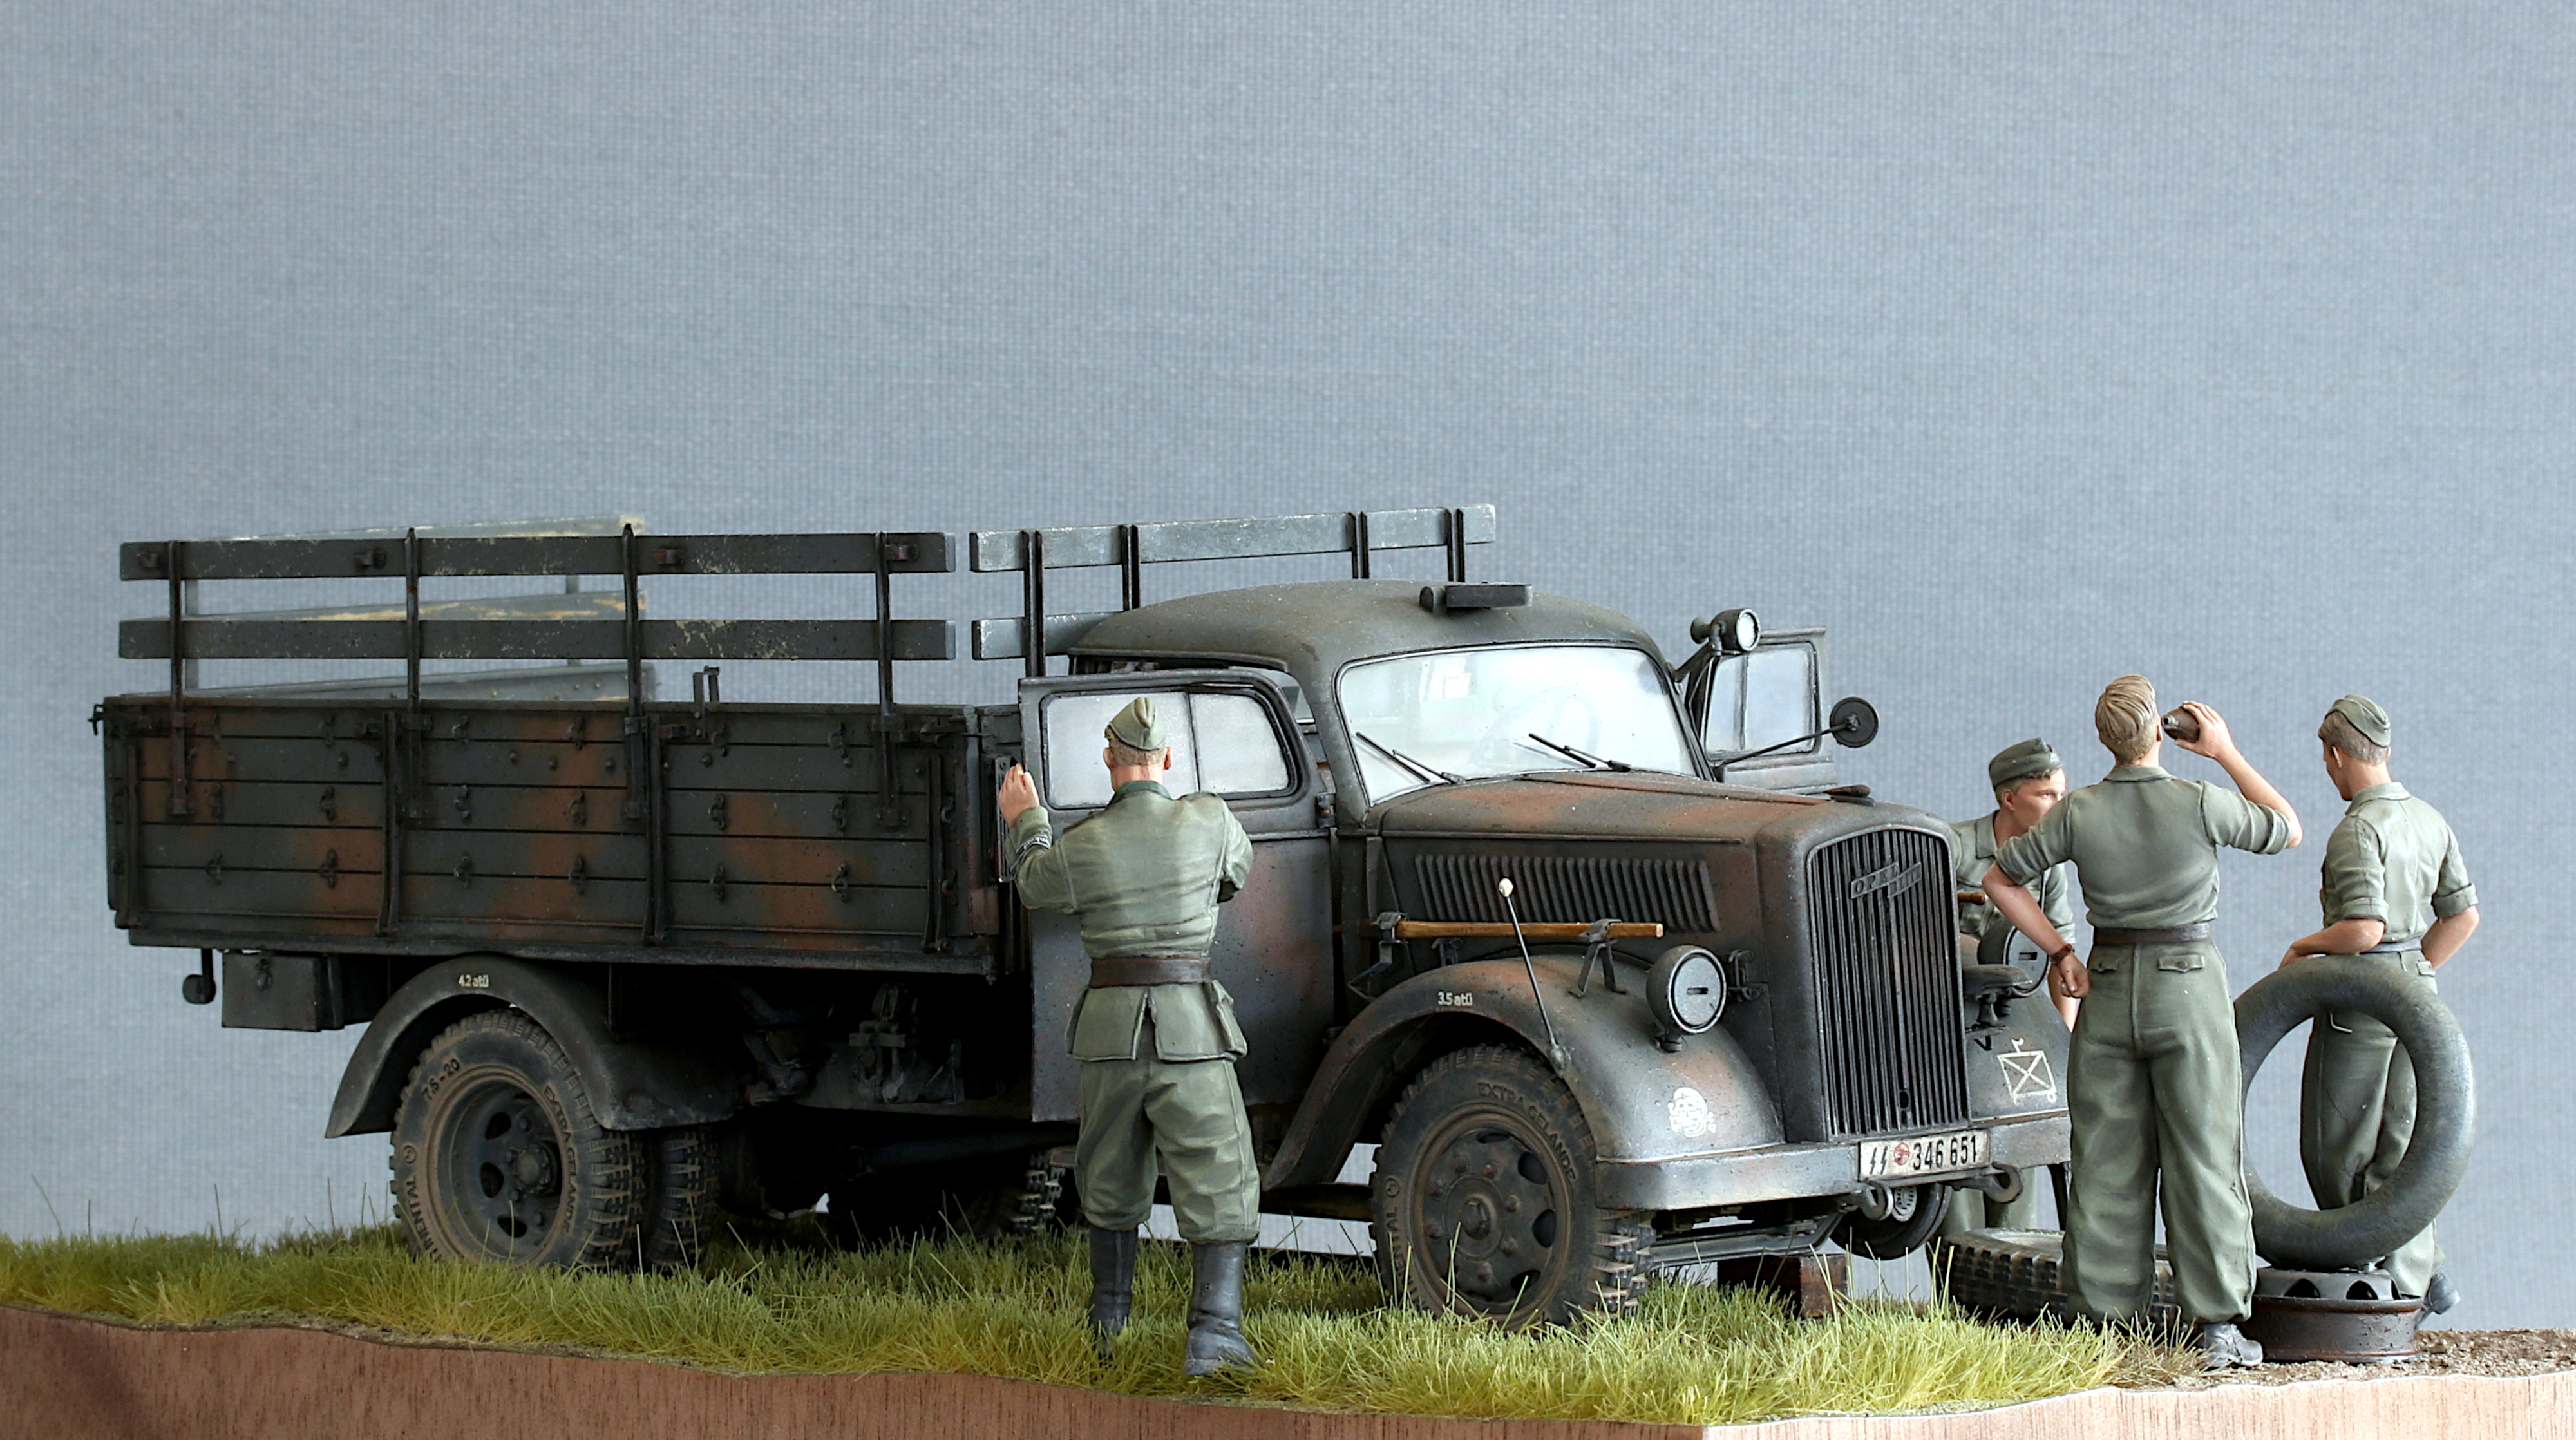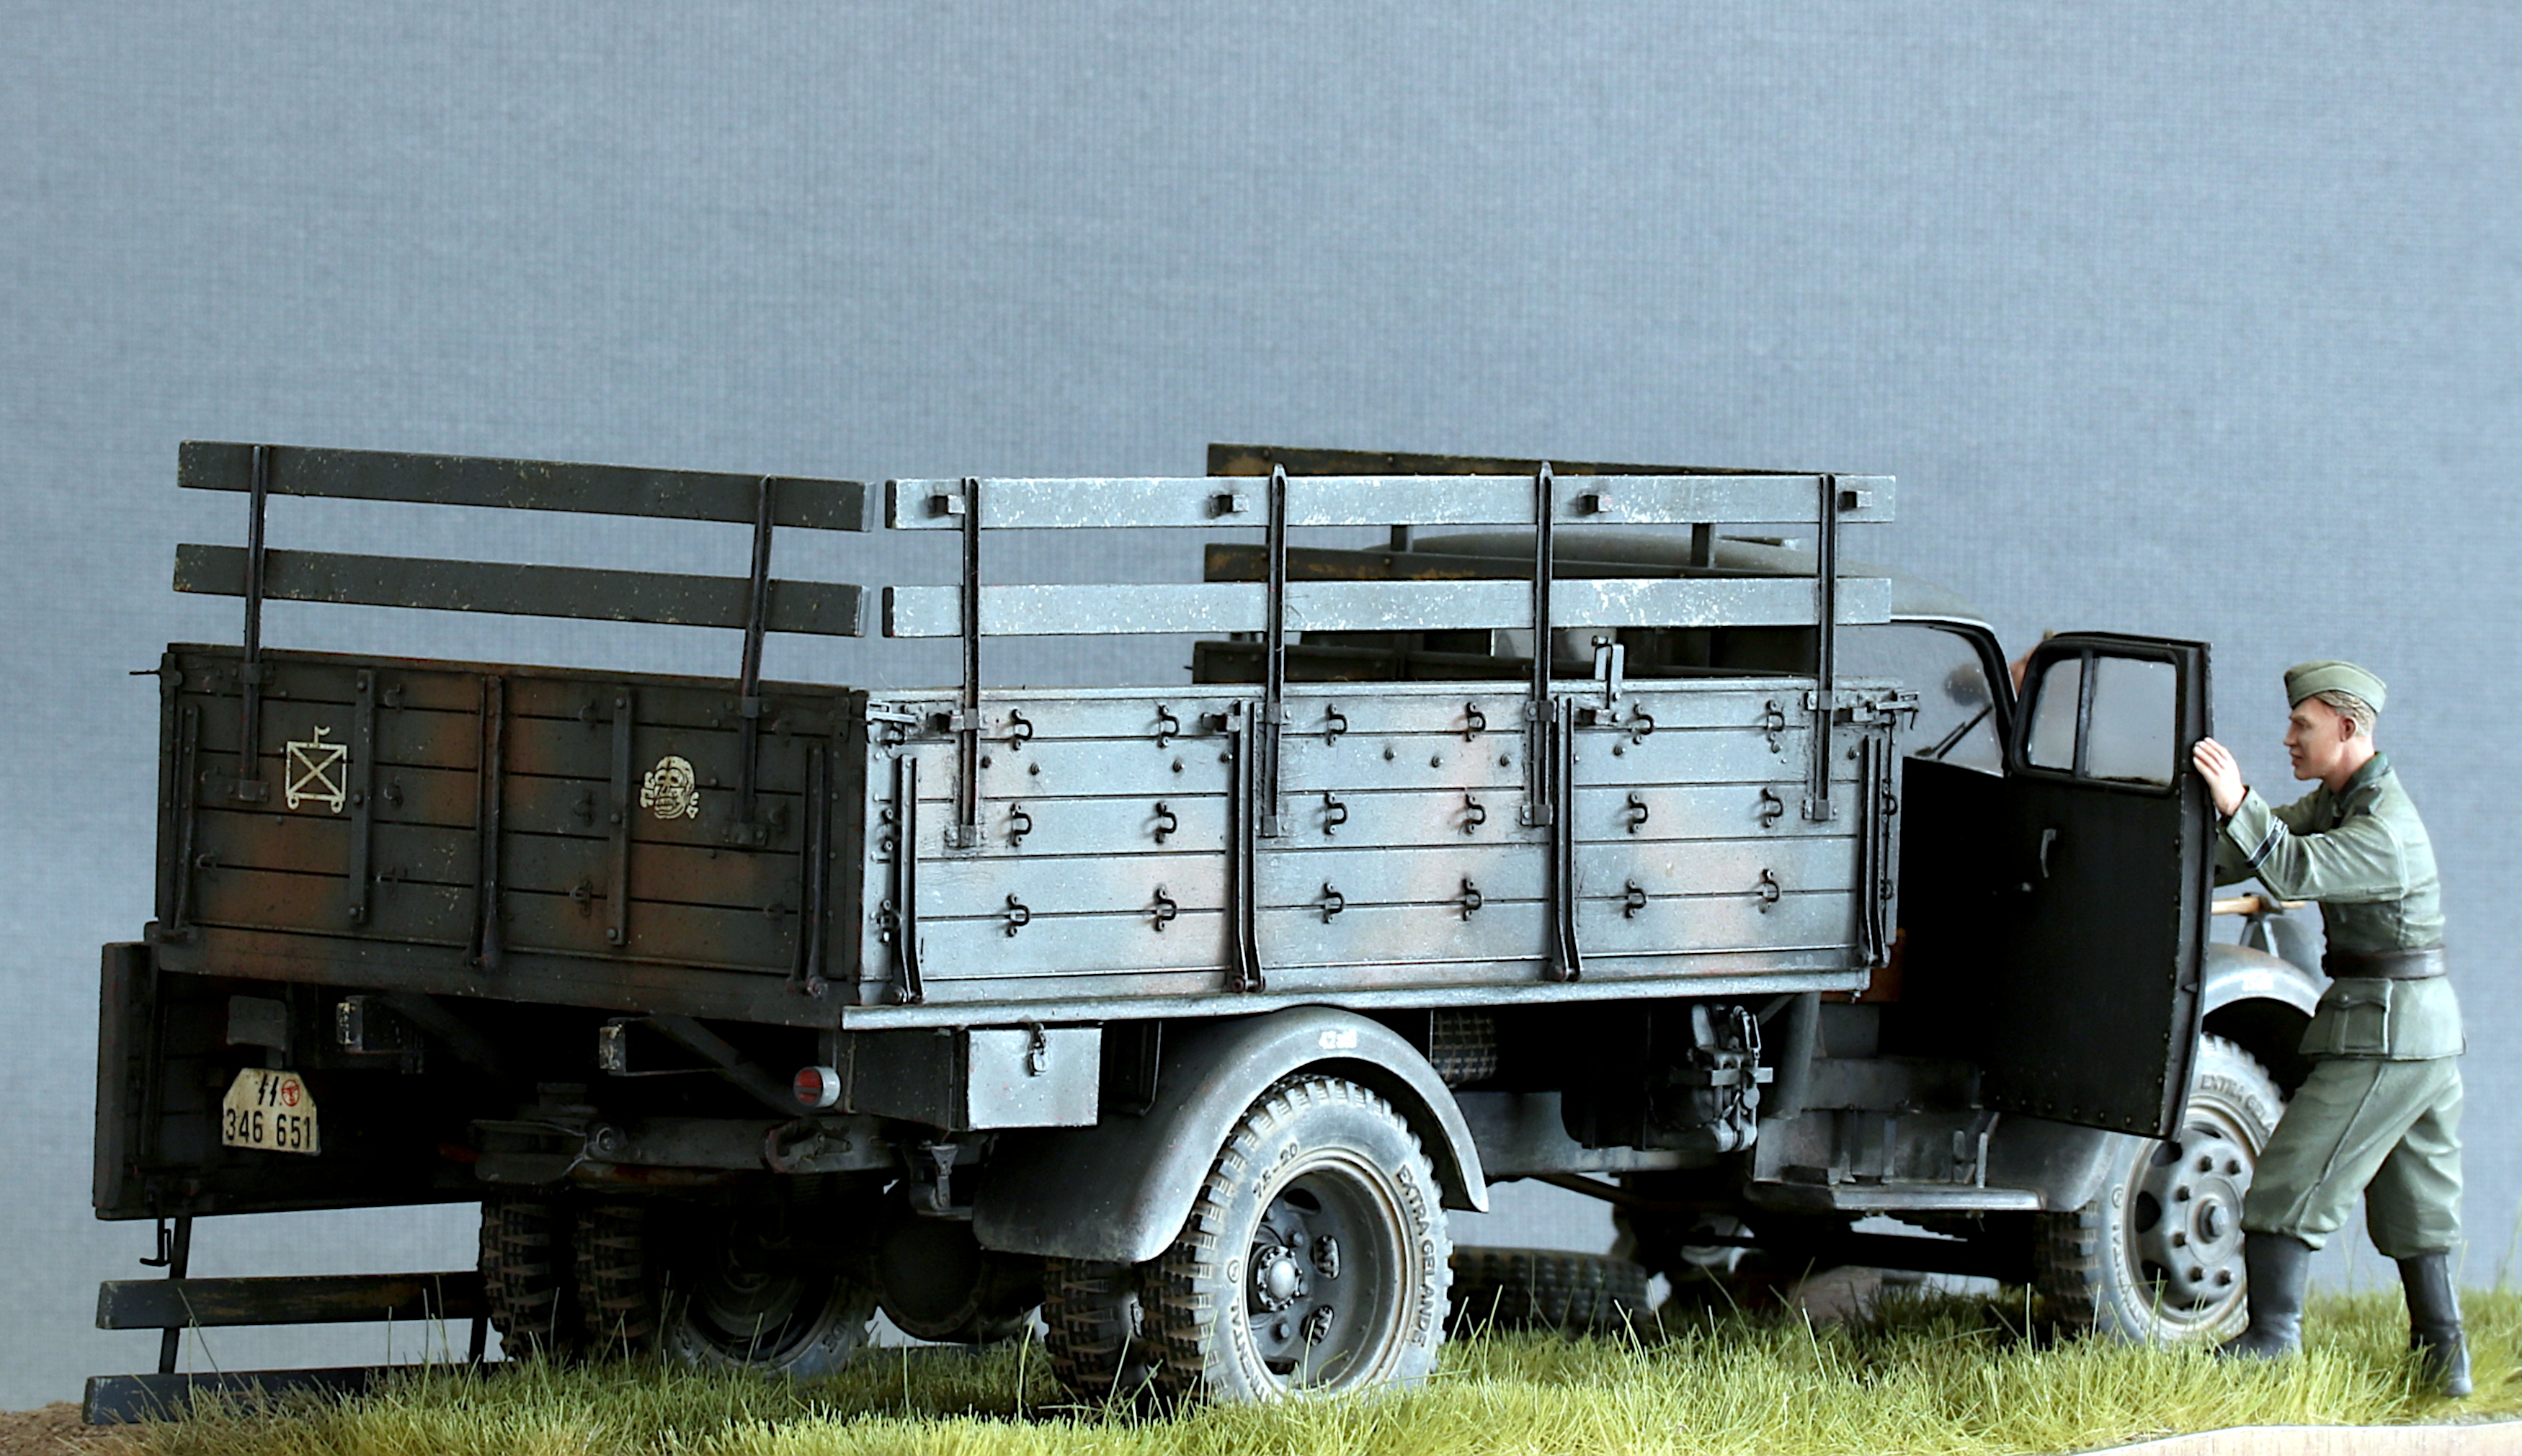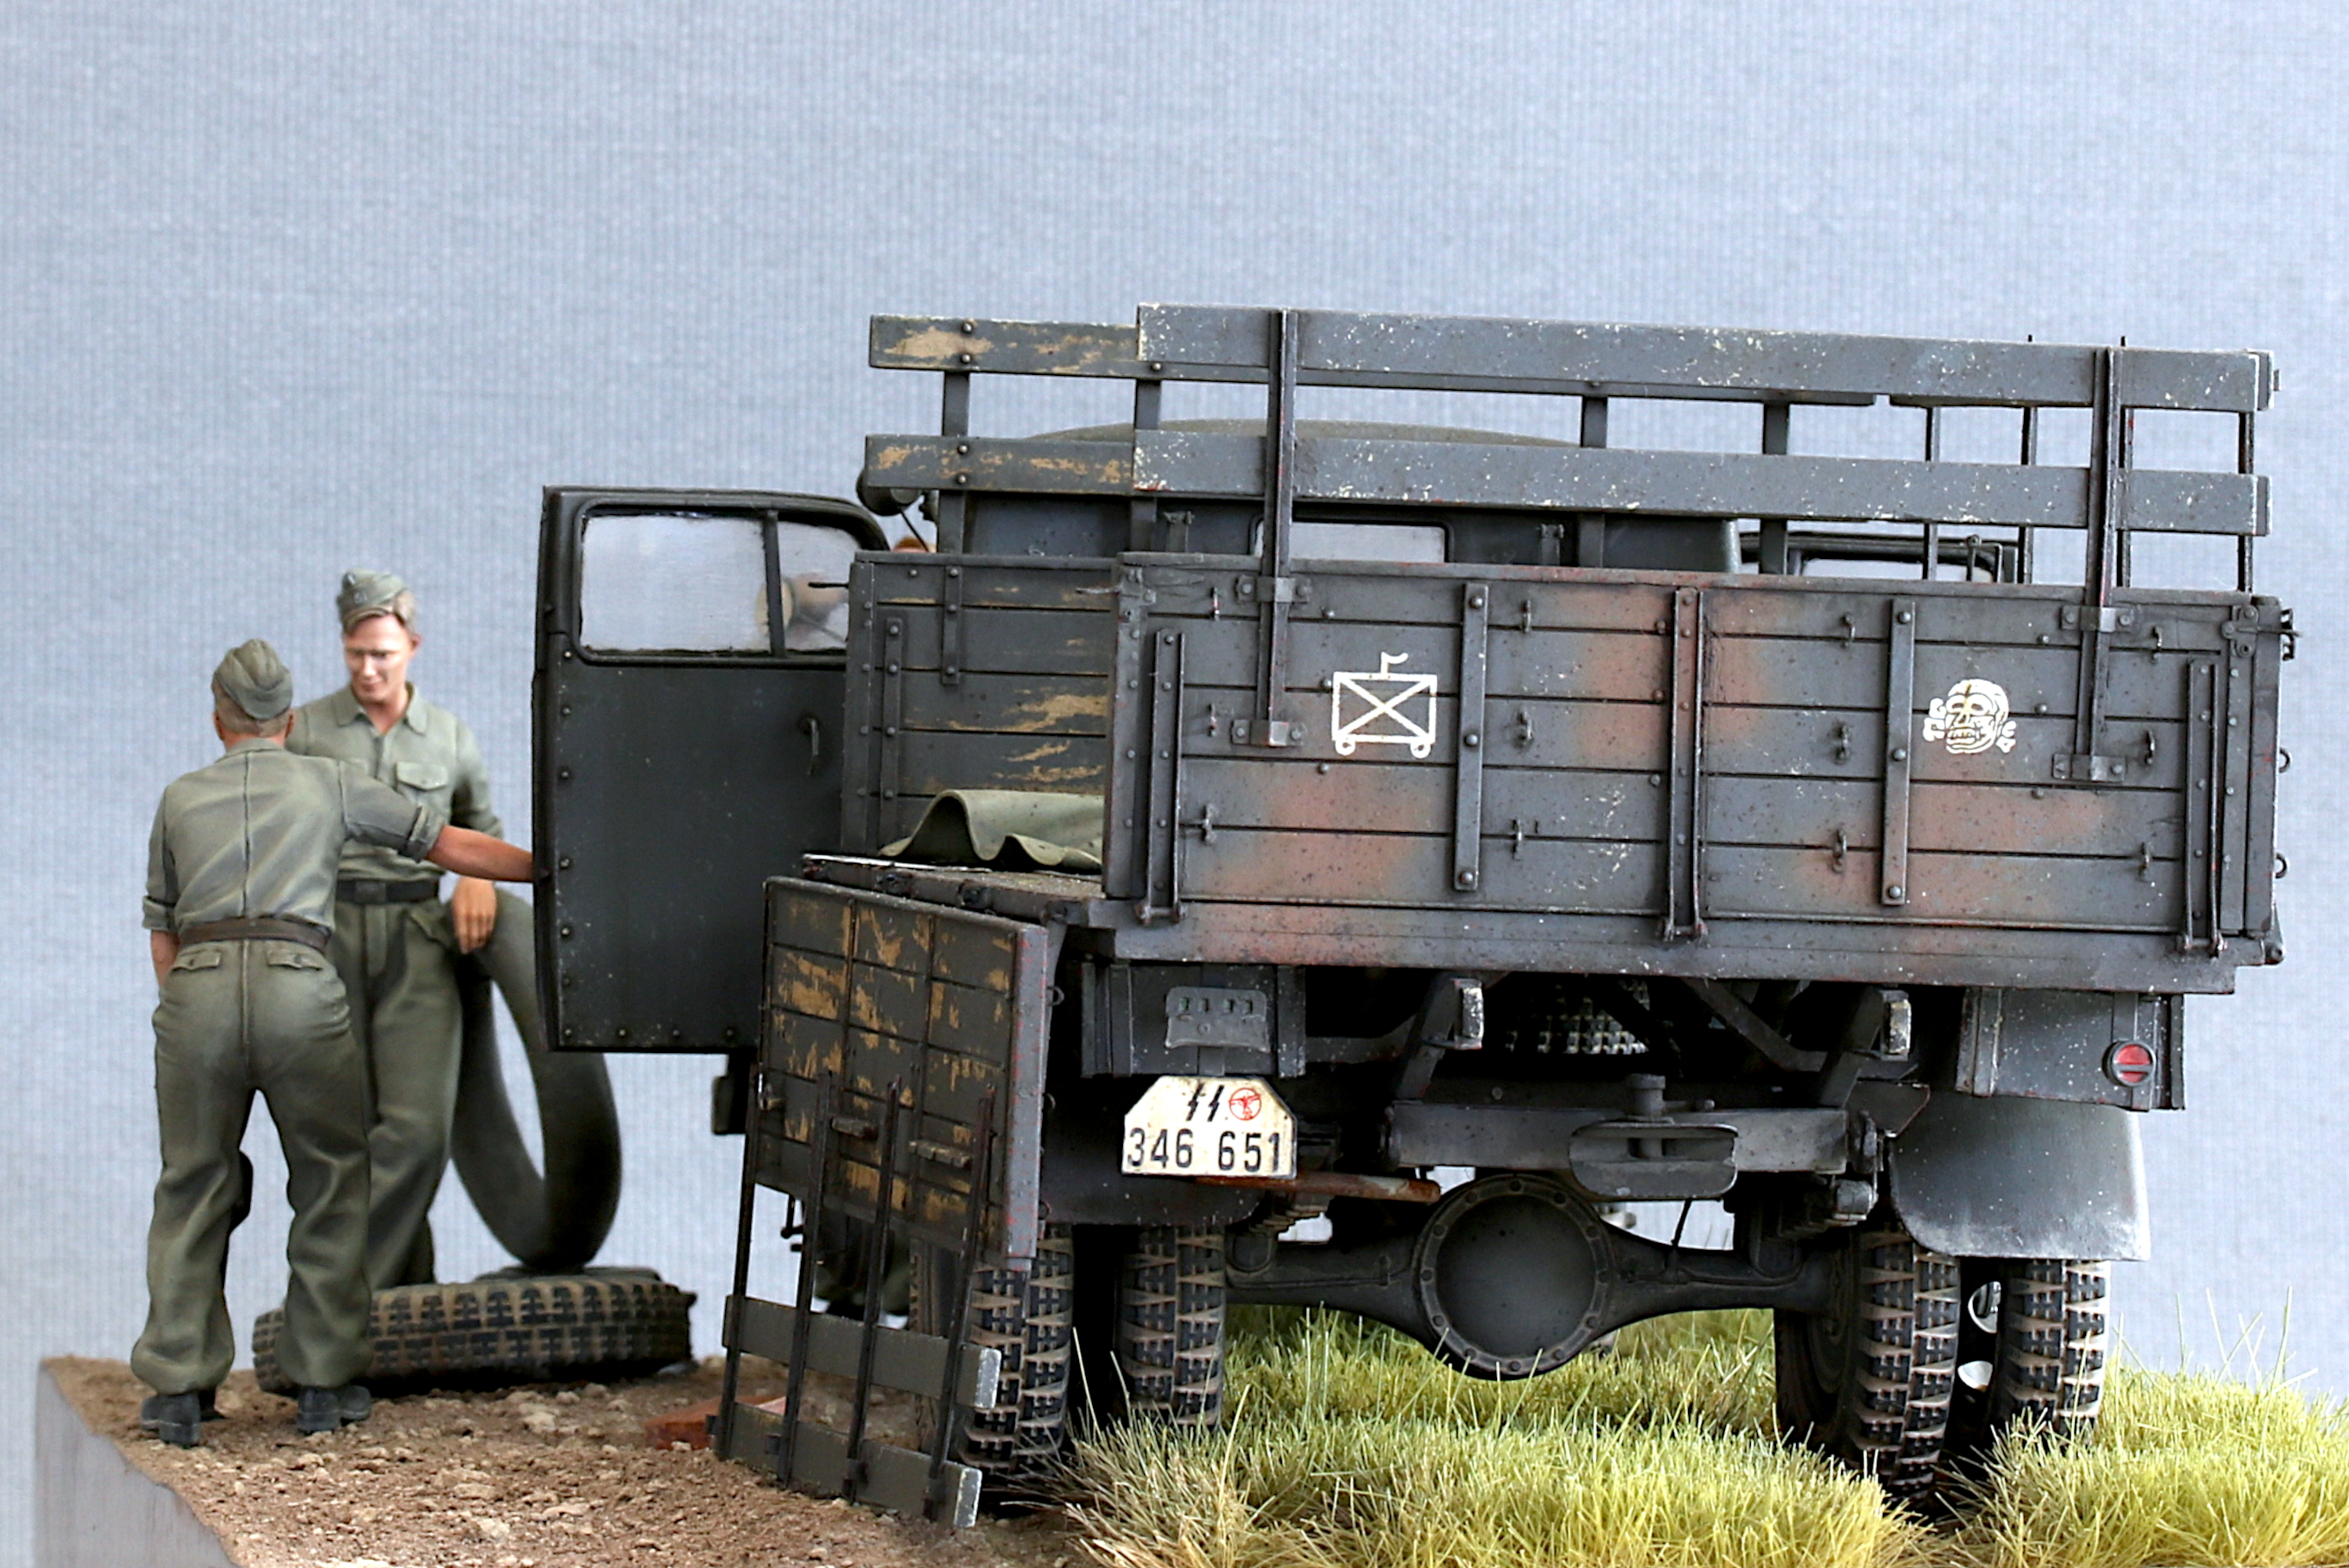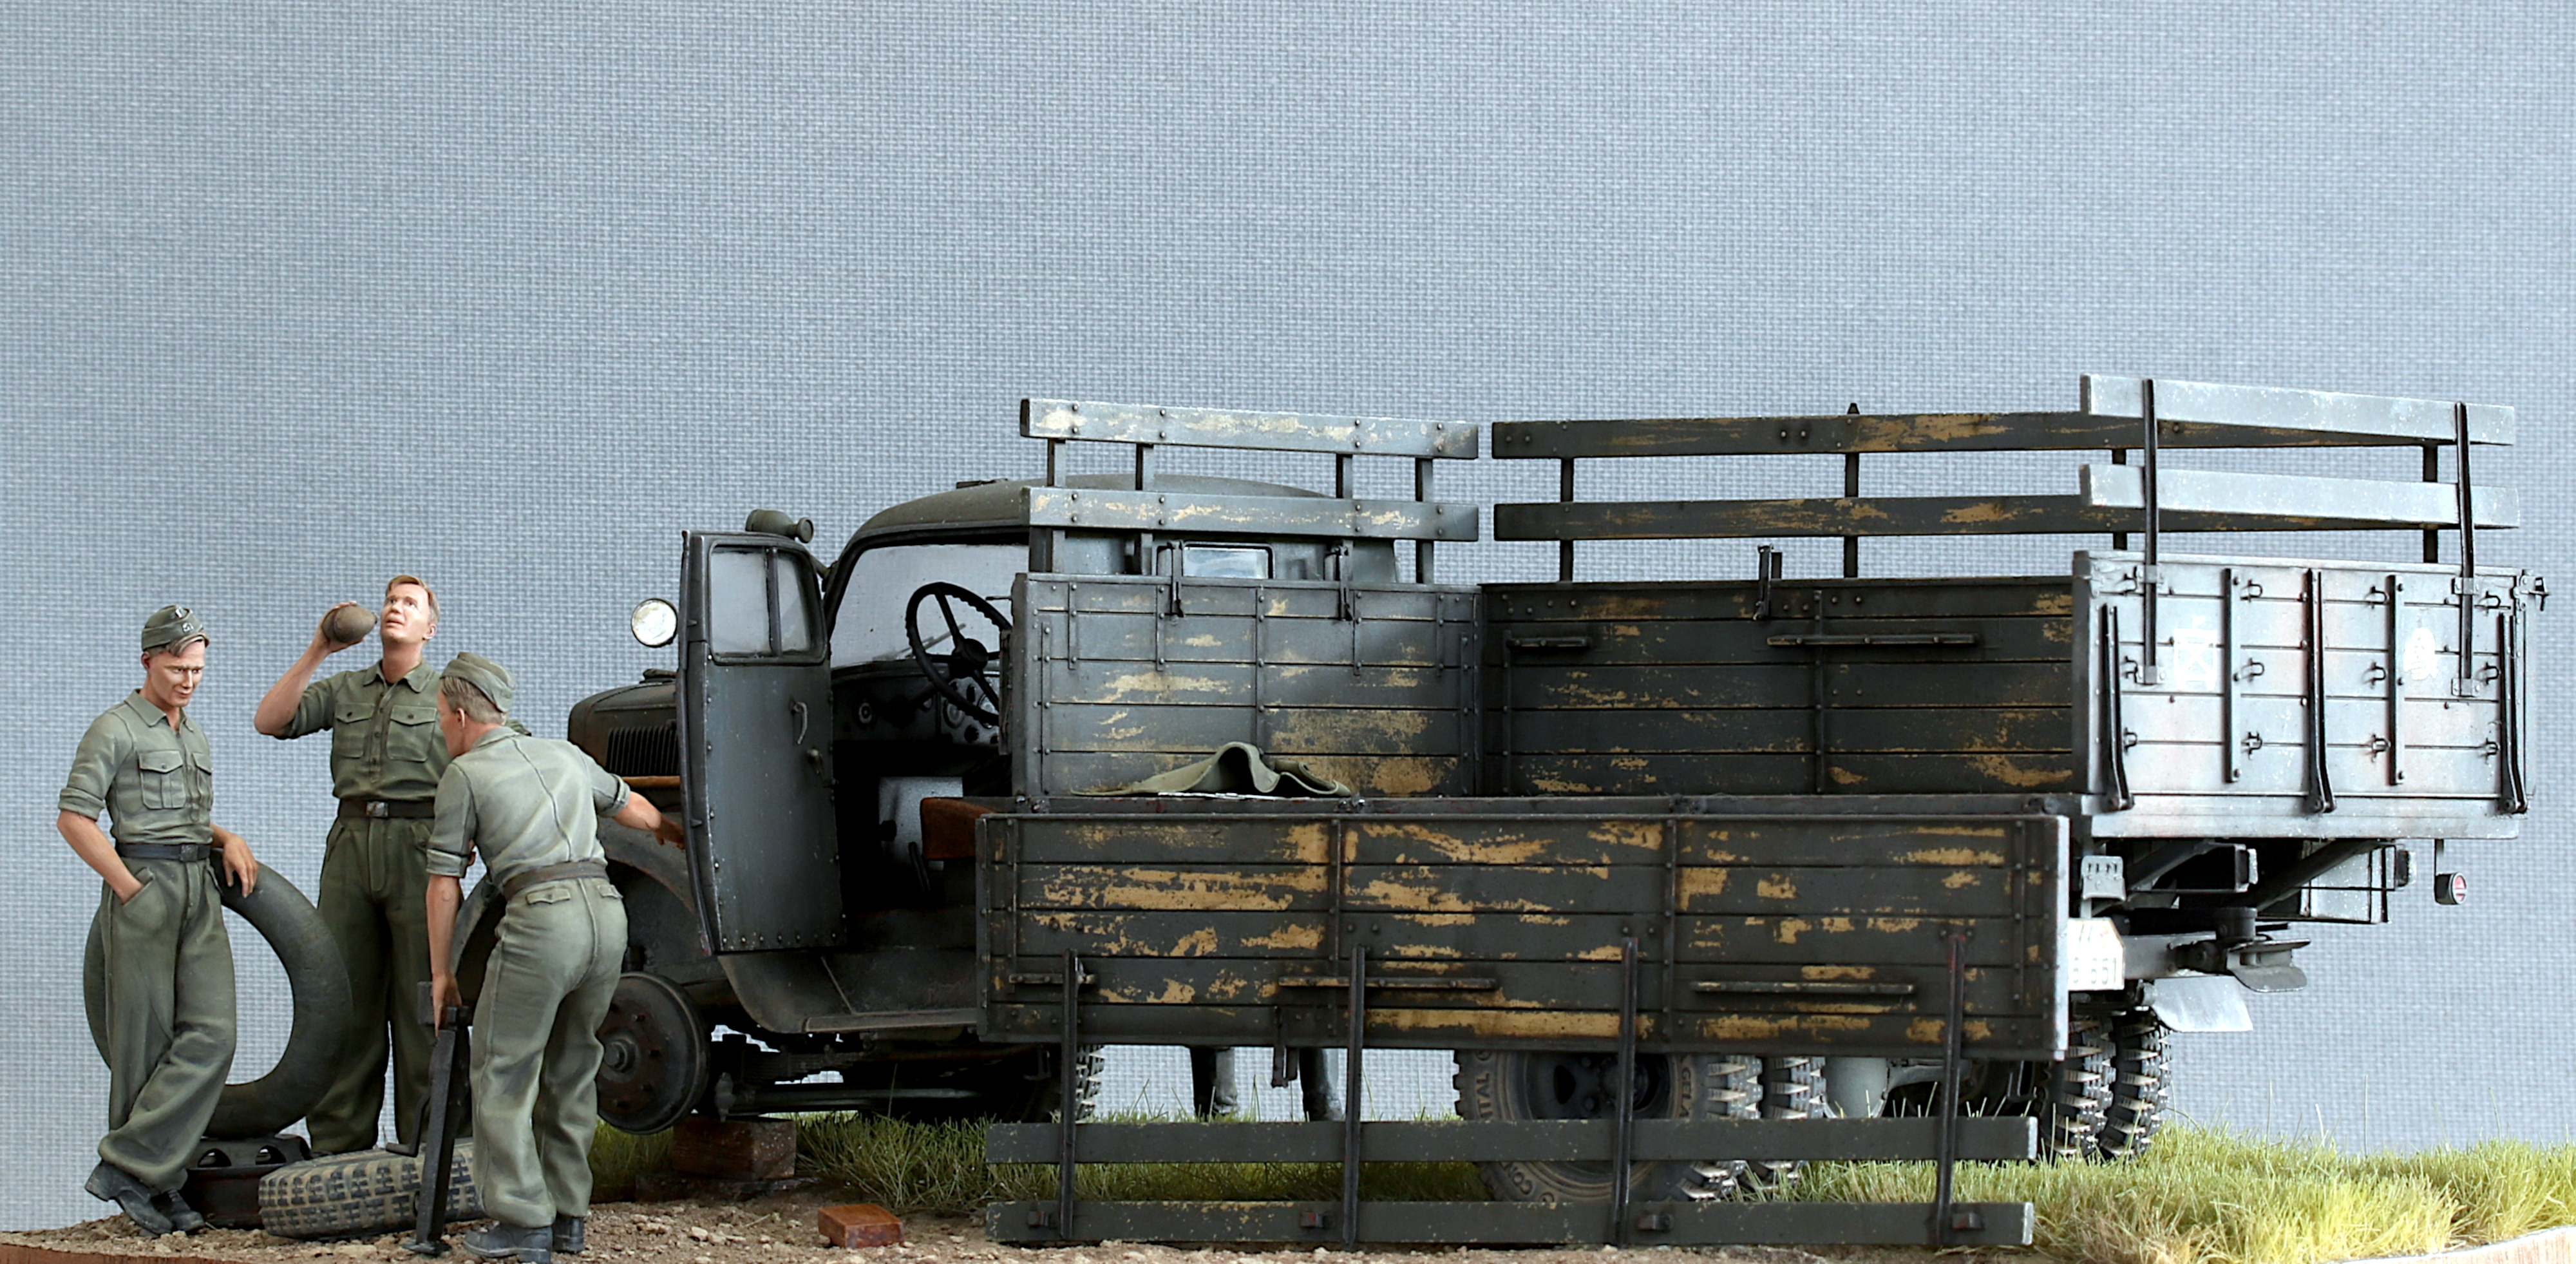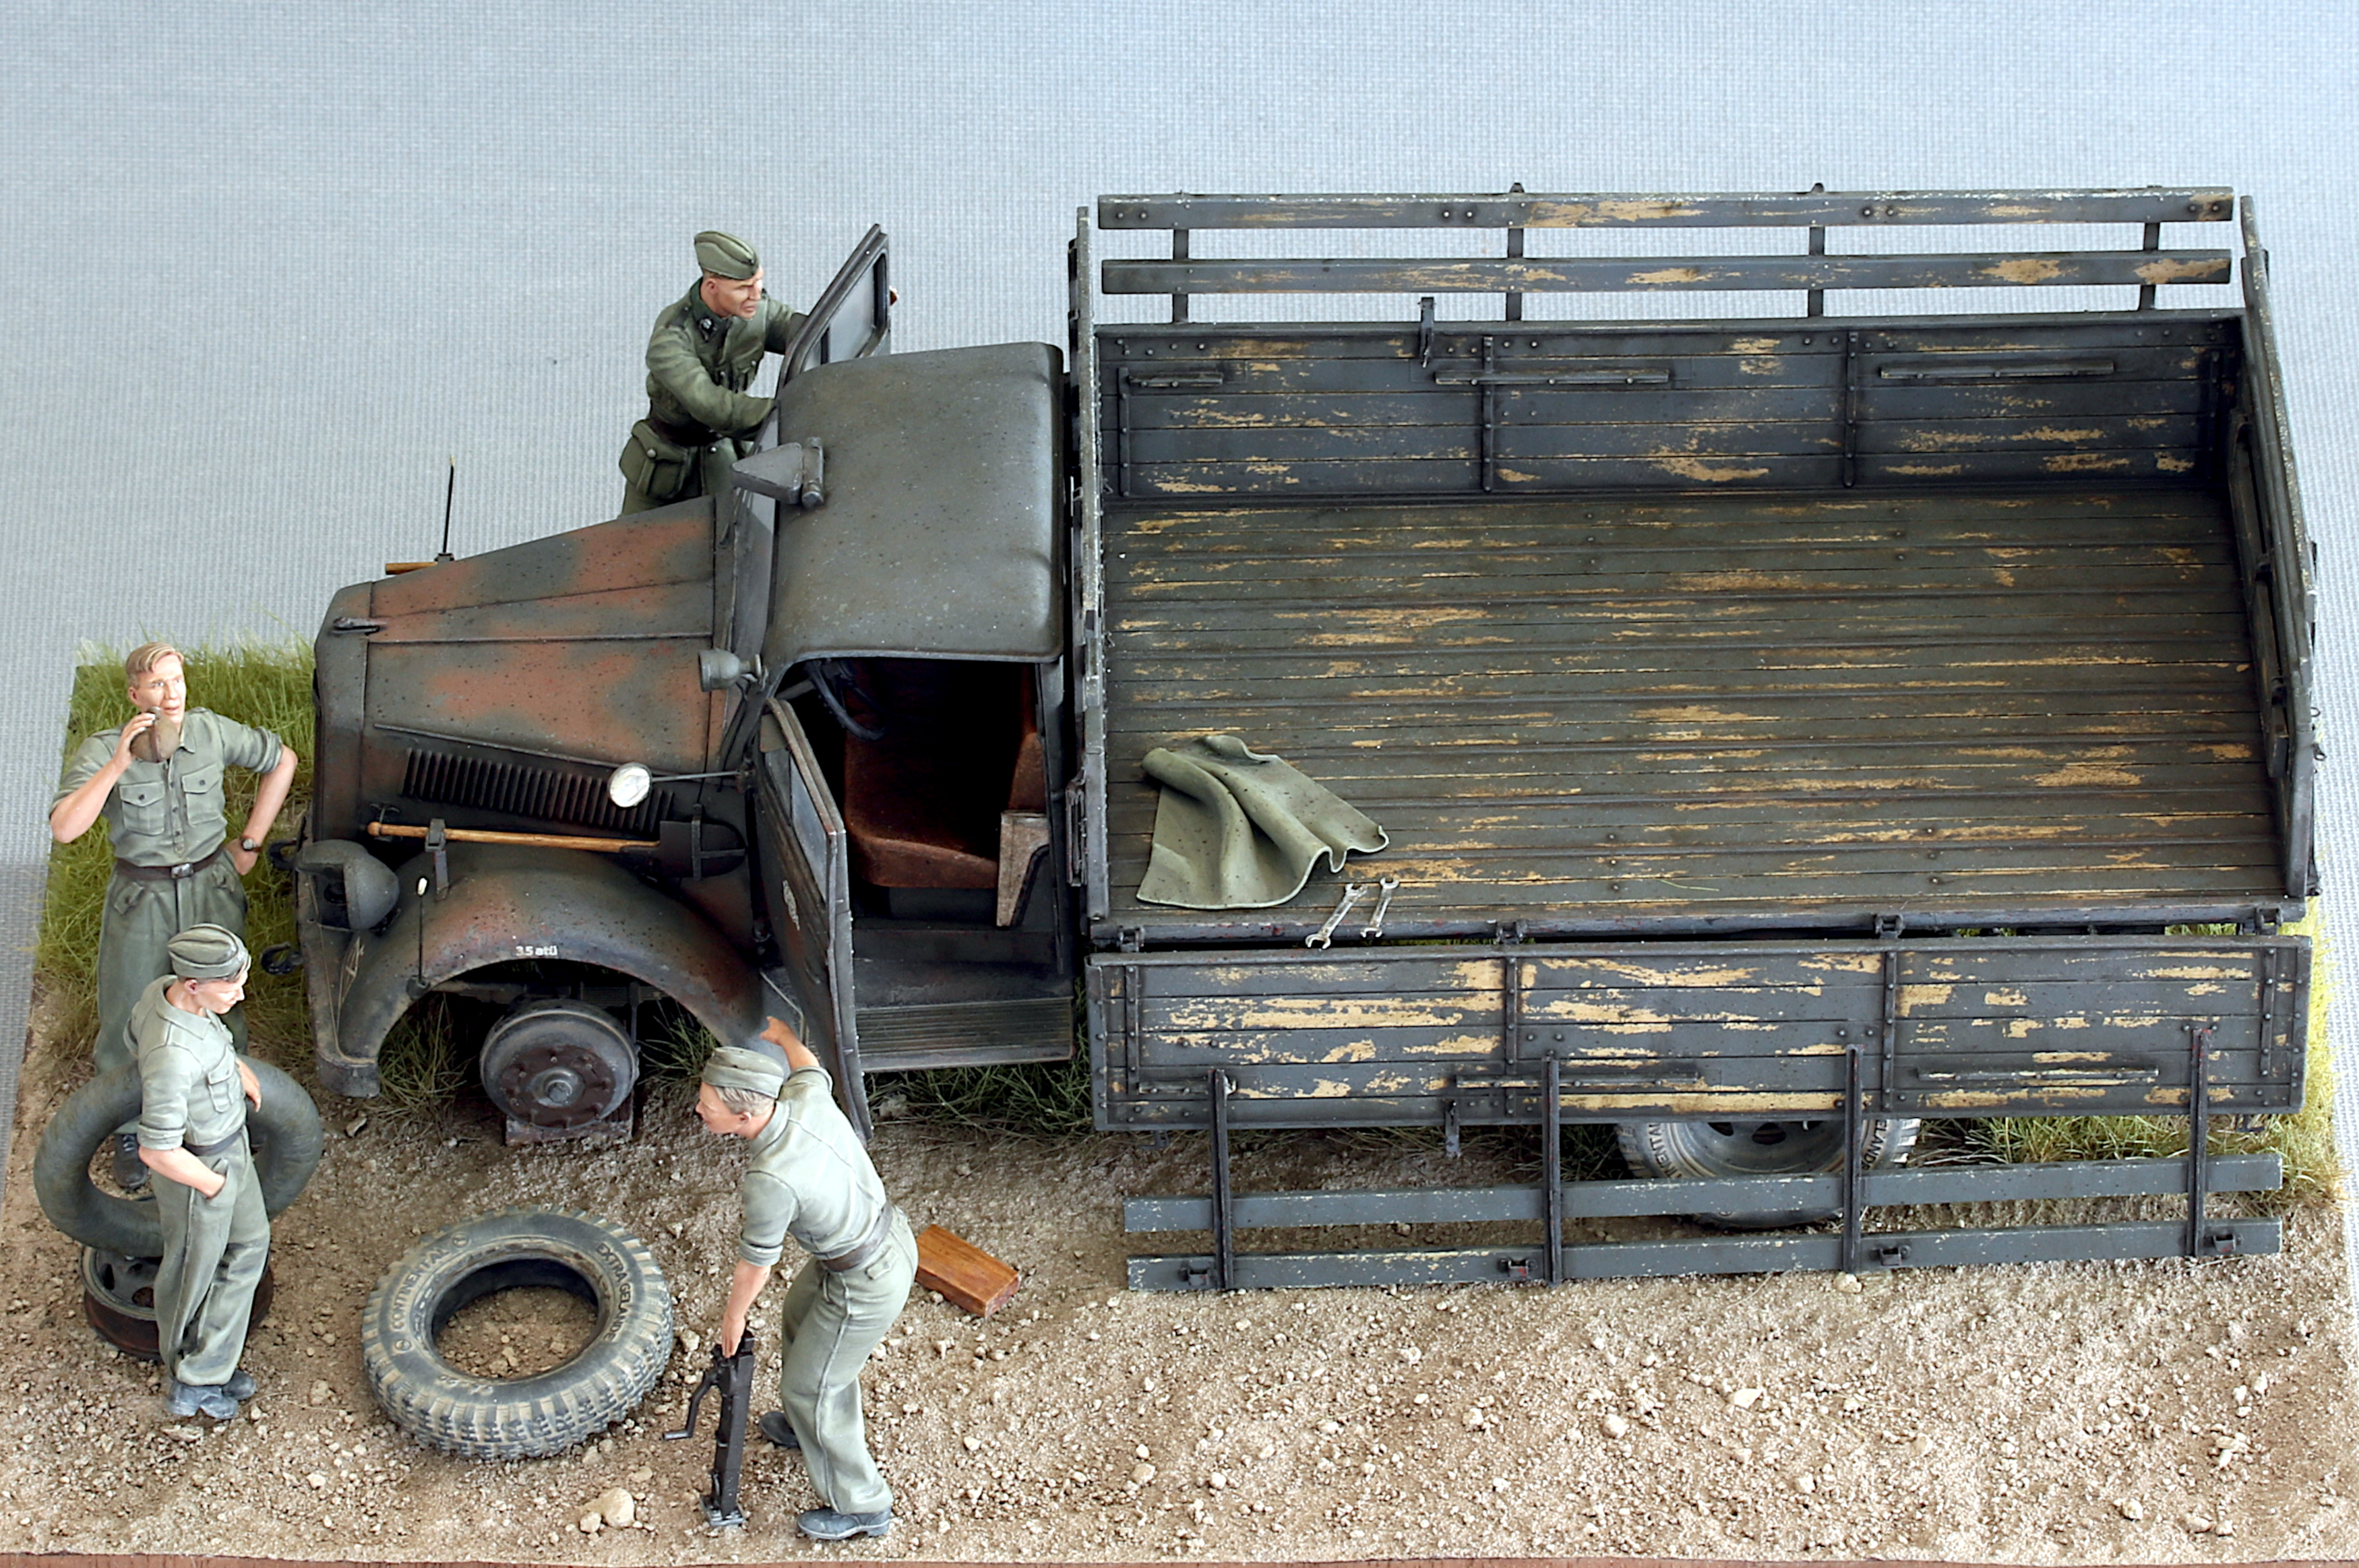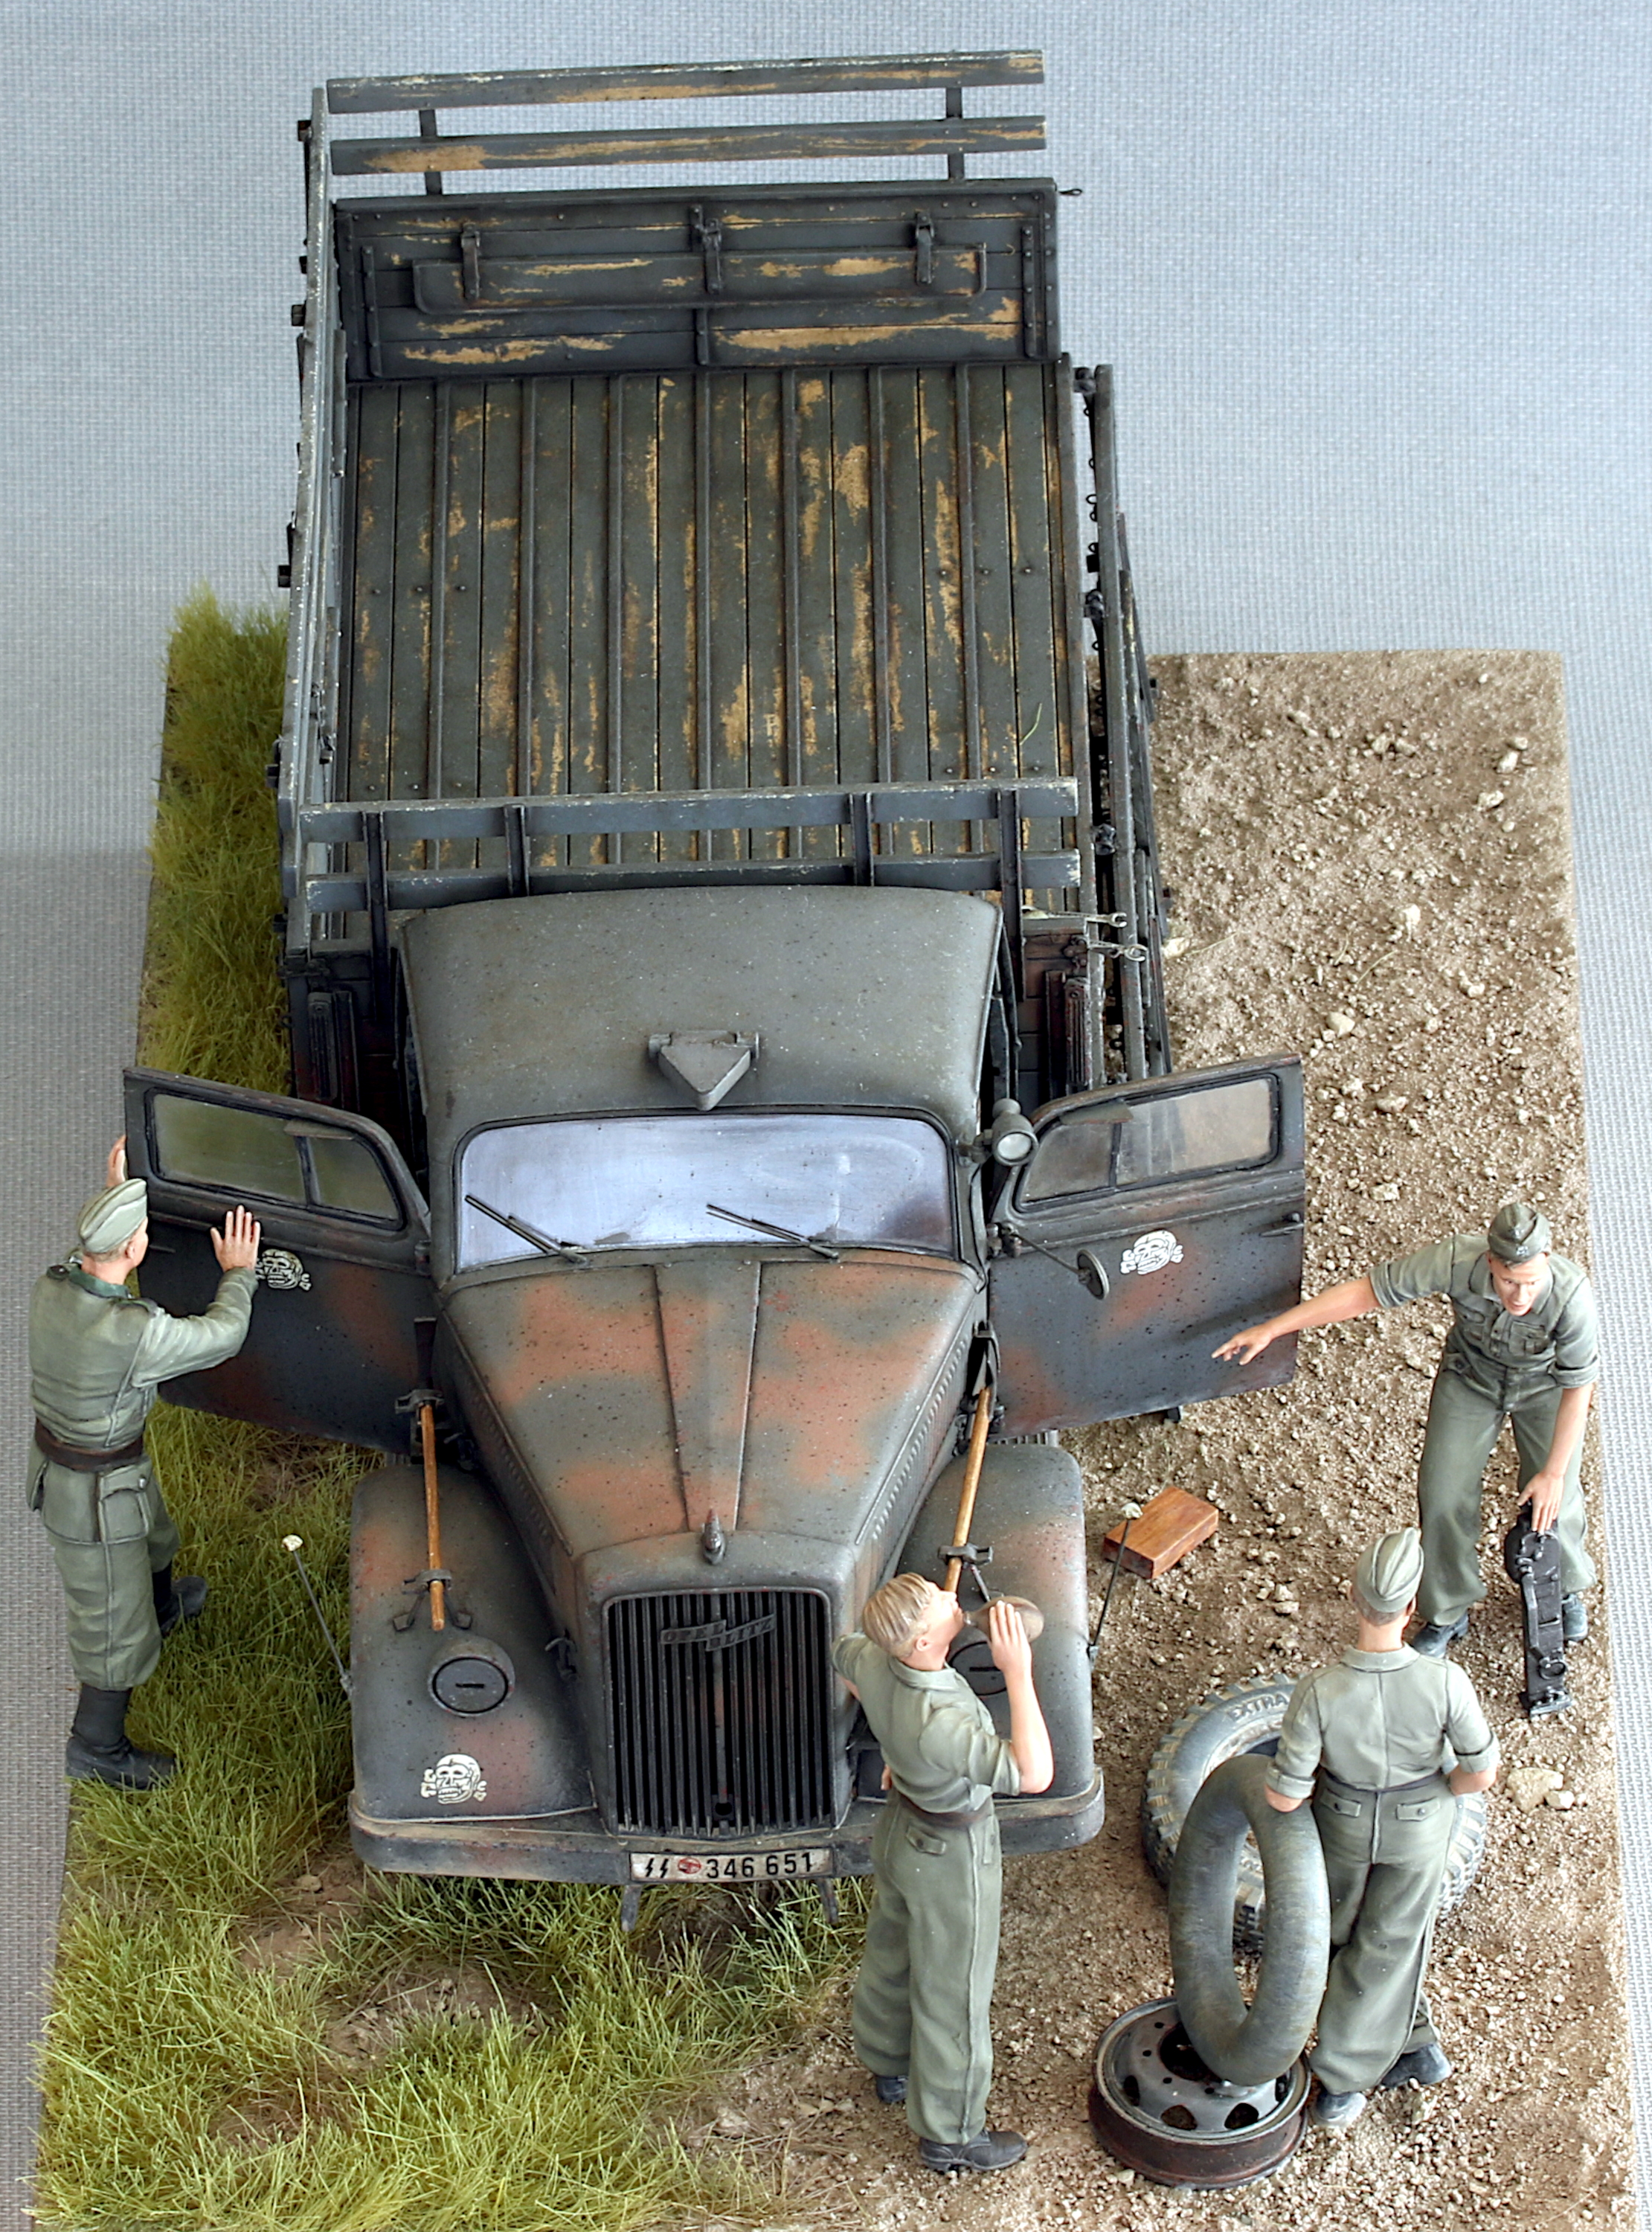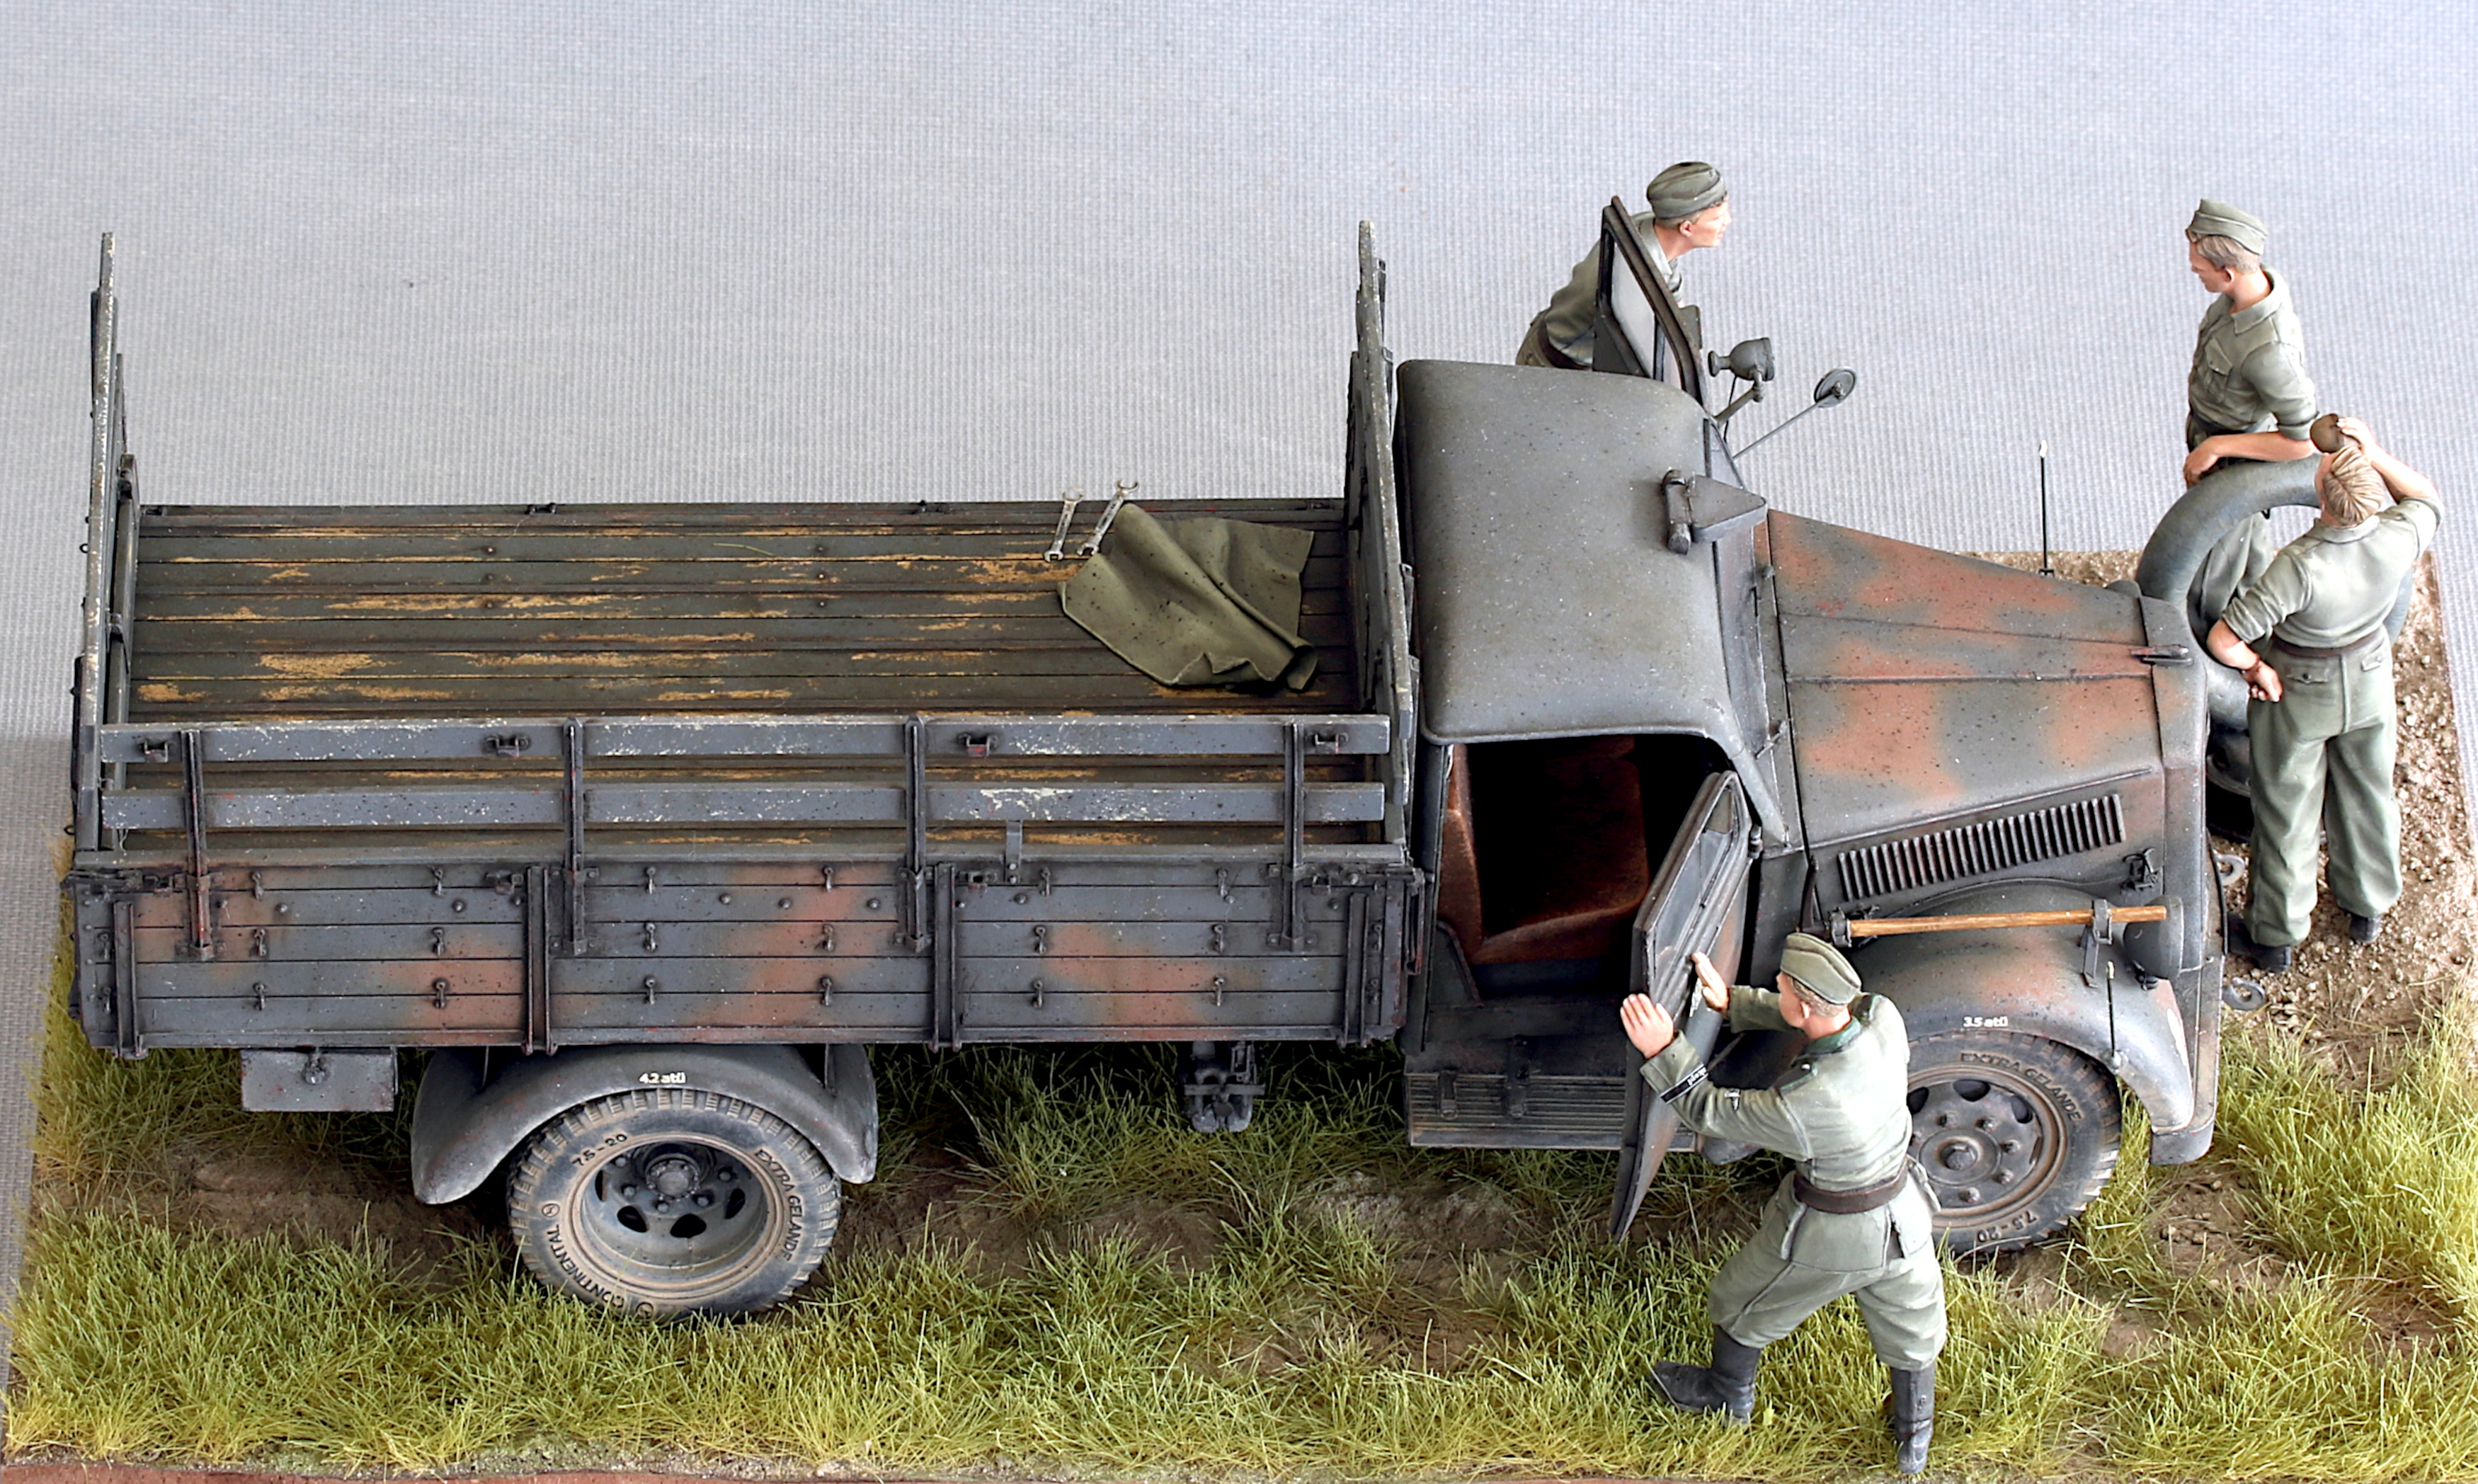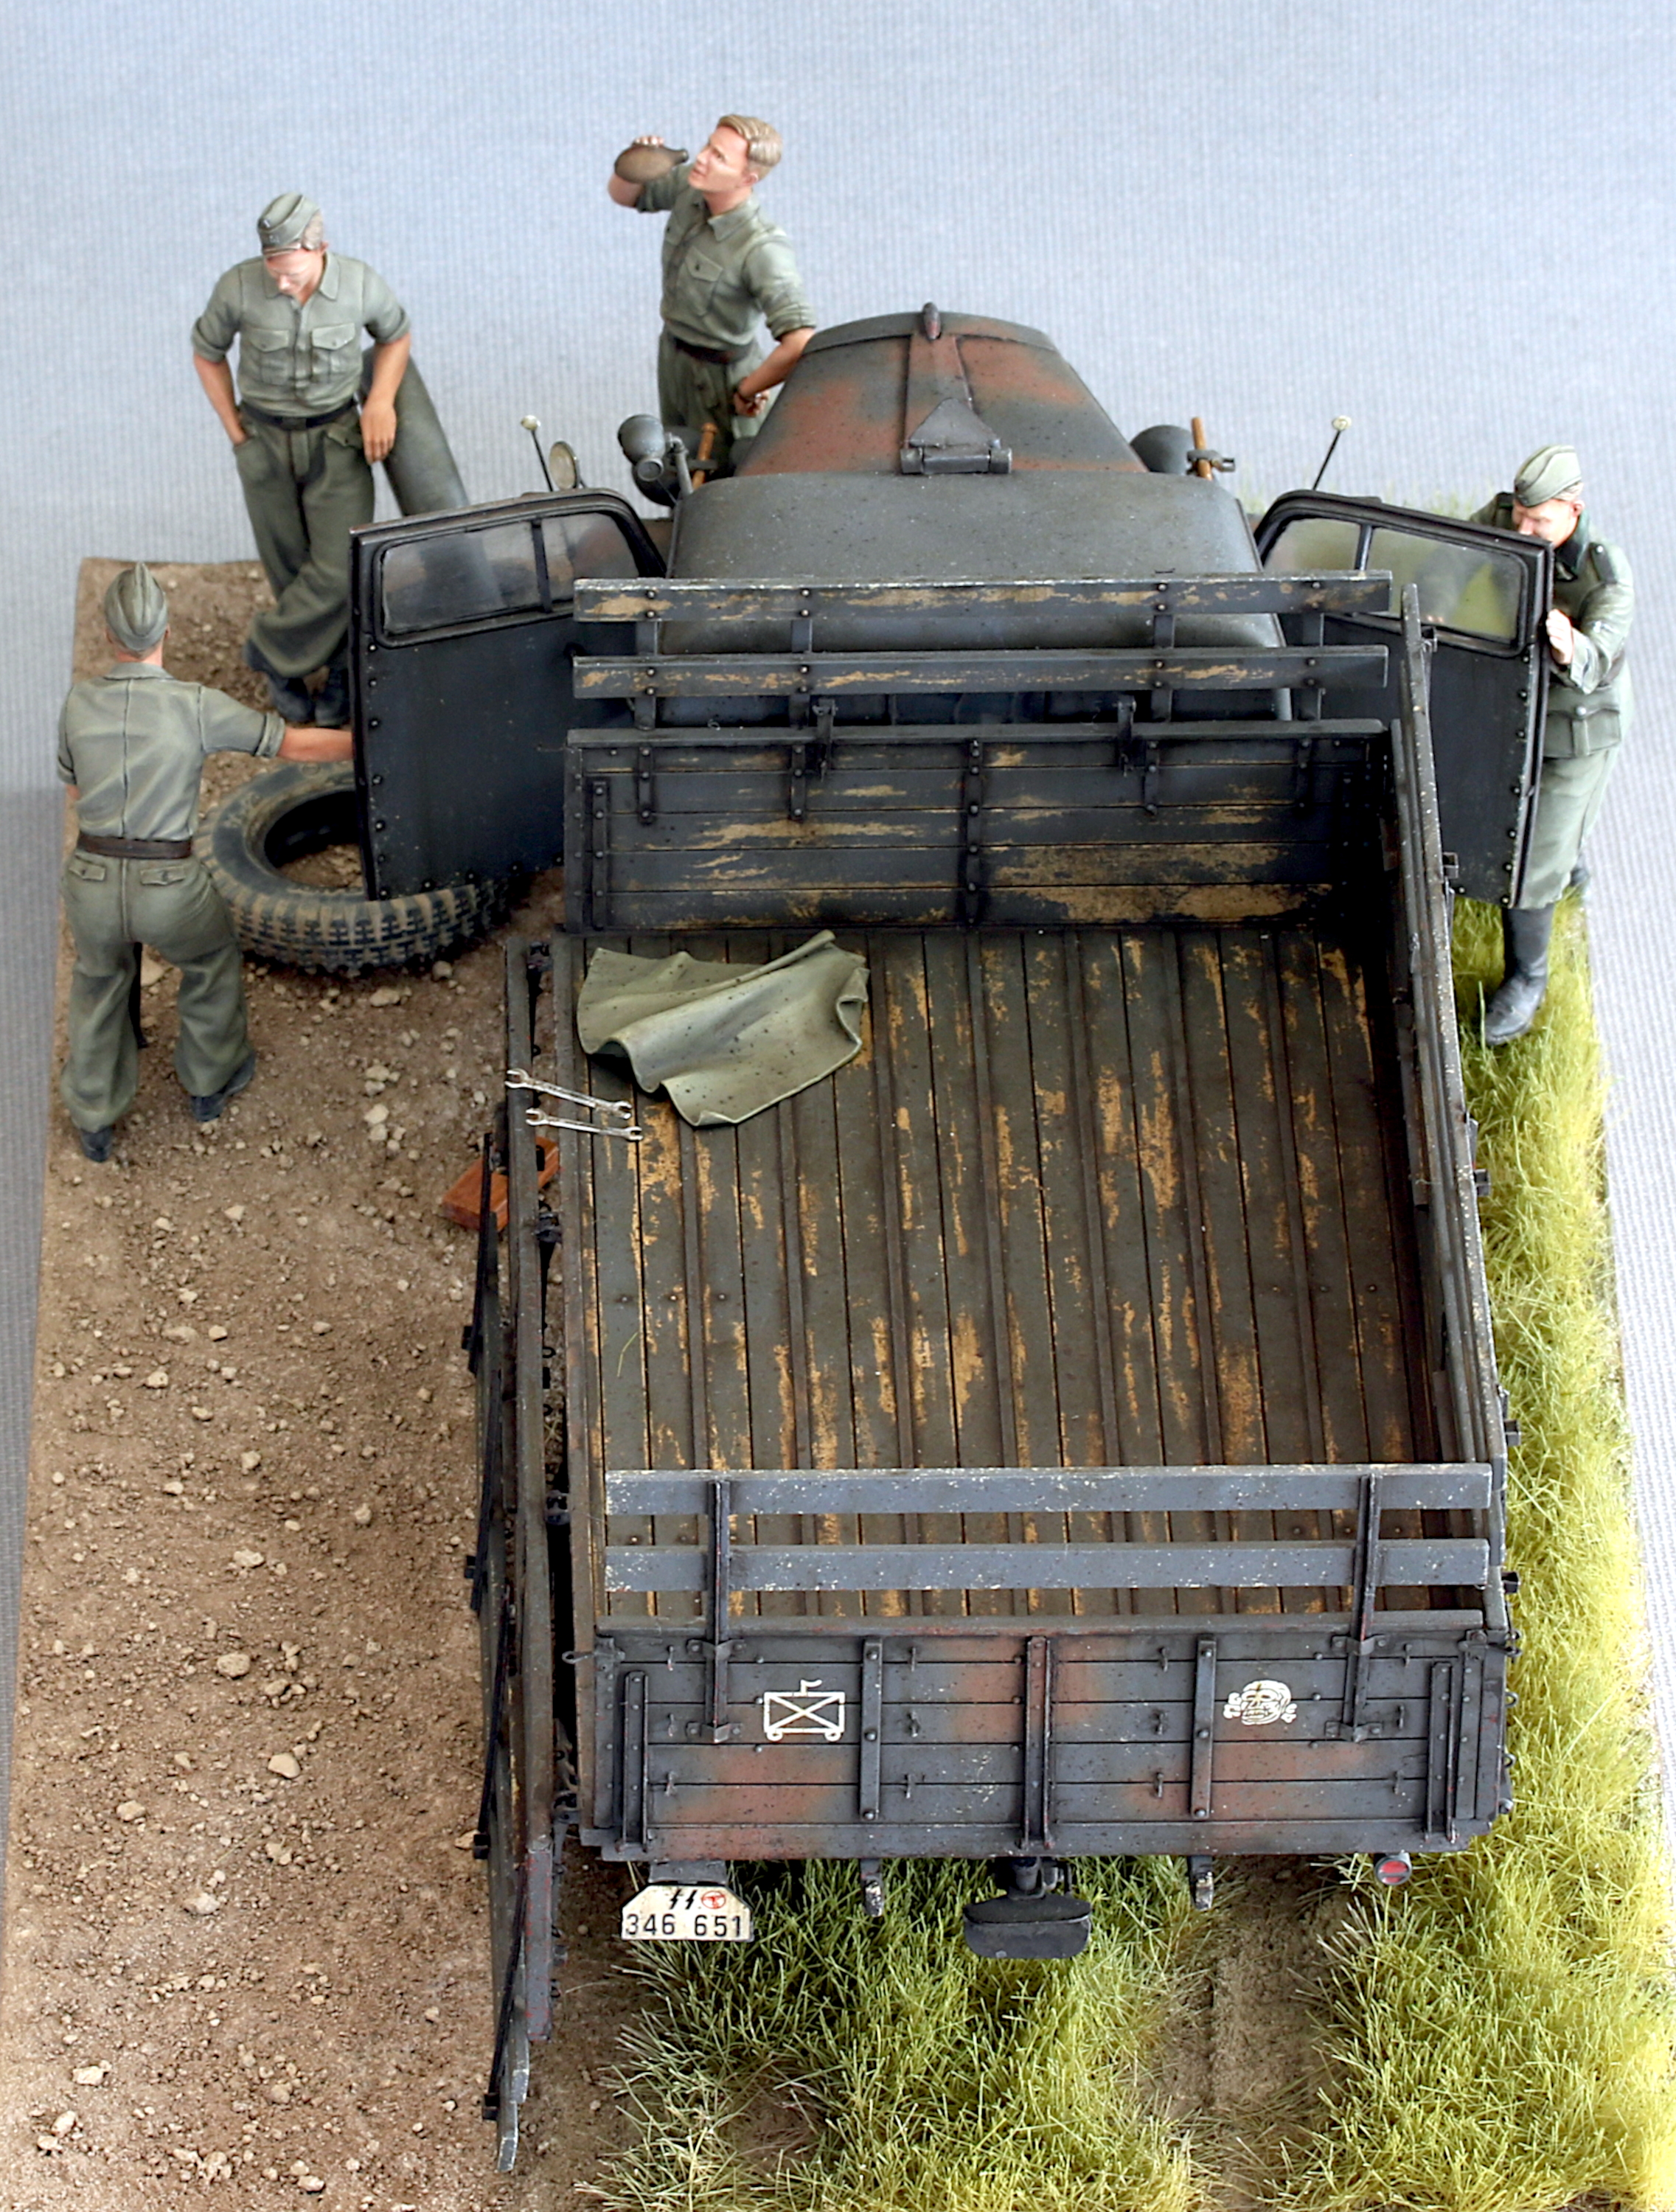
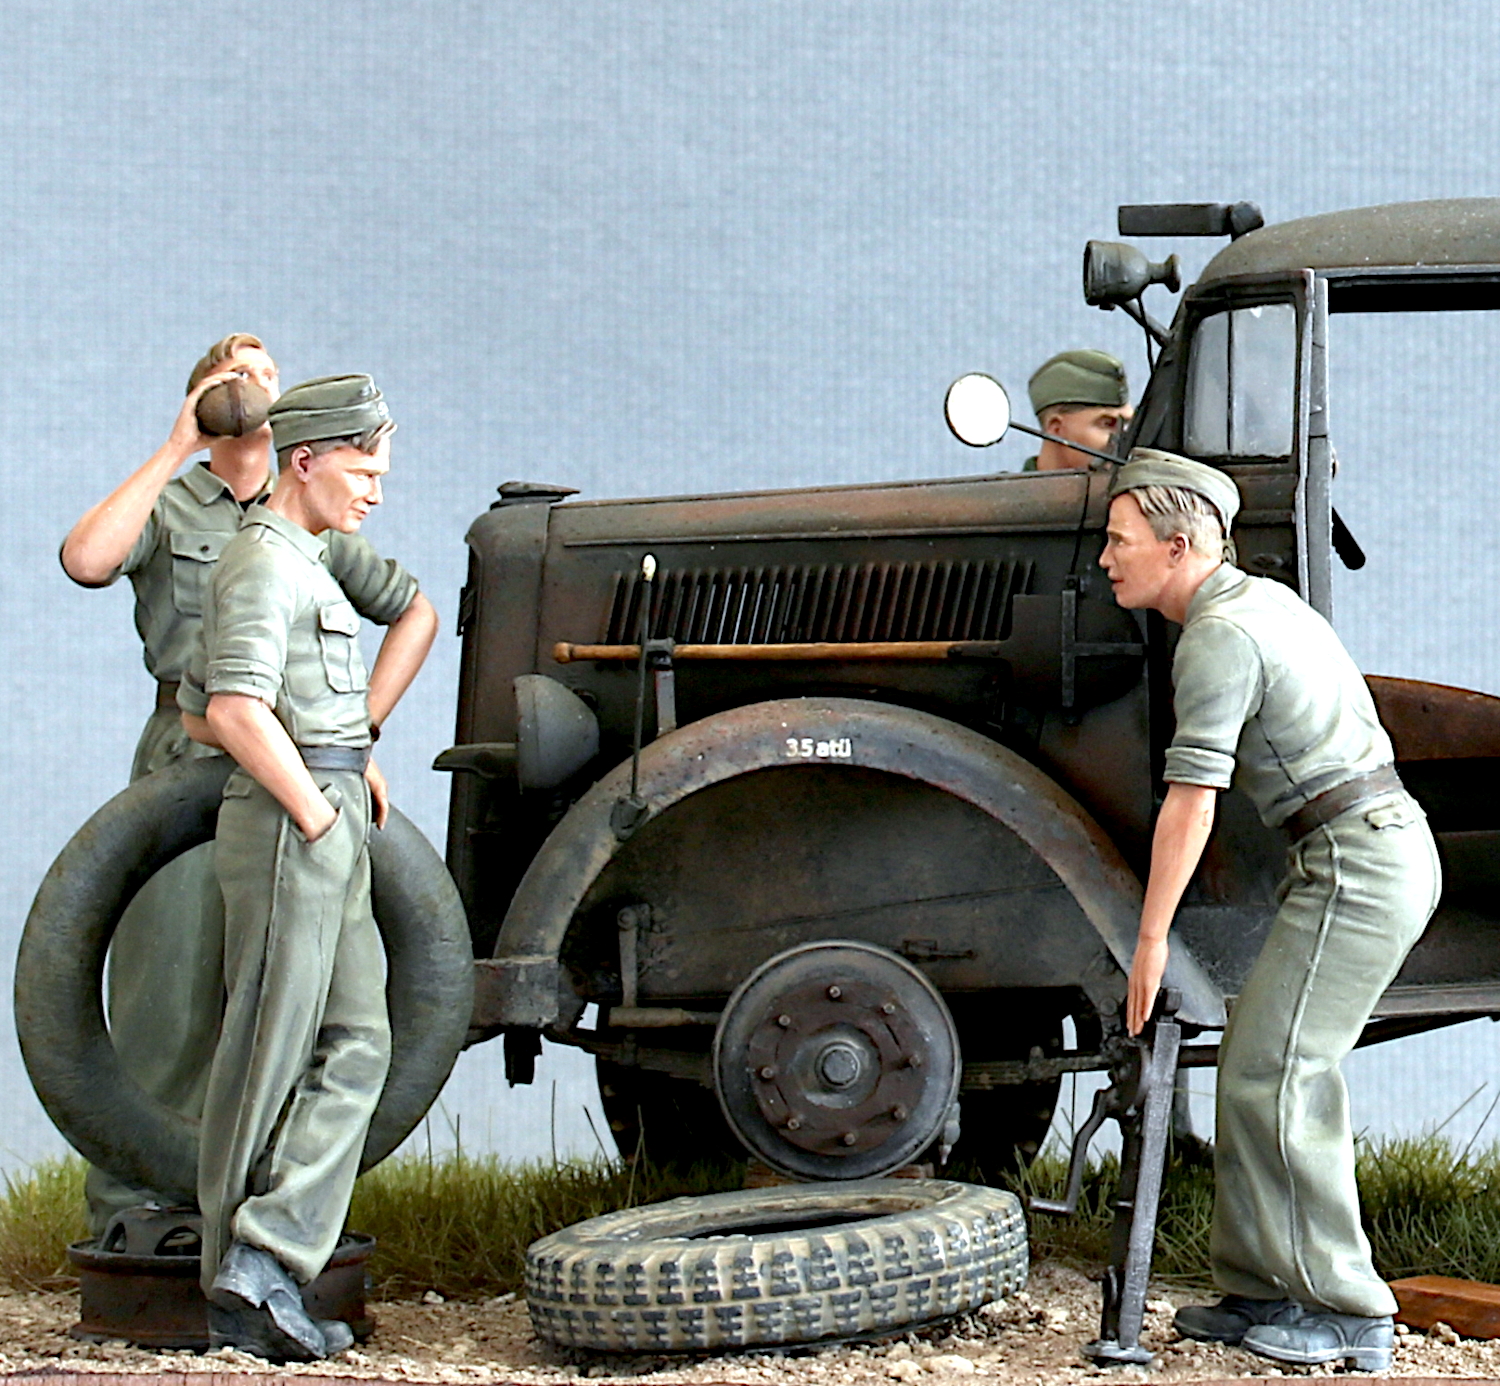
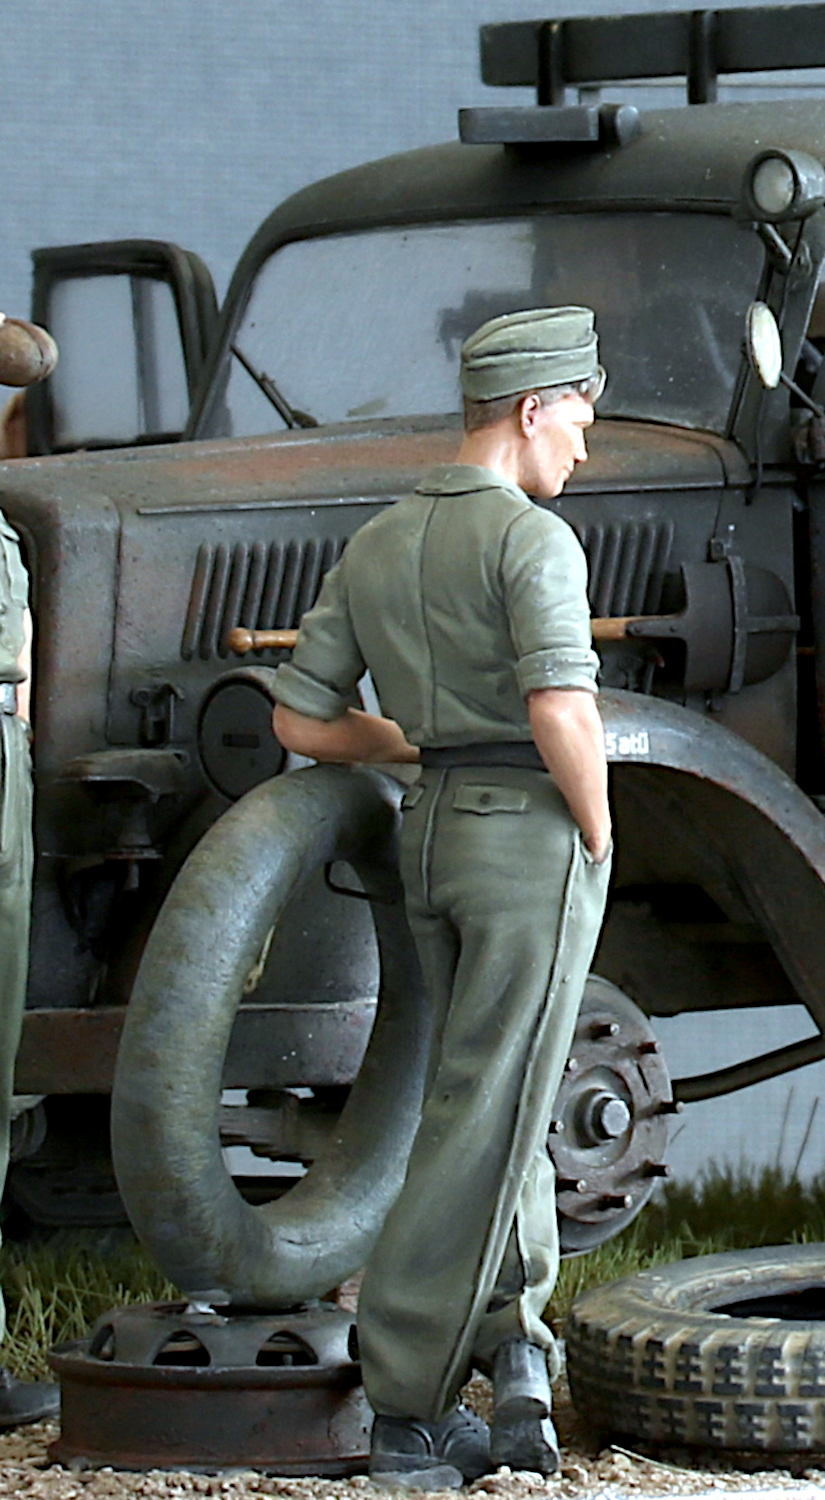
Tire change – Opel Blitz SS – Division Totenkopf, Russia 1941

I finally wanted to build an Opel Blitz without hiding the beautifully detailed cargo bed beneath a canvas cover. While looking for inspiration, I came across a period photograph showing an Opel Blitz with a soldier busy changing a wheel. I liked the idea immediately, as it offered the opportunity to show some of the vehicle’s mechanical details while also creating a small, believable scene around the truck.

The kit itself is from Dragon and was enhanced with a number of photo-etched details from Voyager. The tires are from Pimp My Miniature, which provide a nice improvement over the kit parts, particularly in terms of tread and overall appearance. I also sourced the separate wheel rim from Pimp My Miniature, which was especially useful for depicting the wheel-change scene.

The figures are mainly from Panzer Art, complemented by an older Alpine figure that I converted slightly to fit the scene. Rather than simply placing the figures around the vehicle, I wanted their poses to tell a small story and make it clear what was actually happening.

To depict the maintenance work, I positioned the truck with one wheel removed and supported the chassis on wooden blocks. The figures were then arranged around it as if they were in the middle of changing the wheel, with the loose wheel and other small details helping to tie the scene together.

The overall idea was to keep the setting fairly simple and focus attention on the Opel Blitz and the interaction between the figures. At the same time, leaving the cargo bed uncovered allows much more of Dragon’s excellent detail to remain visible and gives the finished model a rather different appearance from the more commonly seen canvas-covered Blitz.
Opel Blitz – second build

From the Panzerwerfer and Maultier builds I had a lot of parts for a standard Opel truck left over, so I decided to redo the Rasputiza scene. I finished the new Opel truck, and added it to the base, together with one of the original figures and the original driver. As war-time pictures usually show many soldiers trying to move trucks out of the mud again, there will remain many more figures to be added…


And another figure…

As I enjoyed sculpting the other guys so much, I could not resist to add another figure that will be pushing on the Opel Blitz truck:

On the bread bag the canteen and the water bottle will be placed, as well as a Kar98 rifle over the shoulder.

Update: Now the figure is painted and fixed to the base:

Sculpting the third soldier

After finishing the frame body of the third figure, I added the boots, building them up from the soles on with a lot of sanding in between. Then I added the trousers legs (as far as they will be visible), and started working on the coat:

Building the soles from putty is not that satisfying, so I will try using sheet styrene instead. The last picture shows one part of my work – in – progress sole stack.

I made quite some progress:

And I am not so sure about the soles. Perhaps it is better to use putty, but to start with the heels…

Sculpting continued

In the meantime I have finished sculpting the first figure, and it is also almost completely painted:

The lower side of the hands is not worked out, as they will not be visible. The dirt on the coat will be refined with some more oil washes, and the skin parts need some more highlights.

I already started with the second figure. Currently I am working on the boots, they have to be sanded to shape, and then some more details will be added.

The sculpting is real fun, but also challenging. A lot to learn… For the buttons I use brass tubes of different sizes to punch them out of thinly rolled putty.

Now I finished the head of the first figure and mounted it onto the body (and do not mind the hands…):

And this is how the figure looks like on the base:

Figure sculpting

Actually I am not happy with the two figures still missing, so I decided to sculpt these figures from scratch. I started with the first figure:

I made a frame from two pieces of milliput (shoulders and pelvis) and some pieces of copper wire, forming the back and two legs. After bending this frame to the final pose, I fixed it using more Milliput. Then I sculpted the boots and the trousers legs, which are not that detailed higher up, as they will be covered with the coat later on.