Interior of the scout car

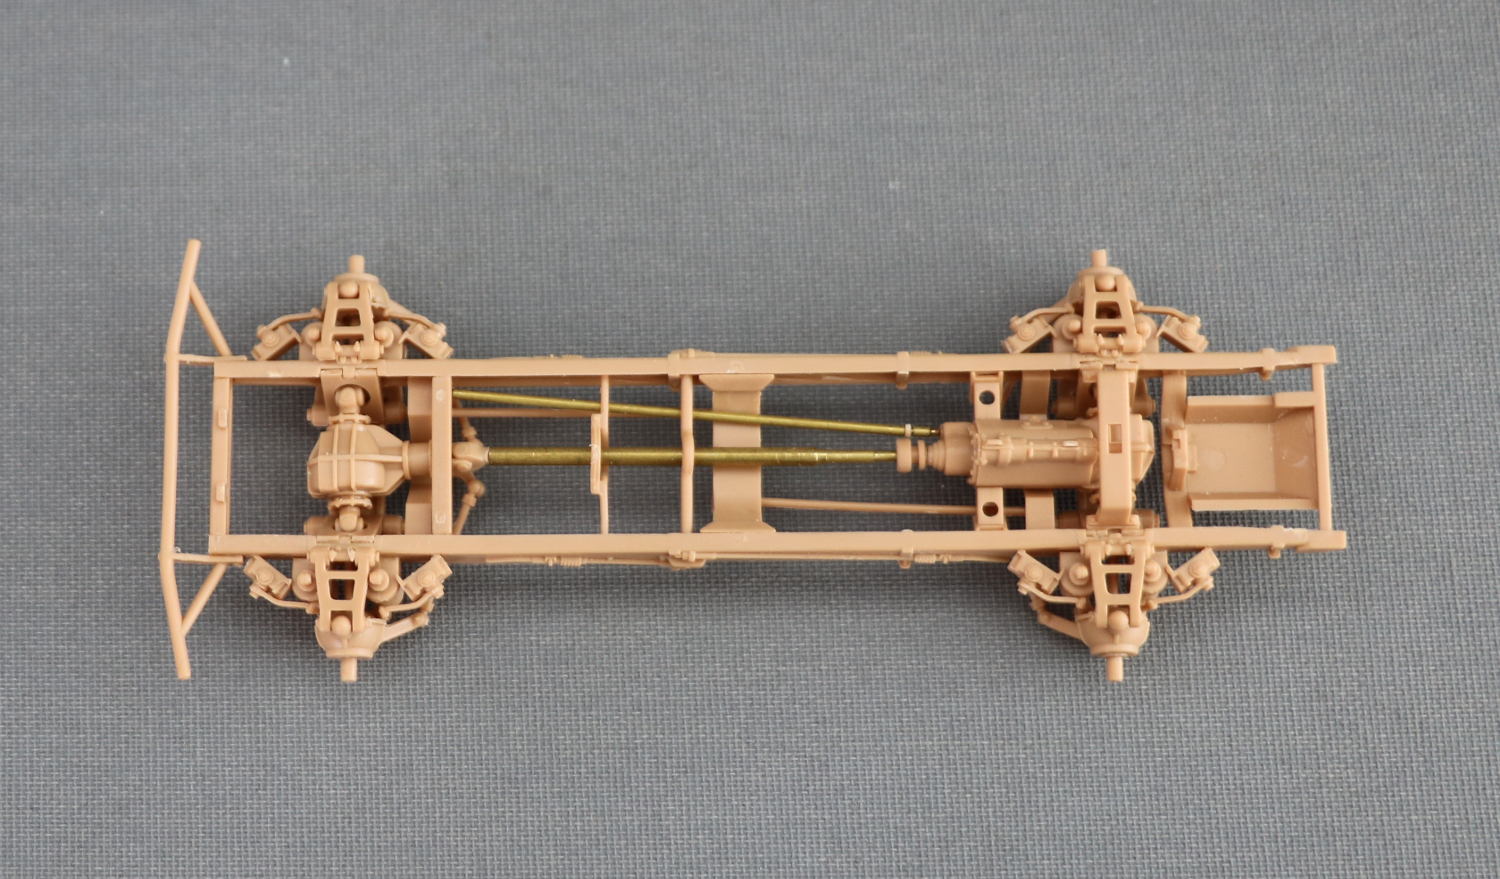
I finished building the interior of the SdKfz 222, so that I can start to paint it now, before gluing the hull together. I also sprayed the undercarriage with panzer grey, and fixed the engine to it:

The red primer looks quite ugly, but it will not be visible after the hull is closed. The other parts are sprayed with a slightly down toned white, and then chipped with a sponge. Then I added some brown – ochre wash and started to paint the details of the fitted gear, bearing in mind that a lot will not be visible later on.

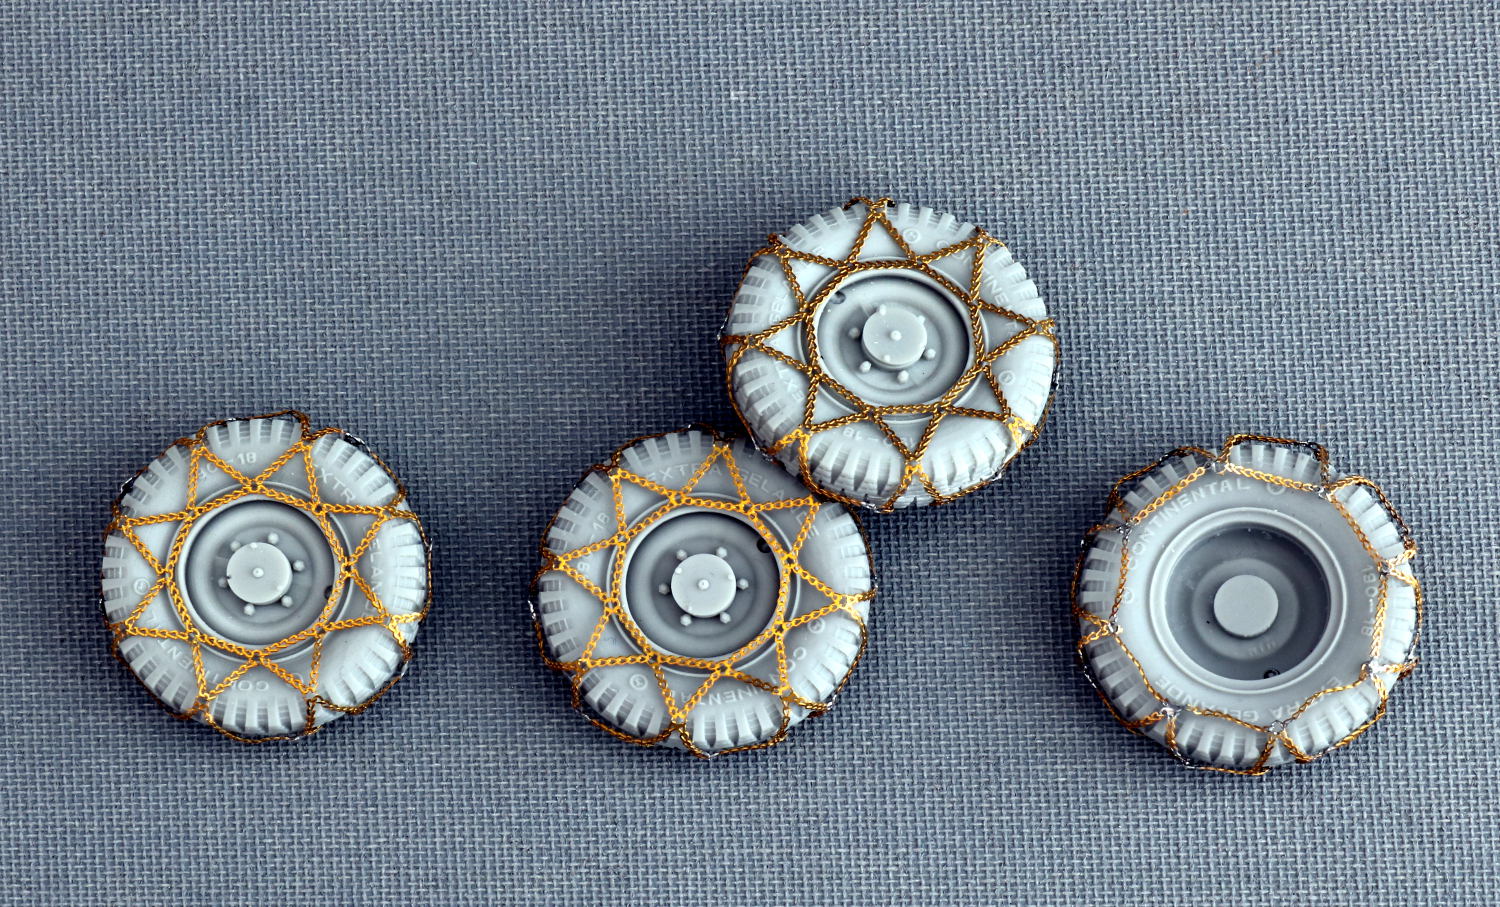
I also fixed snow chains (from Minor,  a Spanish company) to the resin wheels I bought separately. Soldering works well, and the joints are soldered together fast enough not to leave any damage on the wheels:

rader-ketten

Now I finished painting the interior, glued the lower part of the body to the undercarriage and added the radiator:

As next step I will glue the body together, and continue to build the vehicle.


I added the third figure

I finished the third figure and fixed it on the base:

The next figure will be the last to be standing on the ground, and it is already in the course of being painted:

There will be another figure, that will be seated on the SdKfz 222.

I also continued to work on the scout car, and I will paint the interior before I glue the body together. I have added some details, like the brass tube that will hold the gun mount, which has been glued under the corrugated sheet metal floor:

Kurt Meyer is finished

Now I finished painting the Kurt Meyer figure, and fixed it to the base. The next figure to be painted will be Max Wuensche:

I also continued to work on the SdKfz 222 vehicle. At the moment, I am building the interior, as far as it will be visible from outside. To finish this, I also build the carriage for the 2cm KwK and the machine gun. The kit parts for that are quite nicely detailed, but I think I will have to build some parts from scratch, as I want to have the gun vertically adjustable, some parts visible on my reference pictures are still missing and finally metal simply looks better than plastic:

Kharkov 1943 LAH continued

Now I started to work again on the Kharkov LAH vignette, replacing the planned SdKfz 250 with a SdKfz 222. The kit is from Hobbyboss, and is very nicely detailed. I will also add some figures from Alpine Miniatures, Max Wünsche, Kurt Meyer and some SS soldiers.

I almost finished the chassis of the SdKfz 222:

kfz-01 kfz-02

I also started to work on the base. The snow is made from plaster, with imprinted tire marks and footprints. On top, I added a mixture made from baking soda and white glue, which dries to a nice icy sheen:

sockel-01 sockel-03

The figures that will be placed directly into the snow are already primed, and Kurt Meyer received the first paint…

Painting the Panzerbefehlswagen I

Now I have completed the model, and started to paint the model using Tamiya German Grey. Then I started to paint the details on the Tank with Vallejo acrylics.

Now painting and weathering is finished. I used oils, enamels for the dust effects and pigments on the tank. Now only the wood beams on the back are missing.

The tracks were burnished using a burnishing liquid, and then dusted using enamels and paints. Some links where placed on the glacis plate as spare track links.

I also fixed the Panzerbefehlswagen to the base:

The figures

The peasant couple is now finished and already primed, like the soldier from Alpine. For this figure, I also crafted another head from a Hornet head and a overseas cap, which is more lively and also somehow aggressive, which helps to convey the “invader” topic of the overall scene. Finally I noticed that the figures from the Dragon Panzerbefehlswagen kit are too large, so I started to build the tanker also from scratch. As this guy will peep out of the hatch on top of the tank, the boots will not be visible, so I used the large Dragon parts there.

The tanker figure is now finished and in the course of being painted: