The end 1945 – Adolf Hitler

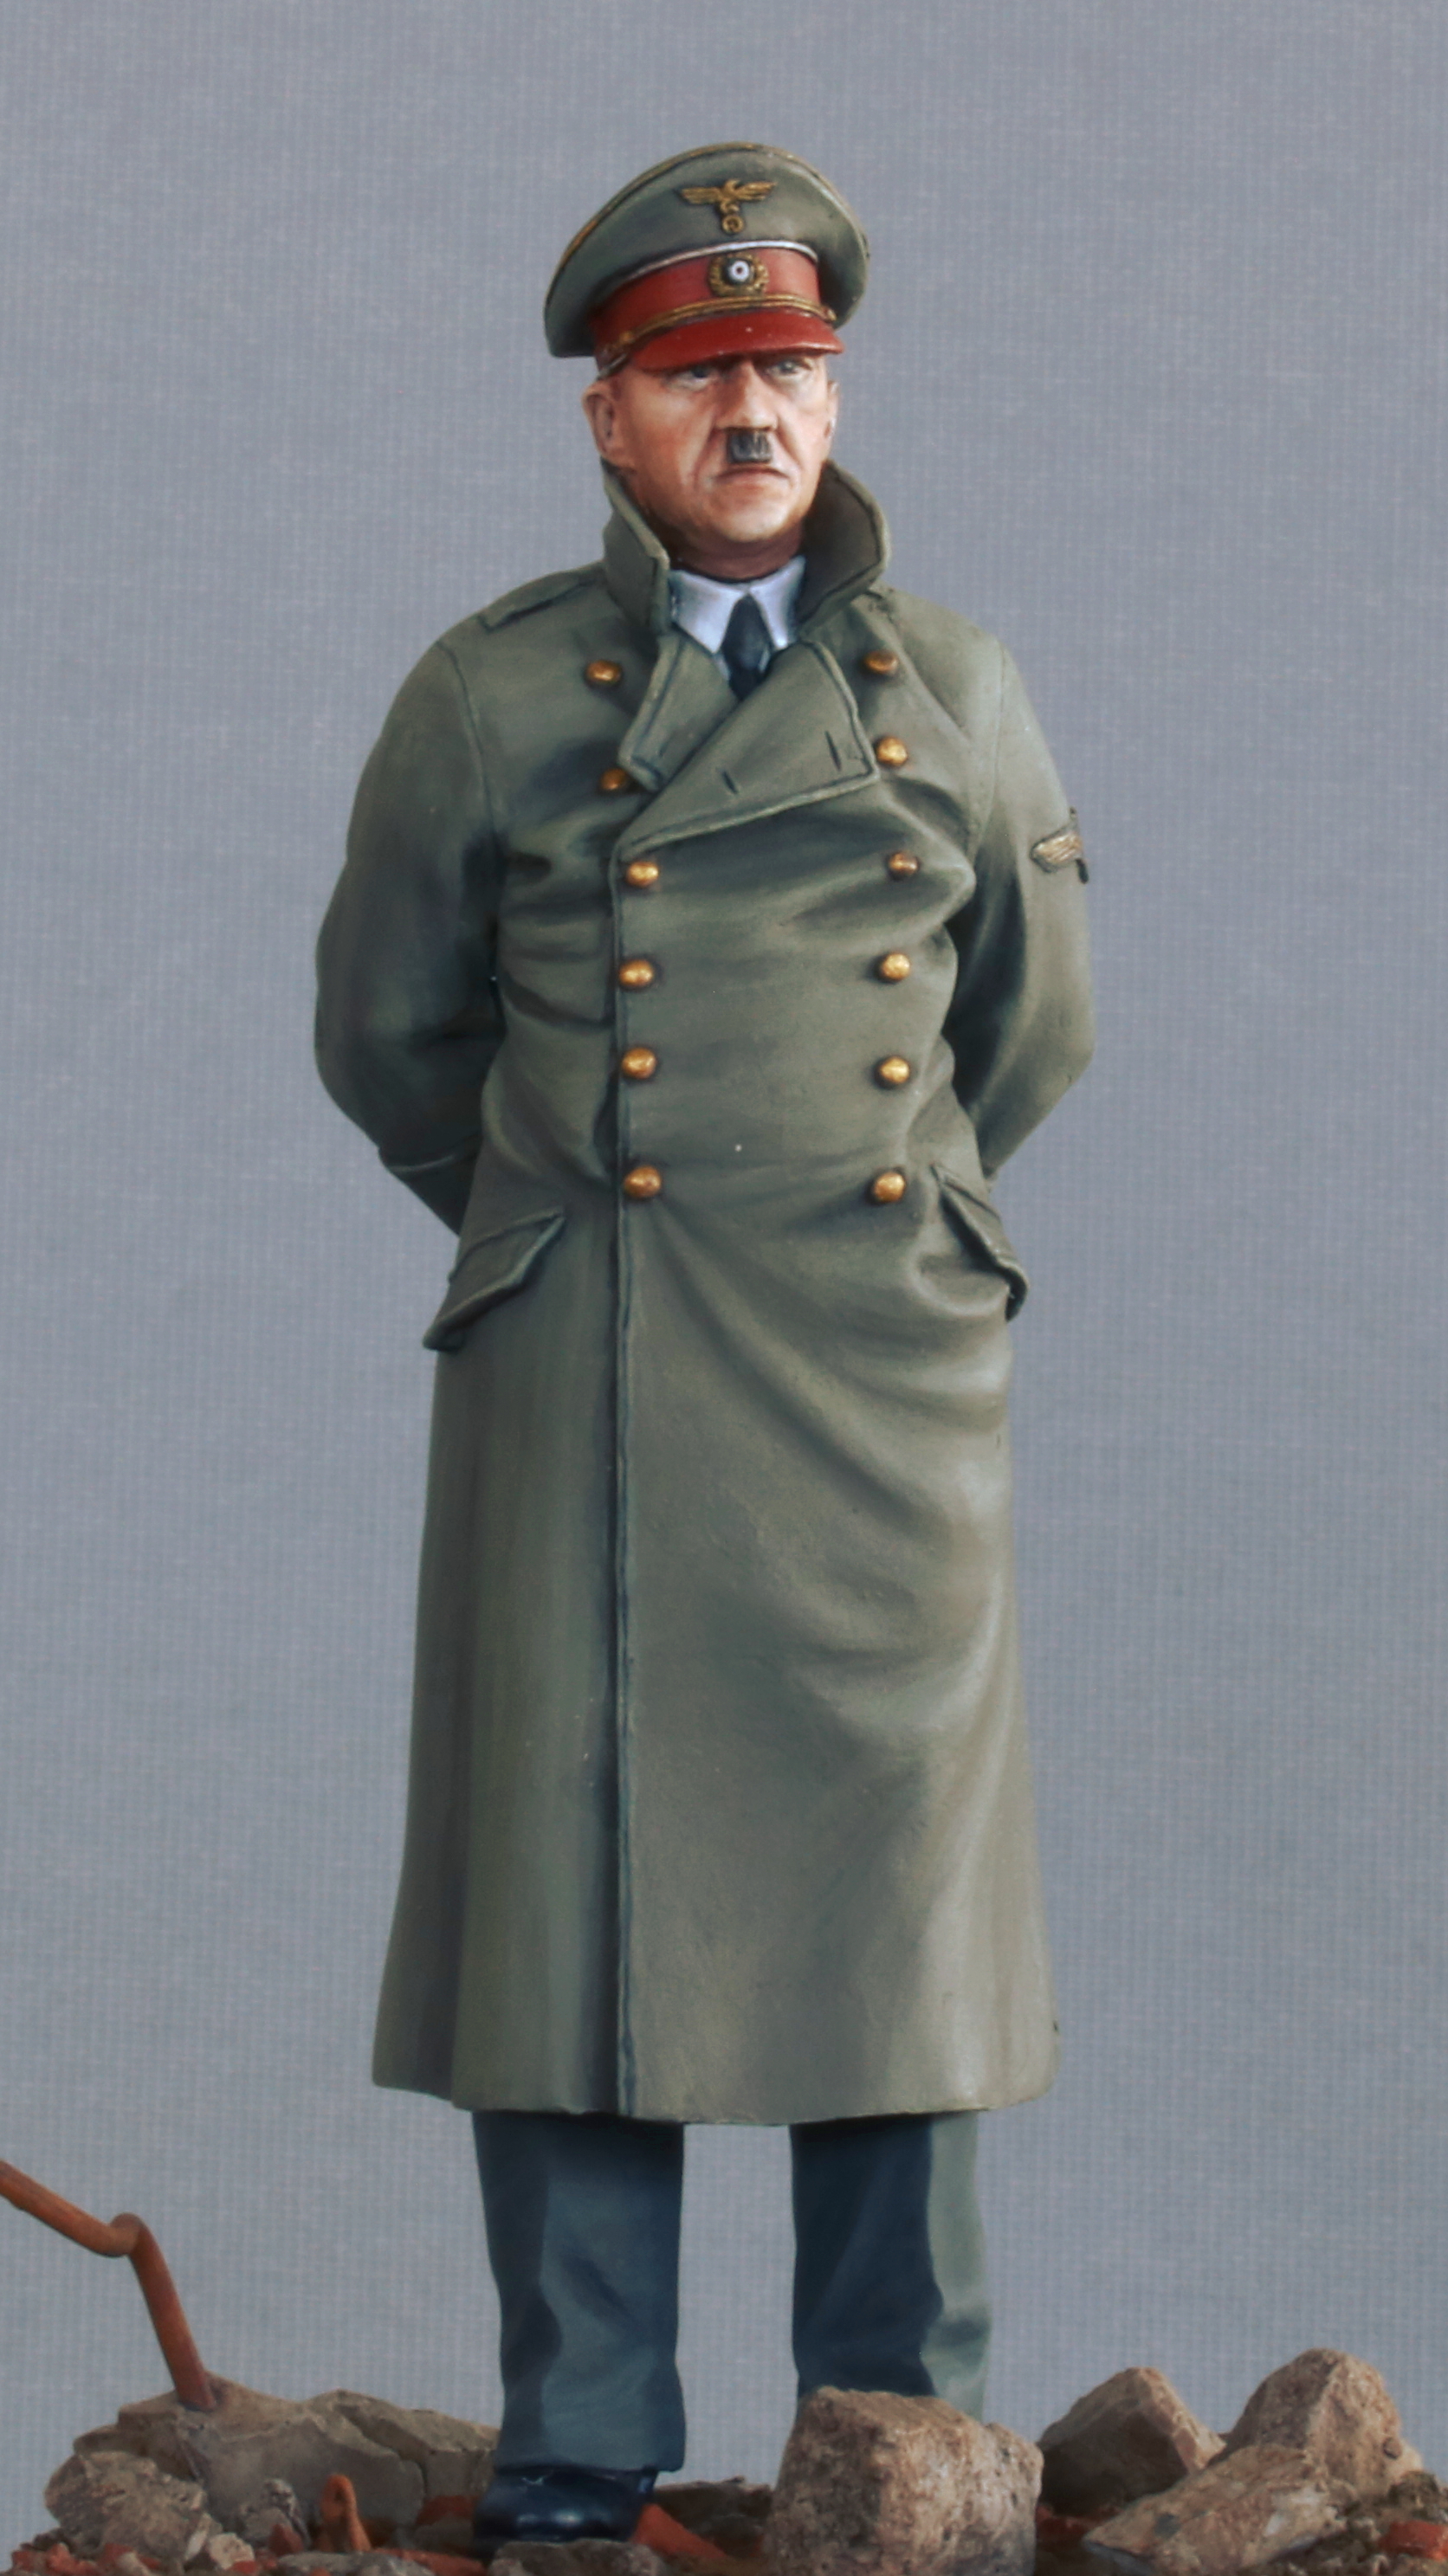
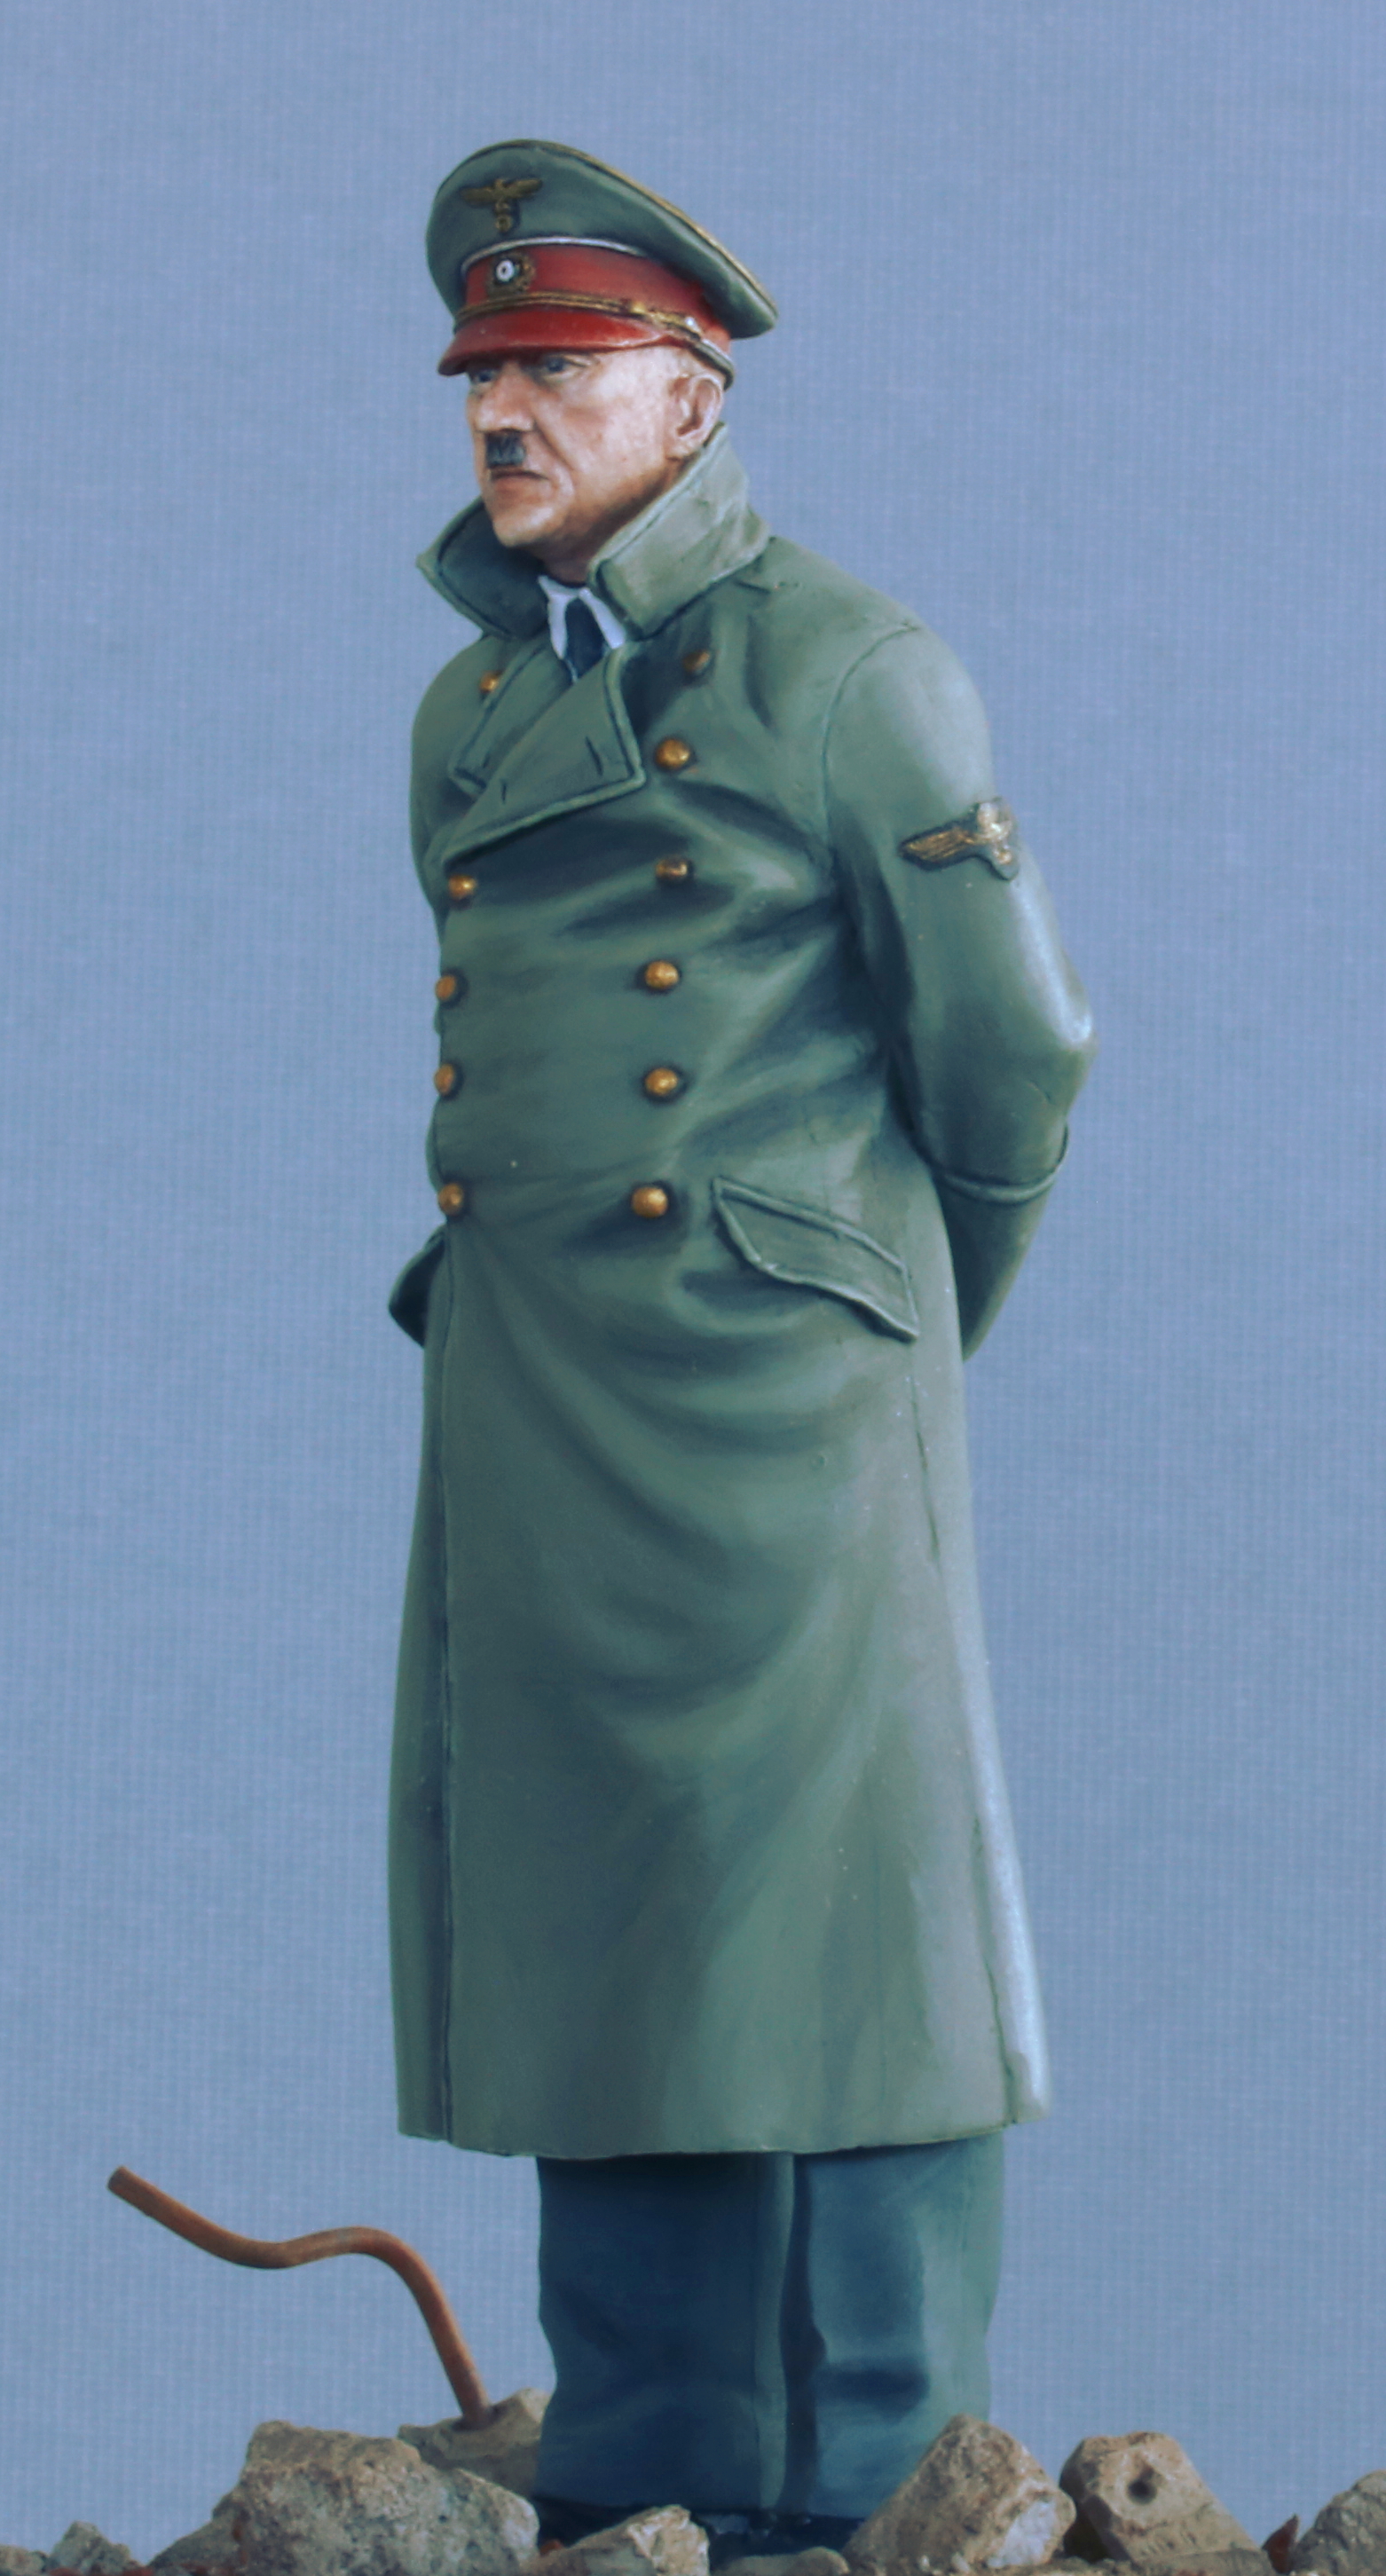
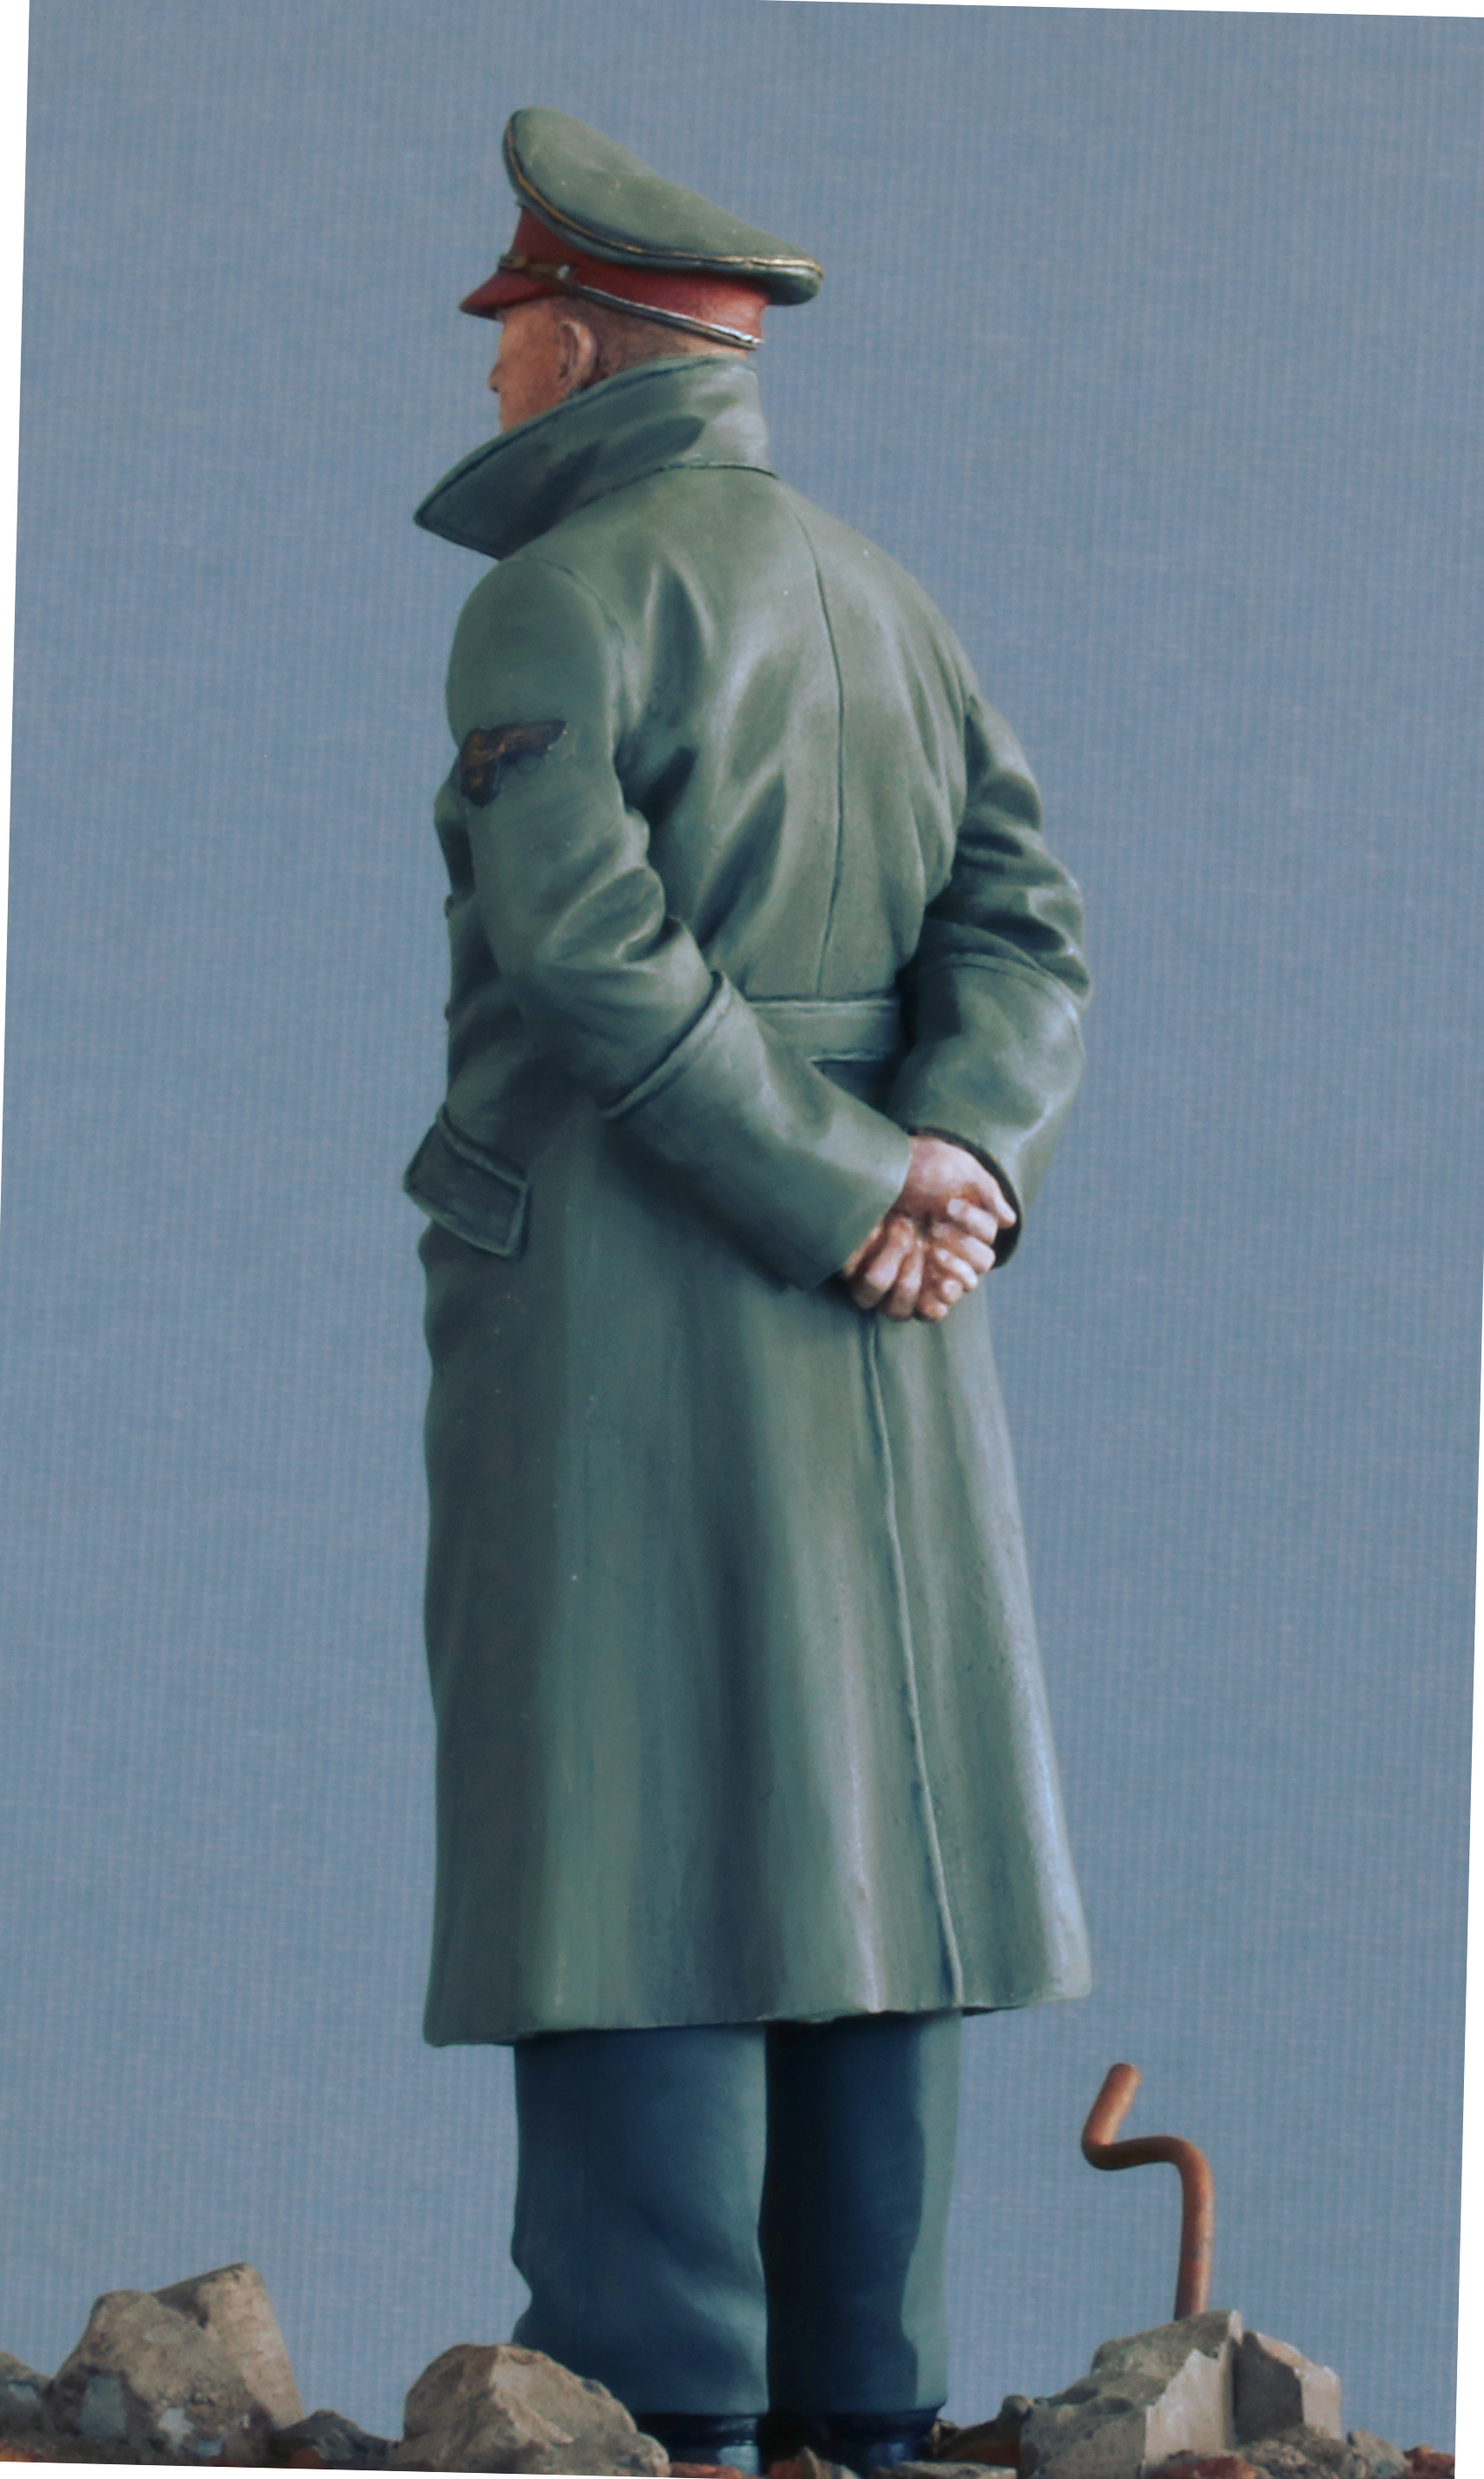
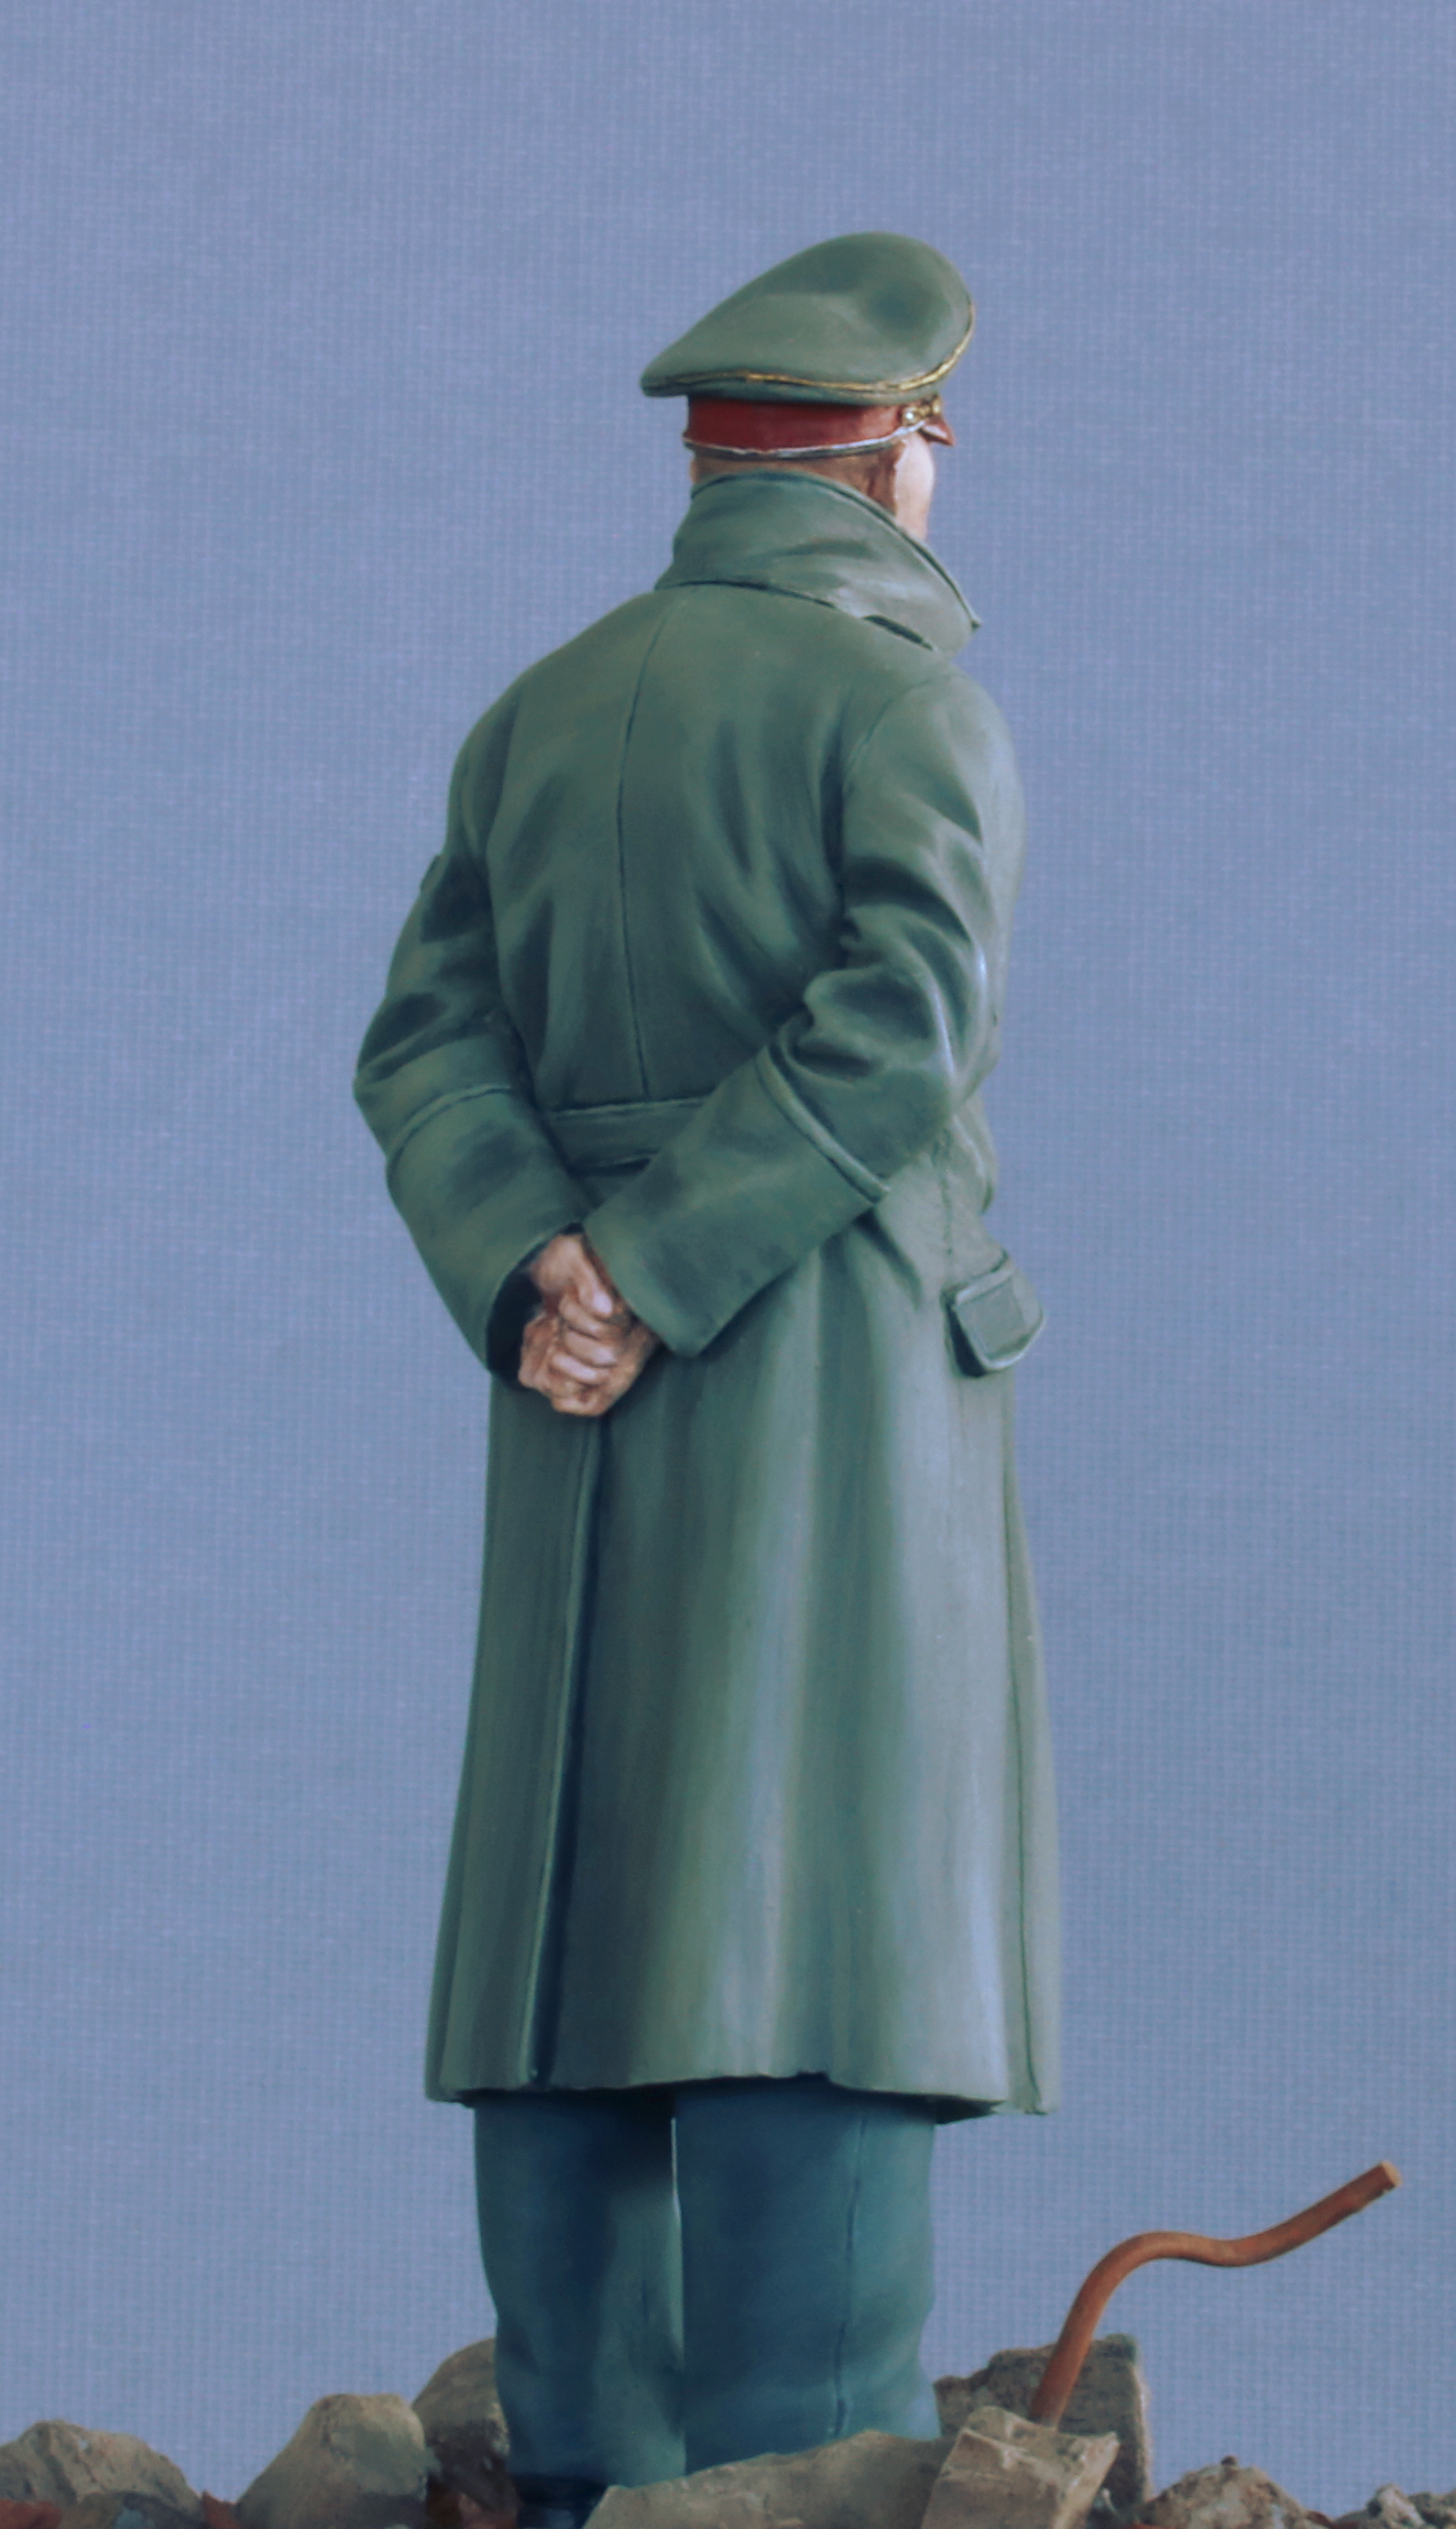
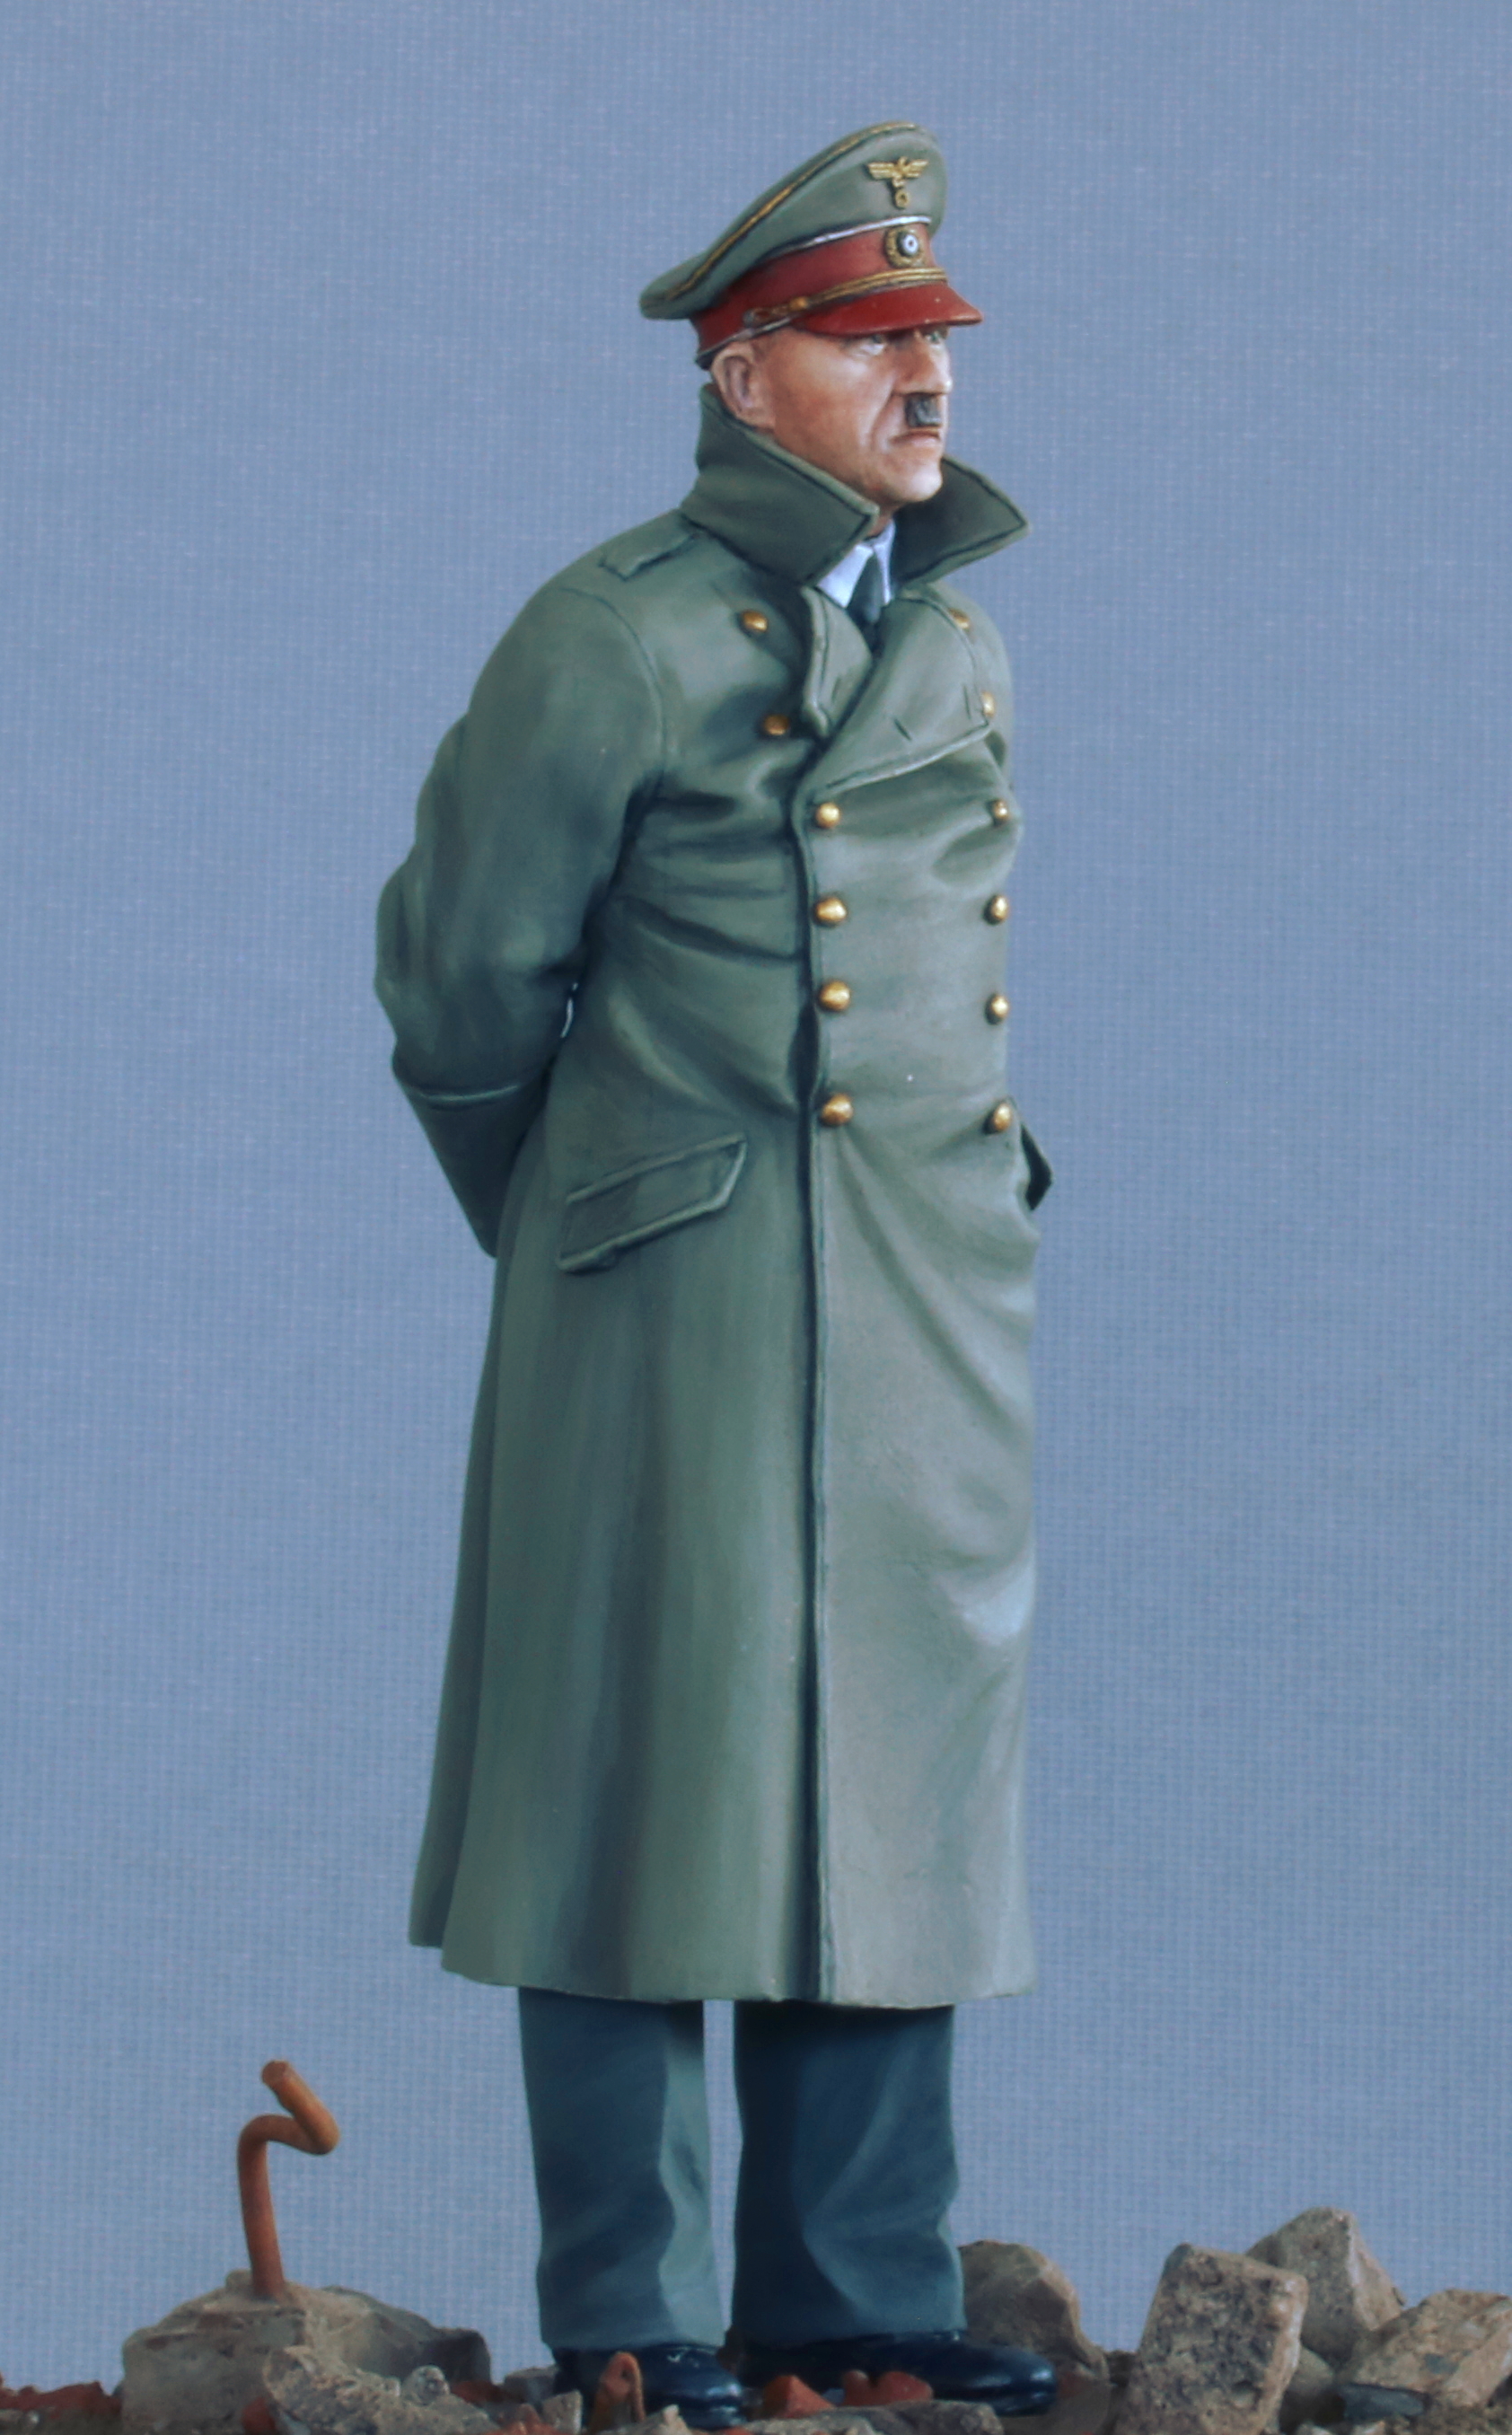
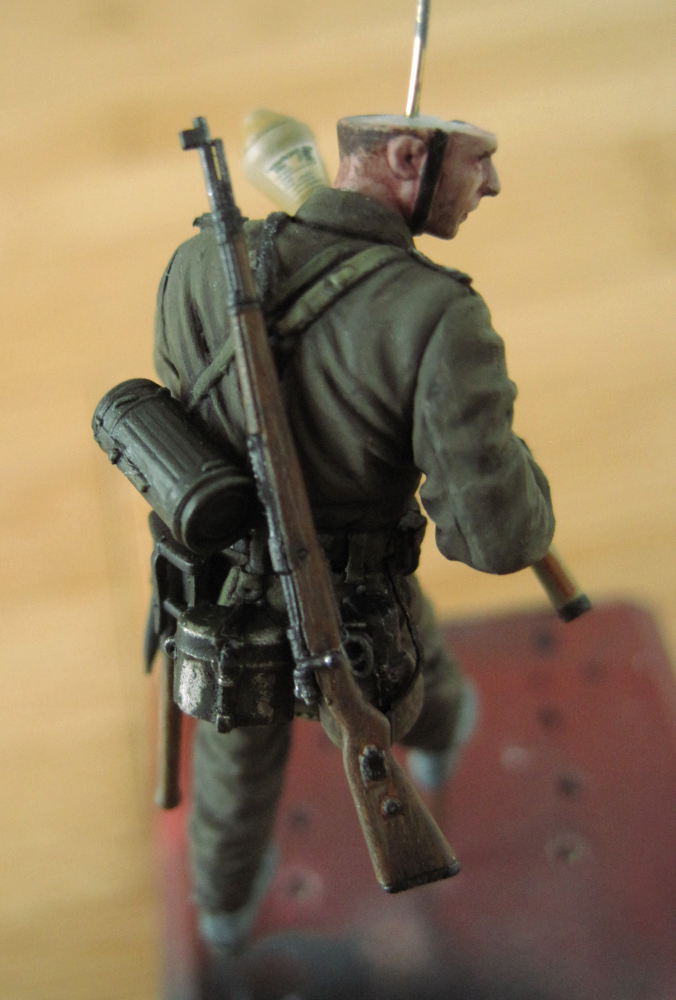
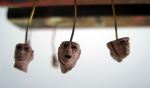
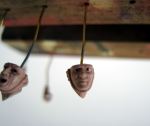
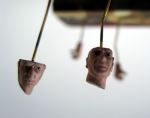
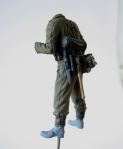
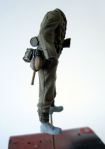
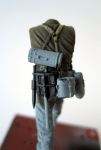
One issue of the Weathering Magazine features a large scale metal figure of “the Führer”, looking over the ruins of Berlin (and his short-lived empire). I found this very inspiring, and decided to purchase the figure from Andrea. The subject is controversial, and this is by no means any glorification of Hitler, but I took the opportunity to paint a larger figure.

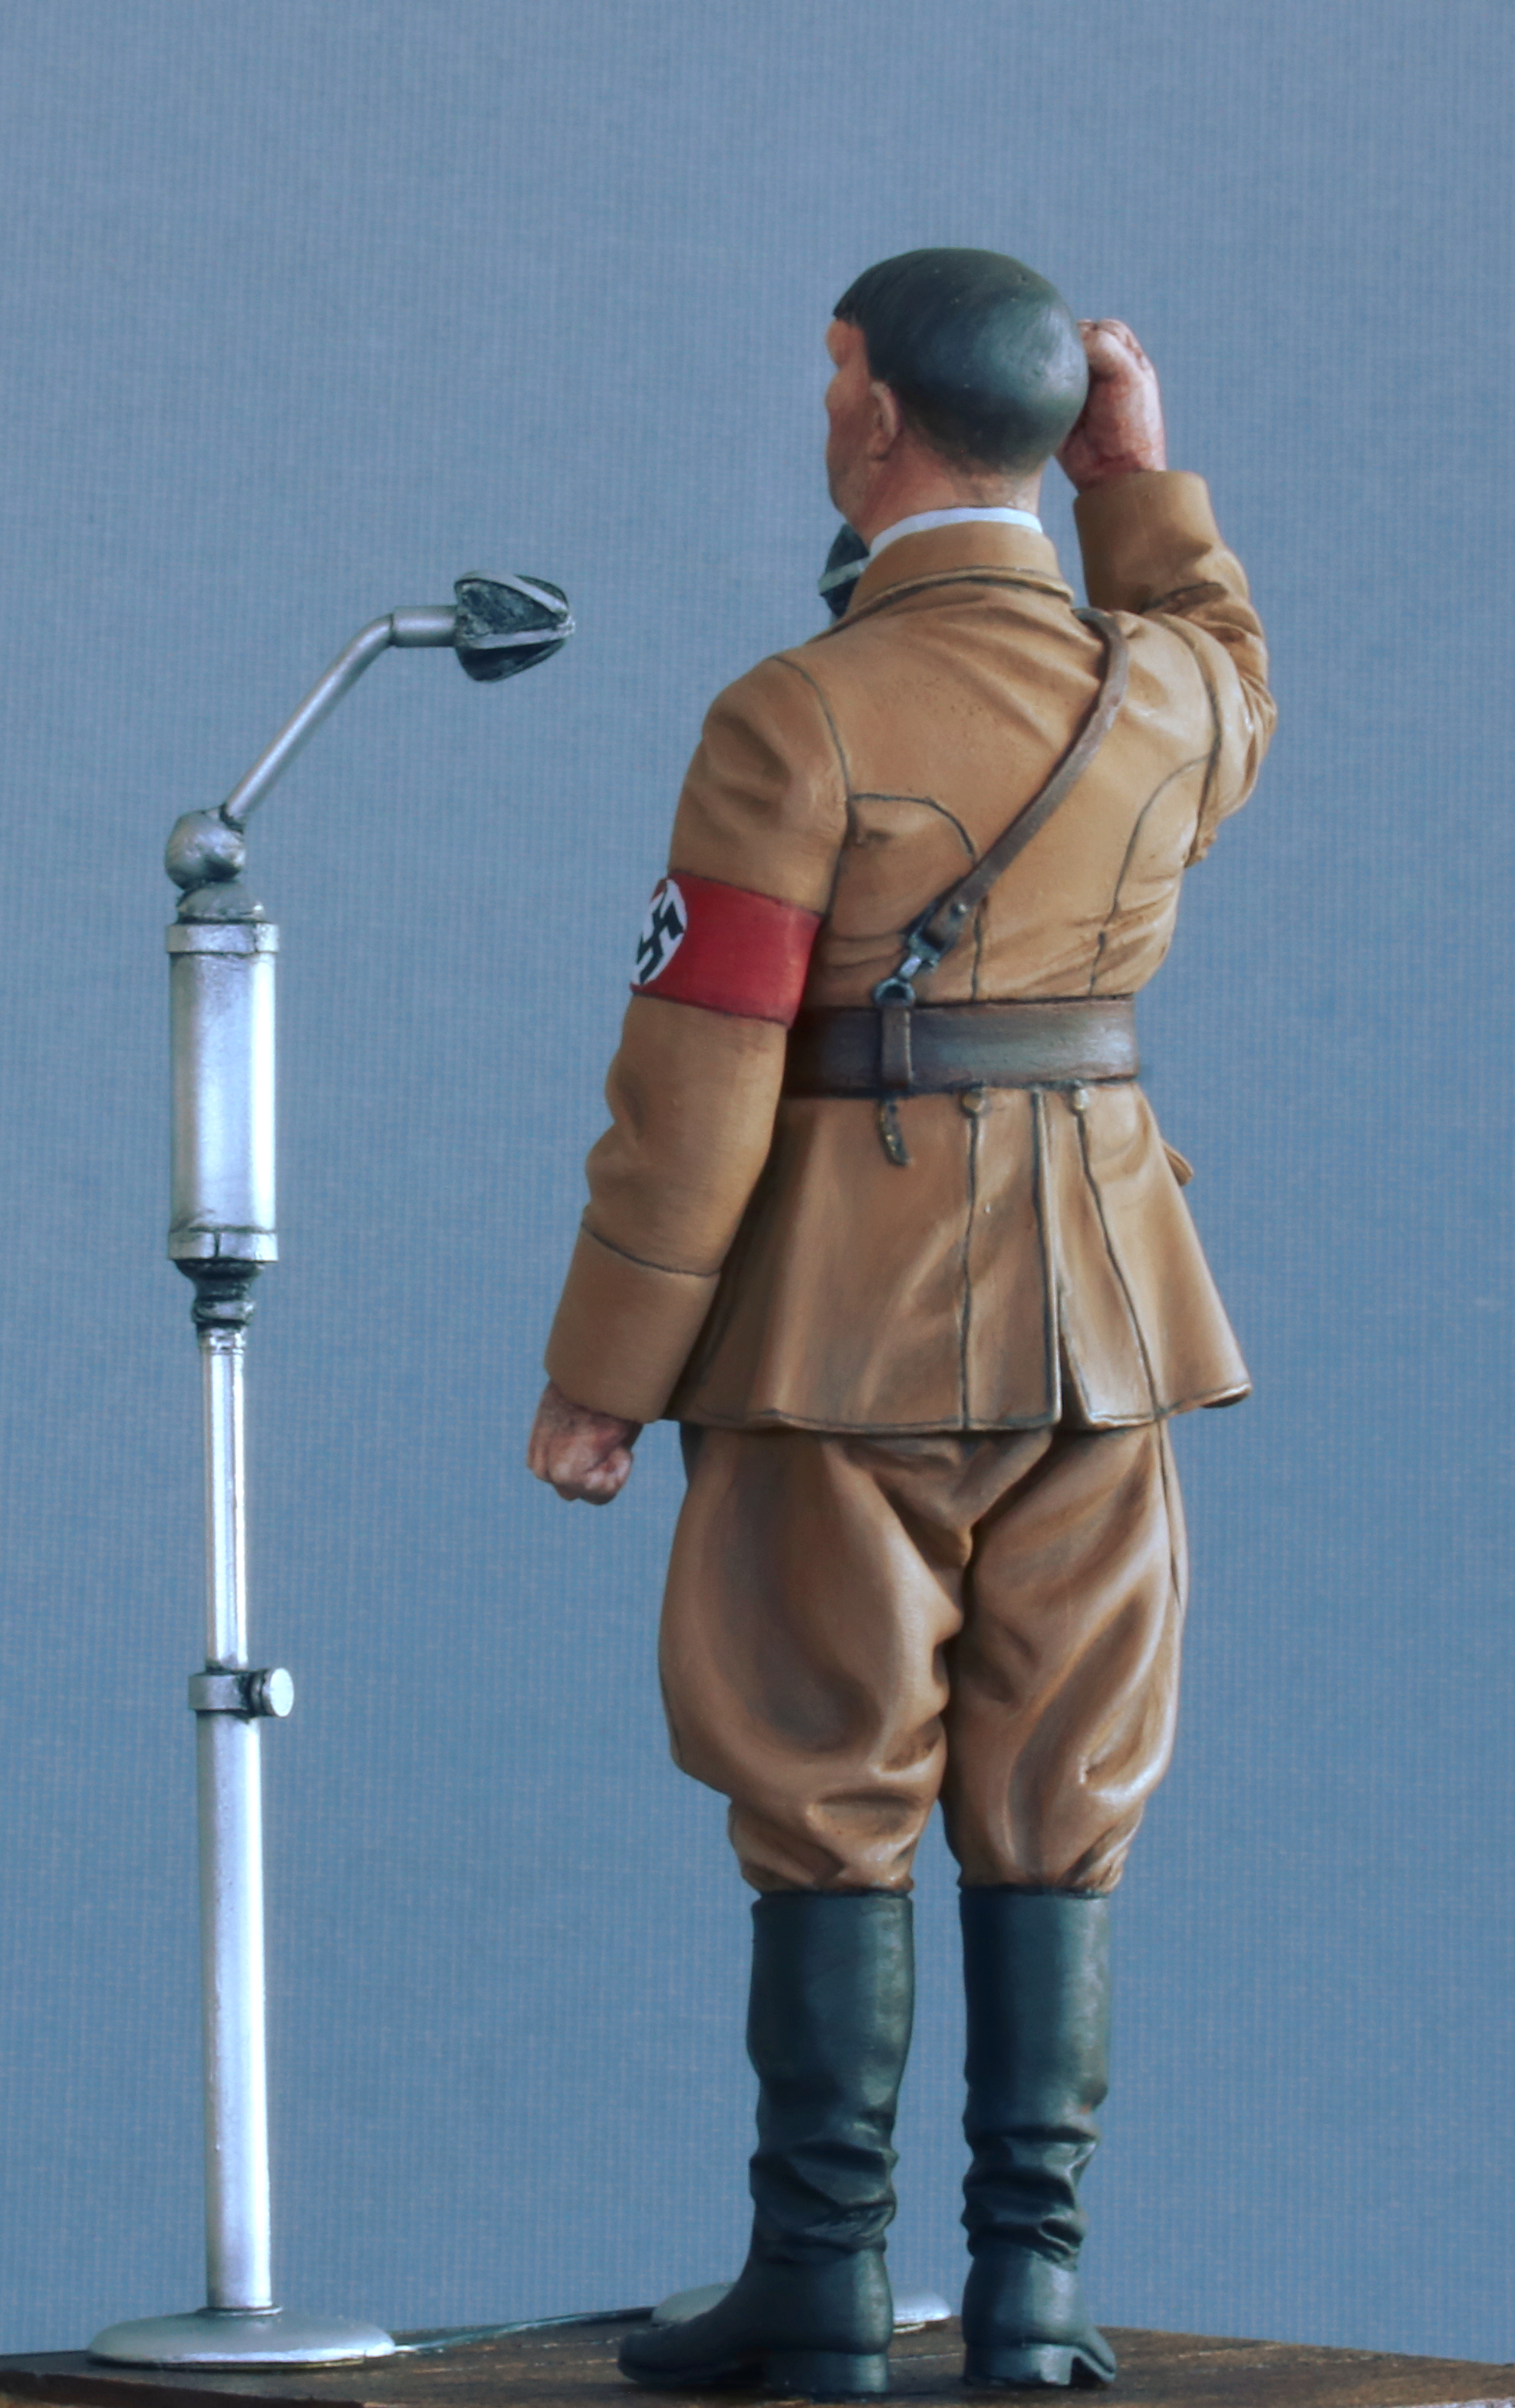
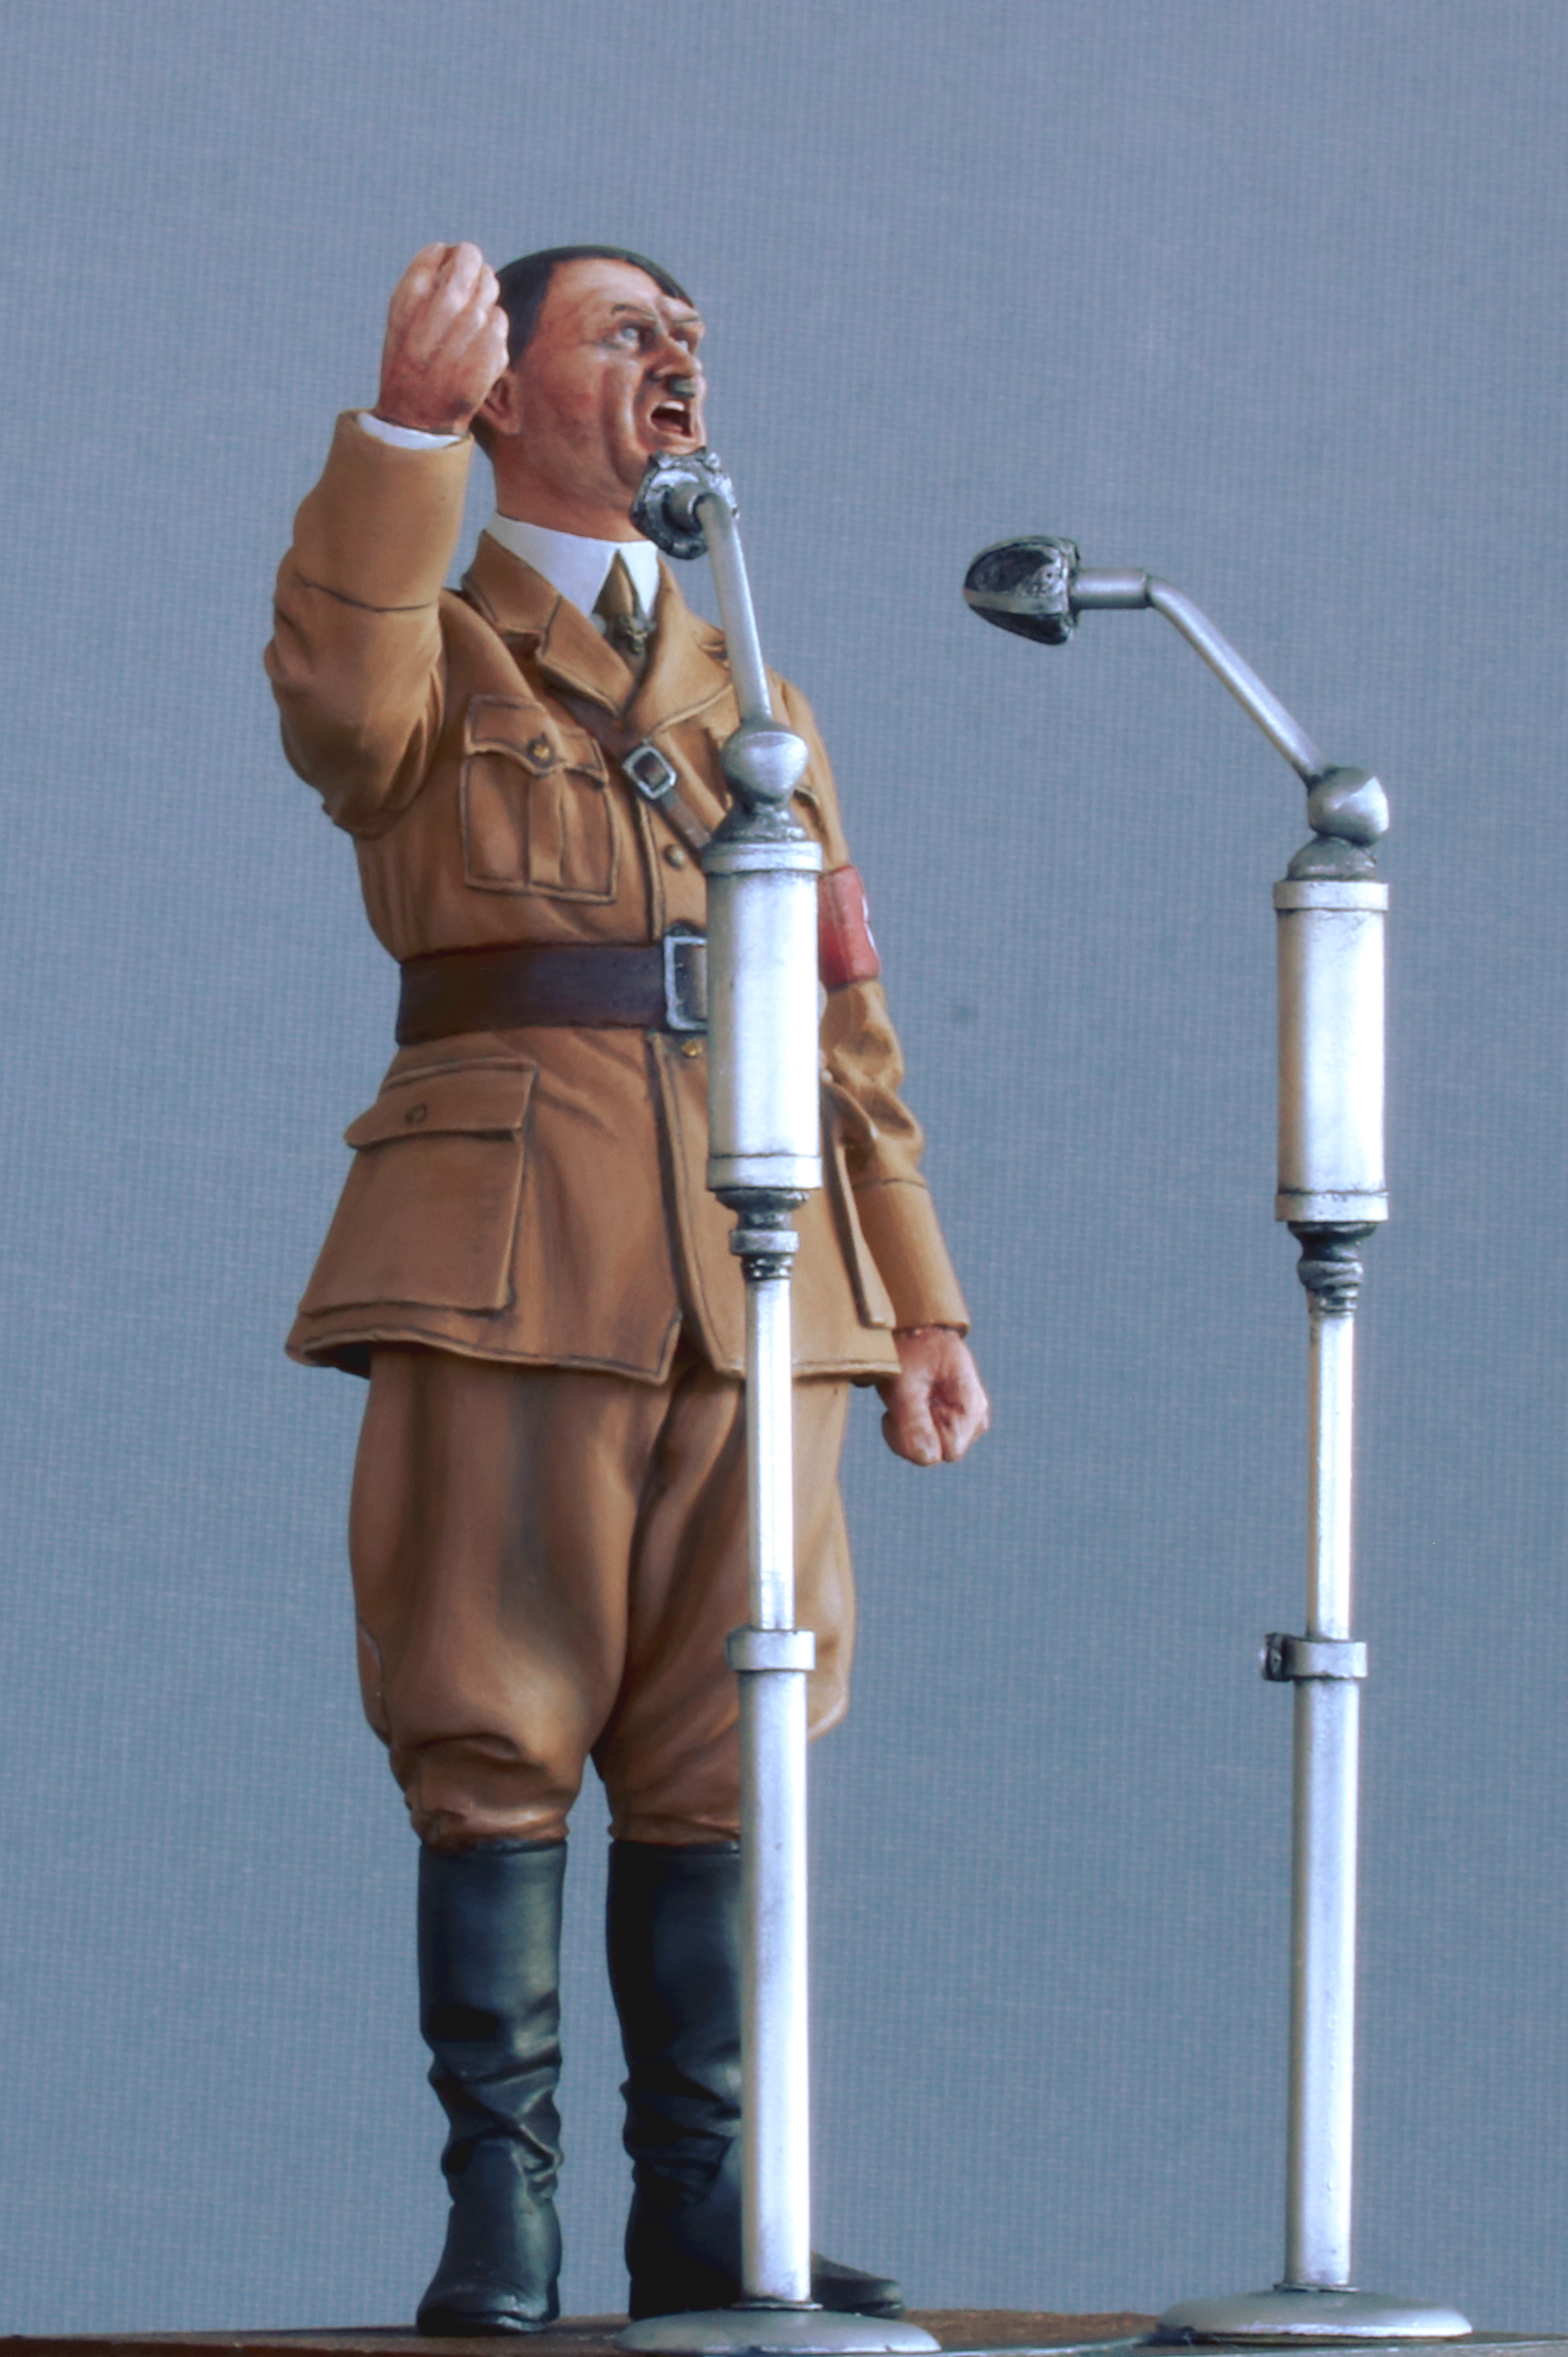
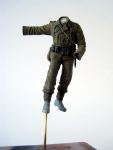
I also added another figure, called “the Speaker”, depicting Hitler around 1934 speaking to the public.

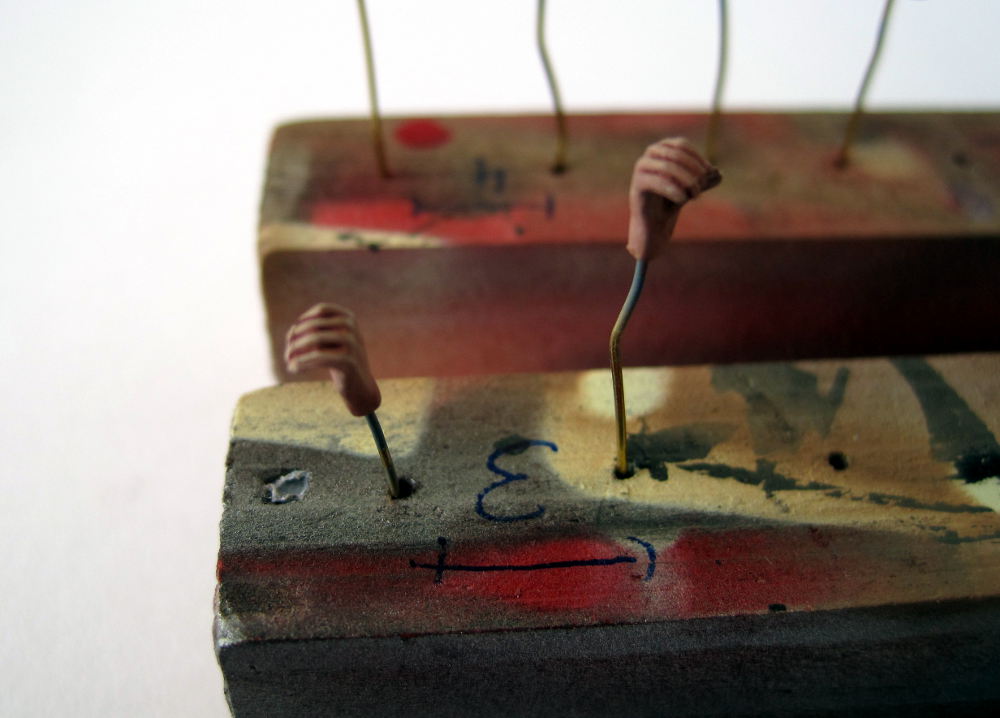
I added two small bases, with some scratch built microphones going with the “speaker”. Painting was fun, although quite a challenge due to the considerable weight of the metal figures.

“Chow time” – Dragon figures

Some time ago, I was looking for a 3.7cm Pak, and found a nice kit from Dragon, called “chow time”, featuring three German soldiers in coats having something to eat. I very much liked the composition and immediately thought of placing the figures together on a small base. And now it’s there… I replaced the heads by Hornet ones, and added some details. I also added a German trench stove and a scratch built small chair.

Fallschirmjaeger with Panzerschreck

I just finished a small project, featuring the well known Fallschirmjaegers from Alpine. The figures were built out of the box, with the Panzerschreck being replaced by one from a Miniart set. The one included in the figure set is actually wrong, as it does not have a protective shield, and must not have been used without wearing a gas mask to protect the gunner during firing. I added the figures to a small base I had in stock, that was reburbished using bushes from Silhoutte.

Finished!

After a long time building this small diorama featuring an burnt out Opel and four Dragon figures it is finally finished. I am very happy with the result. The final steps were carried out by attaching shoulder straps (made from paper and some brass parts from Aber) to the remaining rifles and then painting the rifles. The final fixation of the figures to the base brought no further difficulties.

And that is how the finished diorama looks like:


rust and pigments & figures

I reworked the Opel using the Lifecolor rust set. The colors are very good to use, they can be thinned very heavily and still dry totally matt. Here they are:

LC Rust Set

I applied these (from light to dark) on the already rusted areas. Then I applied pigments in light colors (light dust, concrete etc).

The look of the debris was enhanced using different pigments (brick colors mixed from pastel chalks, rubble) that I sprinkled over the bricks and then fixed using pigment fixer.

As a final touch I also added some dark oils to the rims of the steel door.

This is the final look of the diorama base:

Figures

To achieve a better fit of the figures to the base, I applied dirt using different oils and humbrol colors. Humbrols were used for earth colors, and oils for dust and traces of brick dust:

Now the figures are ready to be fixed to the base. Then I will finish the helmets and the weapons.

Painting the Karabiner Kar98k

One figure is carrying a Karabiner (rifle) on its back, therefore I painted it already:

Karabiner

  • priming by airbrushing Tamiya black
  • Careful drybrushing of the metal parts with Humbrol Silver (011)
  • These areas are then muted with heavily thinned oil color (Paynes Grey)
  • Then the wooden parts are painted using a base paint mixed from  Vallejo 983 (Flat Earth) and 824 (German Cam Orange Ochre)
  • Then fine streaks are applied using sepia ink, Vallejo 871 (Leather Brown), 983 and 824
  • As final touches some point washes and stains are made using black and brown / umber oils
  • The drybrushing with silver is then finally repeated on some exposed areas

Figures and heads

Now I finally finished the last figure for now. I also started to paint the heads and hands. The last figure already has its hands attached:

This is how the hands look like:

Haende

The eyes have been painted, and also the heads have been painted in the base color and then highlighted:

Painting Felduniform 44 with Vallejo acrylics

I use a mixture of Vallejo US Olive Drab (889) and English Uniform (921) for painting German Felduniform 44. The original color is slightly more brownish, but I am happy with the color I use.

Below are some color samples:

Farben Felduniform 44


  • A : English Uniform (921)
  • B : Field Grey (830)
  • E: Russian Uniform (924)
  • G: US Olive Drab (889)

C is mixed from 921 and 830, D from 921 and German Cam Black Brown (822). Both look very similar, but I think both are too bright.

F is mixed from 921 and 924. I use color H, mixed from 889 and 921.

Figures – continued

Unfortunately I did not find time to post new material for quite some time. Since the last post I continued painting the figures.

After some critical review, I decided to repaint the uniform of the first figure. The color looks now more natural, and also the shadowing of the creases looks better:

The second figure is also finished for now:

I just started painting the third figure:

After finishing all four figures, I will continue with painting the heads and hands, and then the rifles. Still some way to go…

And of course Merry Christmas and a Happy New Year!