During the last weeks, I built the figures and started painting them. I kept the arms, heads and hands apart for ease of painting. The parts of the gear were then cut into shape using the Dremel tool and a hobby knife to make them fit to the underlying parts of the figures (e.g. the bread bags). I then also added parts of the carrying straps from Milliput.
Then the figures and all parts left were primed using Tamiya grey, and then I started painting them. One figure is now finished except for the boots (I will paint these after the heads and the hands are finished and glued to the figures).
-

- work bench
-

- kneeling figure primed
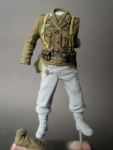
The painted figure:
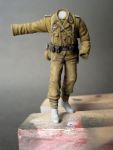

Almost everything is painted using Vallejo acrylics, only for deeper recesses (gas masket can, canteen, mess kit) a slight oil wash was used. Seams were also highlighted and shadowed using acrylics.
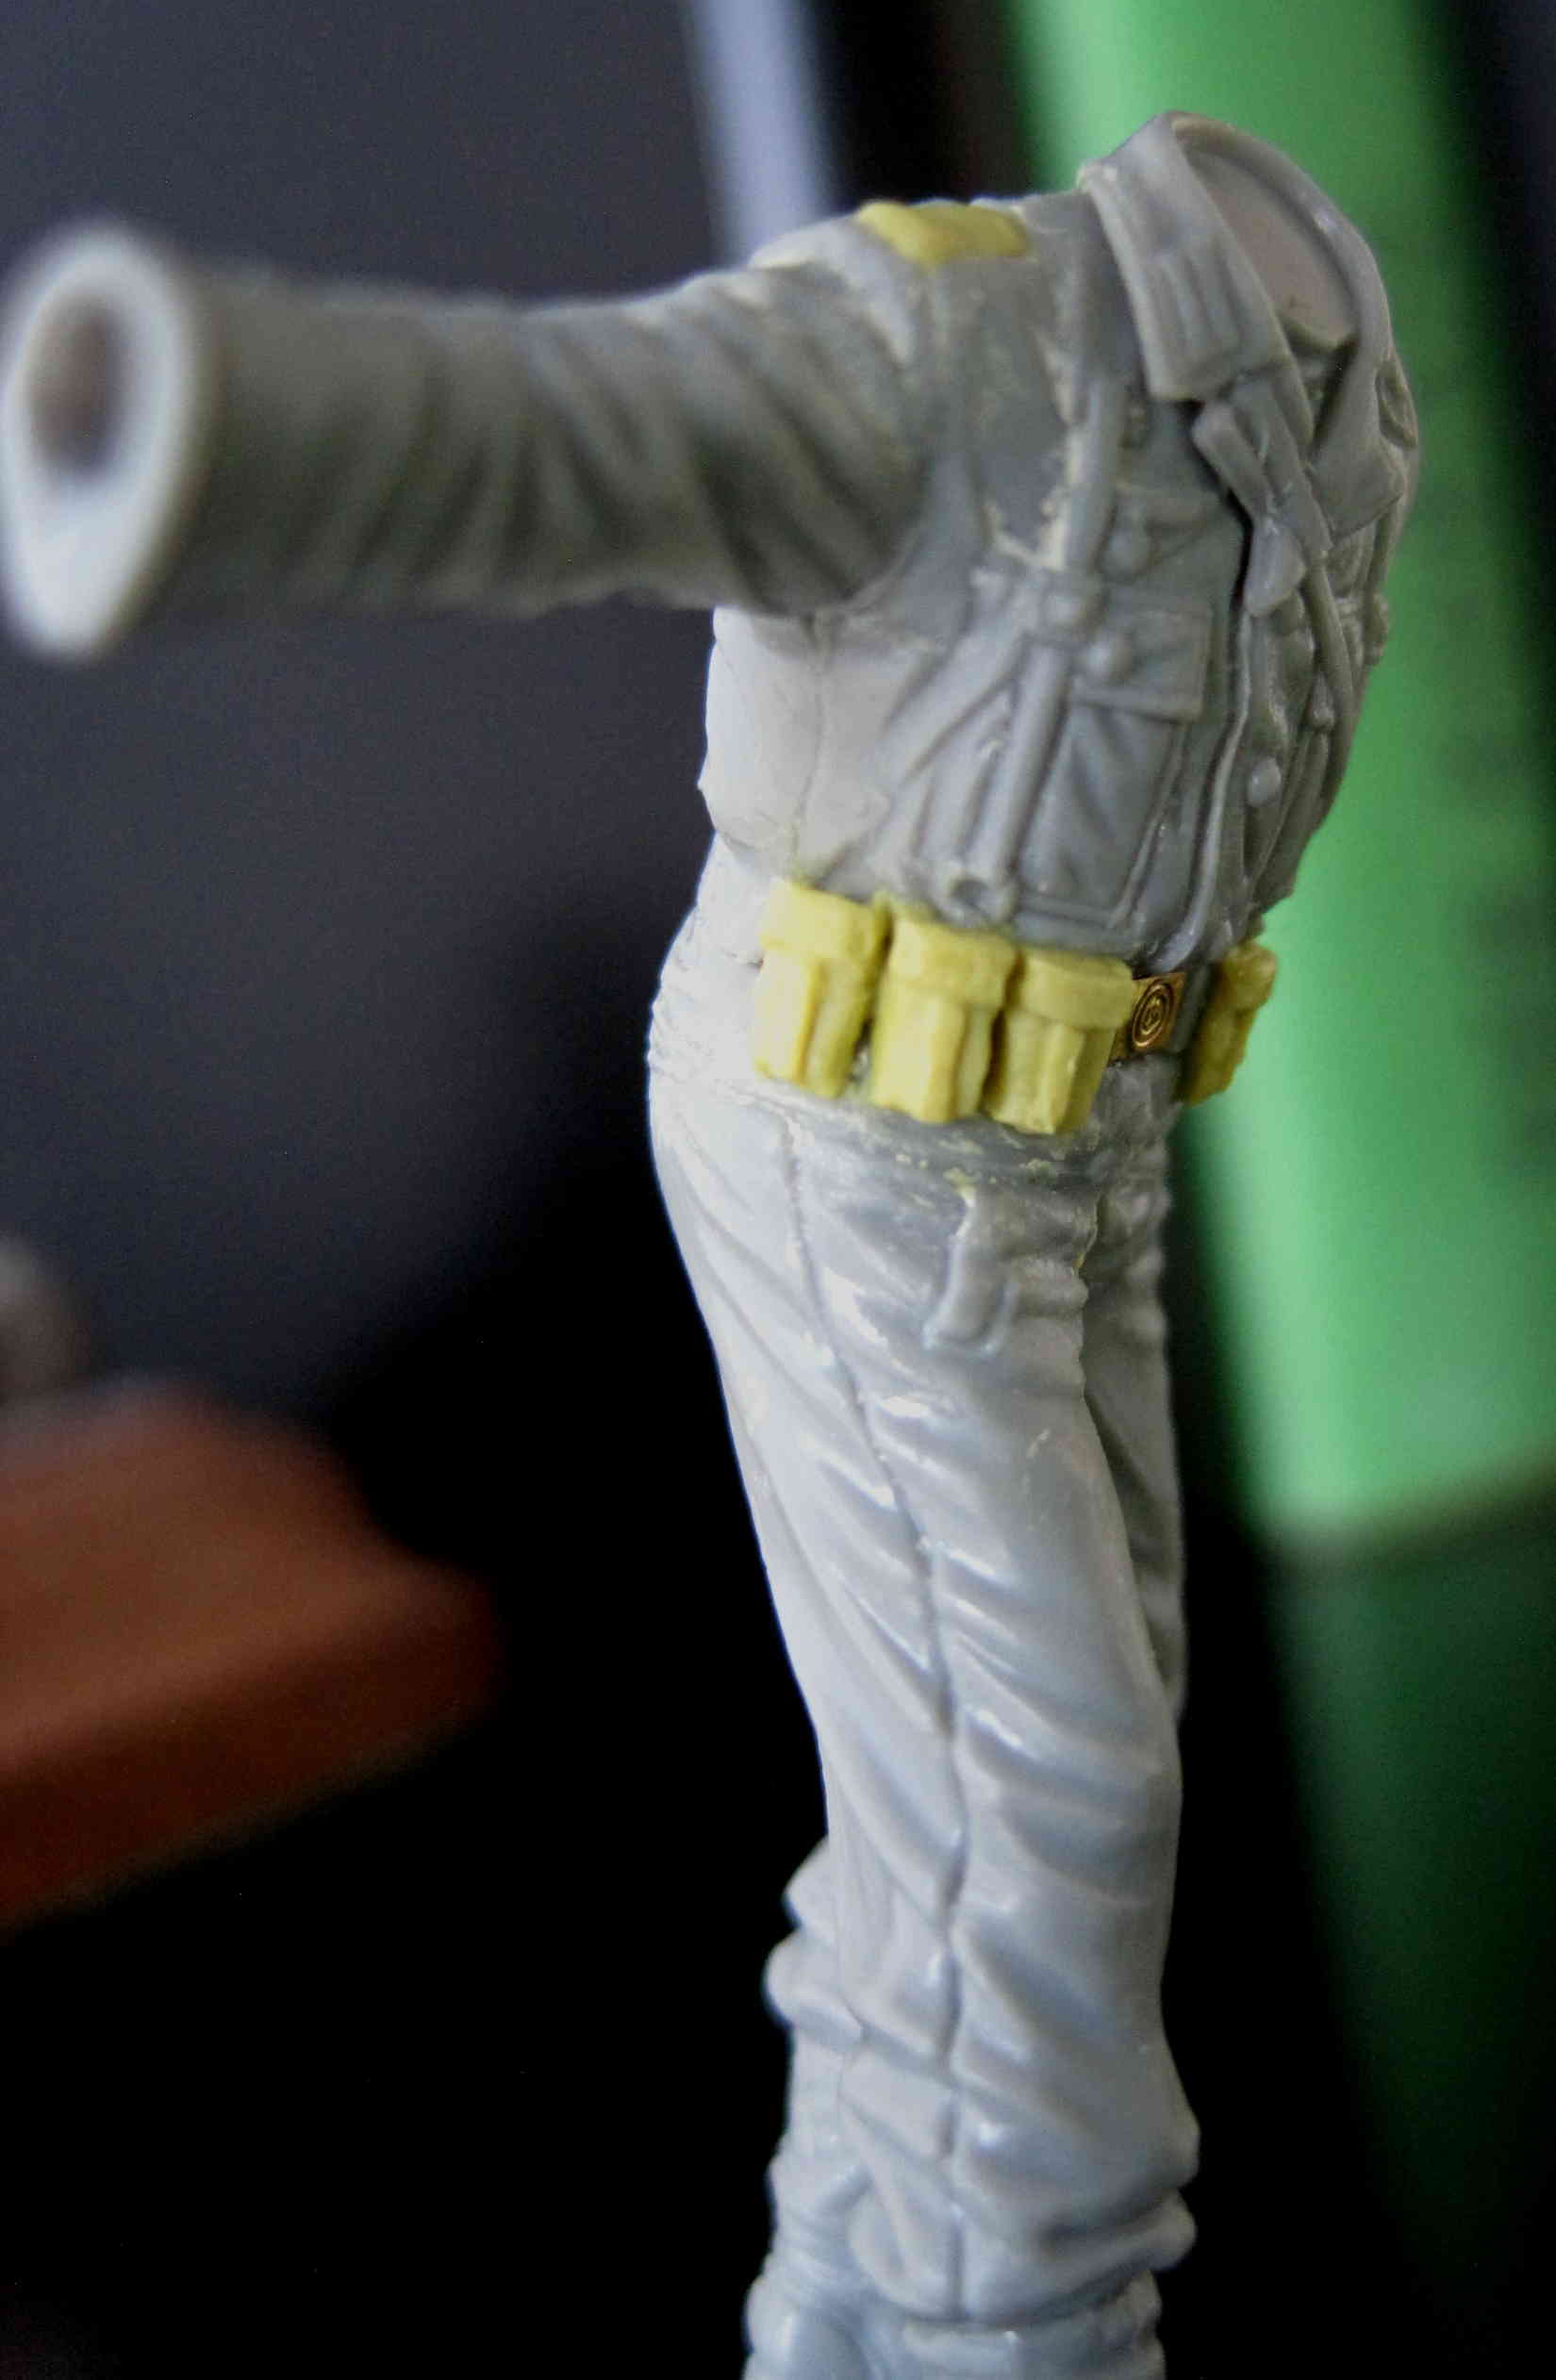
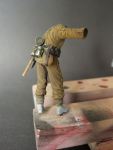
I also started with the second figure:
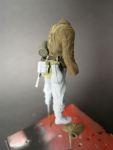
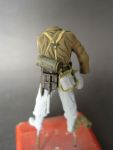
The uniform jacket is already shadowed and highlighted, outlining is still missing. The belt and the ammunition pouches are also finished, the bread bag received its base color.