Although I watched many fascinating soccer games this week, I managed to finish the head of the peasant figure. Below are some pictures, the first three taken after the base color and the highlights of the face were applied, the last three show the finished head featuring the Milliput beard:
The headless peasant
After returning from my holiday, I finished the peasant figure (apart from the head). The figure is painted with acrylics, earth stains and dirt were added using enamels and pigments. Then I glued everything together and fixed the wheel barrow and the figure to the base. Finally the potatoe sack was glued to the wheel barrow, after earth stains were also added using pigments again. The wooden bucket containing potatoes was positioned in front of the figure.
After some final touch ups I am quite happy with the result. Now the soldiers have to be finished and the motorcycle has finally to be assembled and painted.
Below you will find some pictures:
Further little details
Somehow the work on the bike does not proceed that well, I also spent most of my modelling time on other details for this project.
So now the sign post is fixed to the base:
The bucket is also finished. I added some earth – colored pigments:
I also finished the wheelbarrow. It is painted using acrylics and oil washes, and I also added earth – colored pigments:
The hands of the peasant figure (already glued to the wheelbarrow) are still left to be painted.
I also started to paint the peasant figure using Vallejo acrylics, as usual:
That is the present state of the project. I think I will continue to paint the peasant figure, and then glue it together with the wheelbarrow to the base. Then I will continue with both building the bike and painting the two soldiers.
But for now I am off for two weeks, going on holiday…
The signpost
Meanwhile I airbrushed the grass using different shades of green, followed by a drybrushing of the tips with brighter colors. I also applied pigment and further oil washes to the earth areas around the grass. This is how the base looks like now:
I also finished the signpost. The sign were painted white, the decals applied, and finally the borders of the signs painted by hand using a dark grey acrylic. On the post itself I used the hairspray method to give it a weathered appearance. I applied two layers of hairspray, and then some Tamiya white. I then chipped the post until I was satisfied with the result. Then I glued the signs to the post, toned down the whole signpost with a grey brown filter, and finished the signs with some streaking effects using light grey and black oils. The green mossy areas on the bottom are also made from oils. This is the finished post, the last picture shows the original source of inspiration:
Another small detail will be a wooden bucket filled with potatoes. The bucket came with the peasant and the wheelbarrow, the potatoes are hand made from Milliput. Everything was painted using acrylics, oil washes and some pigments for the dirt on the potatoes. The handle, which is made from a pievce of rope is not yet painted, and I also wnat to apply some more oils:
Continued to work on the base
I added another layer of celluclay to the base where the road will be. The earth areas were then primed using Vallejo US Field Drab, and then washed and colored using different oils (light mud, dark mud, industrial earth). The small stones are painted in a light grey color, and also washed using oils. The gras was primed with the airbrush, but it has to become brighter and more colorful. This is how the base looks like now:
On the side of the road there will also be a signpost, which was inspired by an original picture from a Russian road. The post is made from a wooden stick, that I have treated with a wire brush to achieve a rough surface texture. It was then painted using different Vallejo acrylics (beige brown, German camo black brown, deck tan, medium grey), and finally washed using some oils (black, burnt umber).
The signs are made from sheet styrene, and will be labeled with self made decals (I spent quite some time looking for a nice cyrillic font…). The following pictures show the parts of the signpost:
News from the diorama base
The last weeks I spent building the bike and the base. Let’s start with the bike: the set is not of the best quality, as the plastic is very soft and the frame of the bike was already broken into pieces when I opened the box. In addition to that, my building efforts looked not good to me, so at the end I decided to buy another set and start from scratch again. And you name it, the plastic now is of another color, much harder and the individual parts have much better details… I think the first time I got a set that has been on the shelf for quite some time.
I also rediscovered another truth (I should have know better in the first place): It is much better to join PE parts by soldering than by using CA glue.
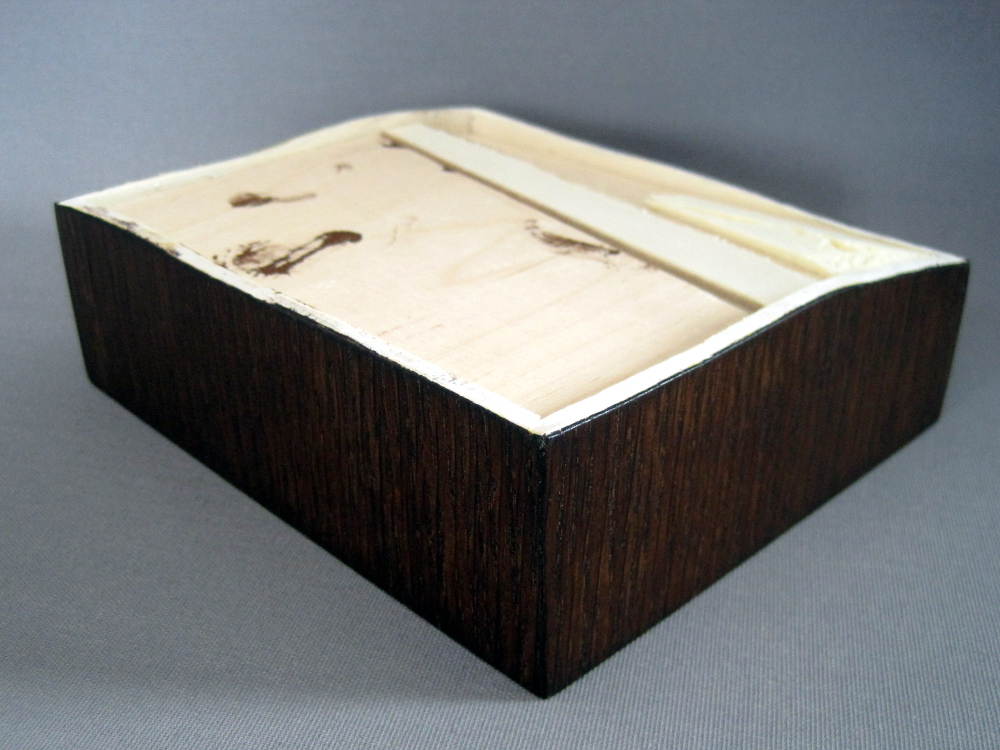
At least I made some progress with the base. I covered it with veneer, which was then stained and varnished. It looked like that then:
Then I glued small pieces of insulation foam on the wooden parts, in order to keep the celluclay layer as thin as possible.
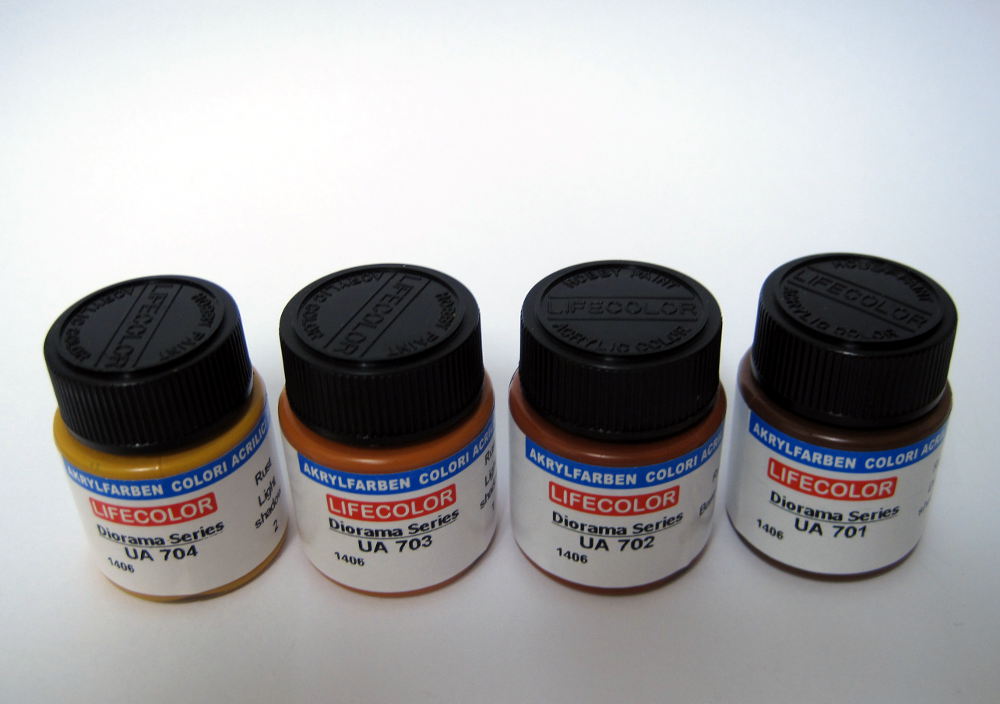
The celluclay was mixed using white glue, water and some earth-colored acrylic color. On the base I also applied a layer of white glue before adding the celluclay with a spatula and a brush. Then I pressed small stones and little pebbles into the still wet clay.
After all had dried, I teared a grass mat from NOCH (called nature plus, I bought it a while ago) into pieces and glued these onto the base. It looks quite nice now, but has to be painted of course:
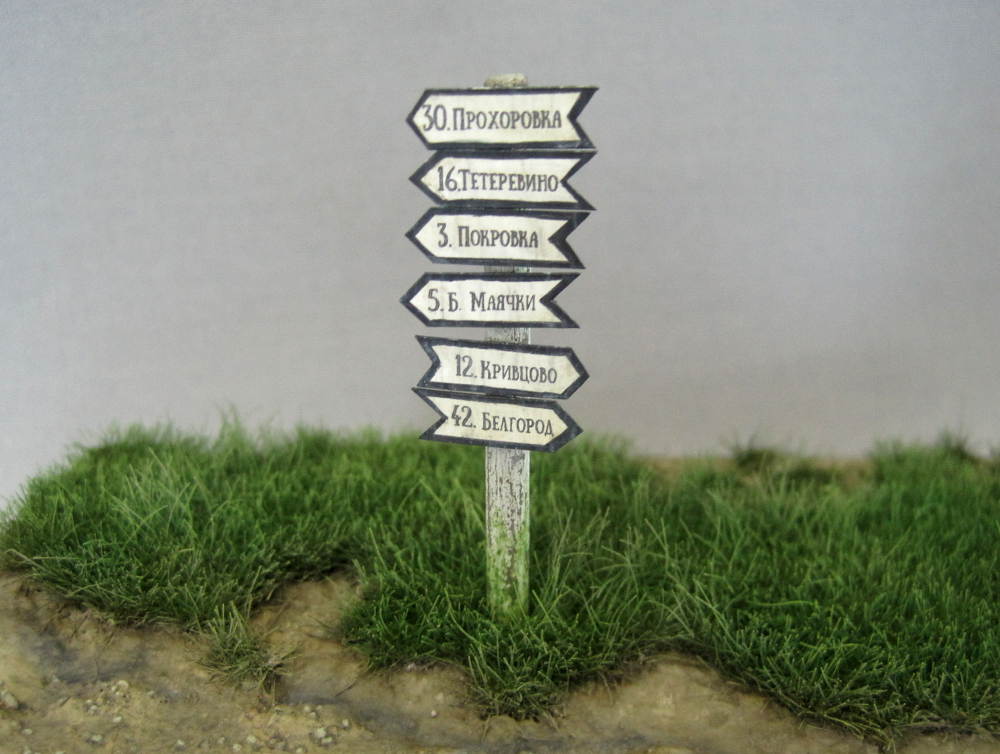
New project – BMW R 75
After a brief break I embarked on a new project: another small diorama featuring a BMW R 75 from Masterbox , two figures from Alpine and a civilian with a wheelbarrow.
The scene will be situated on a Russian road, together with a nice signpost. The civilian (peasant) will also get a potatoe sack on its wheelbarrow.
I have already prepared the figures for priming and painting:
The rifles and the gas mask containers are from Dragon.
These are the bike riders:
I exchanged the Karabiner of the standing figure with a MP 40 submachine gun. Therefore I removed any traces of the rifle from the back of the figure, as well as the carrying strap, and then reworked the coat with putty. I also attached a magazine pouch instead of the original one for the rifle ammo. The picture to the right shows a replacement hand with the MP 40. The carrying strap is made from paper and some brass parts.
The peasant is now wearing a nice beard from putty.
The diorama base is also on its way, this is how it looks like at the moment:
Finished!
After a long time building this small diorama featuring an burnt out Opel and four Dragon figures it is finally finished. I am very happy with the result. The final steps were carried out by attaching shoulder straps (made from paper and some brass parts from Aber) to the remaining rifles and then painting the rifles. The final fixation of the figures to the base brought no further difficulties.
And that is how the finished diorama looks like:
rust and pigments & figures
I reworked the Opel using the Lifecolor rust set. The colors are very good to use, they can be thinned very heavily and still dry totally matt. Here they are:
I applied these (from light to dark) on the already rusted areas. Then I applied pigments in light colors (light dust, concrete etc).
The look of the debris was enhanced using different pigments (brick colors mixed from pastel chalks, rubble) that I sprinkled over the bricks and then fixed using pigment fixer.
As a final touch I also added some dark oils to the rims of the steel door.
This is the final look of the diorama base:
Figures
To achieve a better fit of the figures to the base, I applied dirt using different oils and humbrol colors. Humbrols were used for earth colors, and oils for dust and traces of brick dust:
Now the figures are ready to be fixed to the base. Then I will finish the helmets and the weapons.


