Tankart by Michael Rinaldi

As Christmas present I bought myself volume 2 (Allied Armor WW2) and volume 3 (Modern Armor) of the Tankart series by Michael Rinaldi. Volume 1 (German Armor WW2) is being reprinted currently and will arrive at some point in time…

The books deal with painting and weathering of tank models. The layout is very nice and artistic, and they convey a lot of useful information, and also feature many very informative pictures.

Overall the books are clearly recommendable and very inspiring.

  • Michael is a real master of hair spray chipping
  • The finishes and detailings achieved with oils (what he calls oil paint rendering or OPR) are world class and the results look very realistic
  • His usage of pigments is also very versatile, and explained very thoroughly
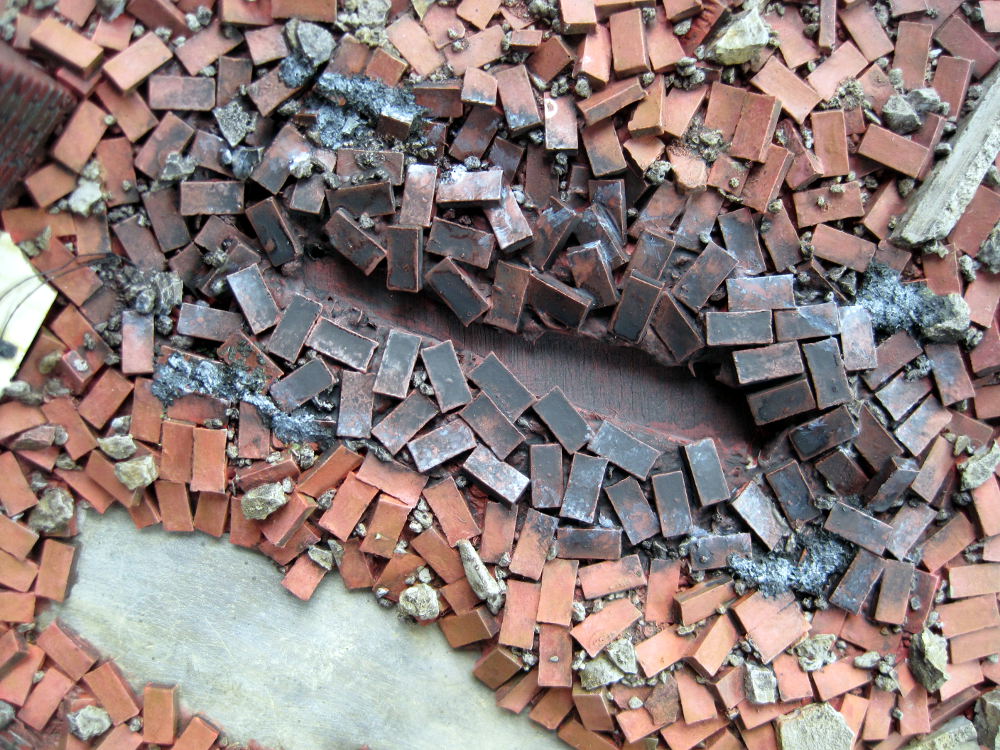
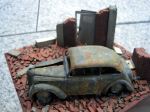
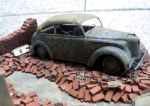
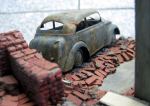
  • Rust effects also look brilliant, being made with acrylics, as well as oils and enamels

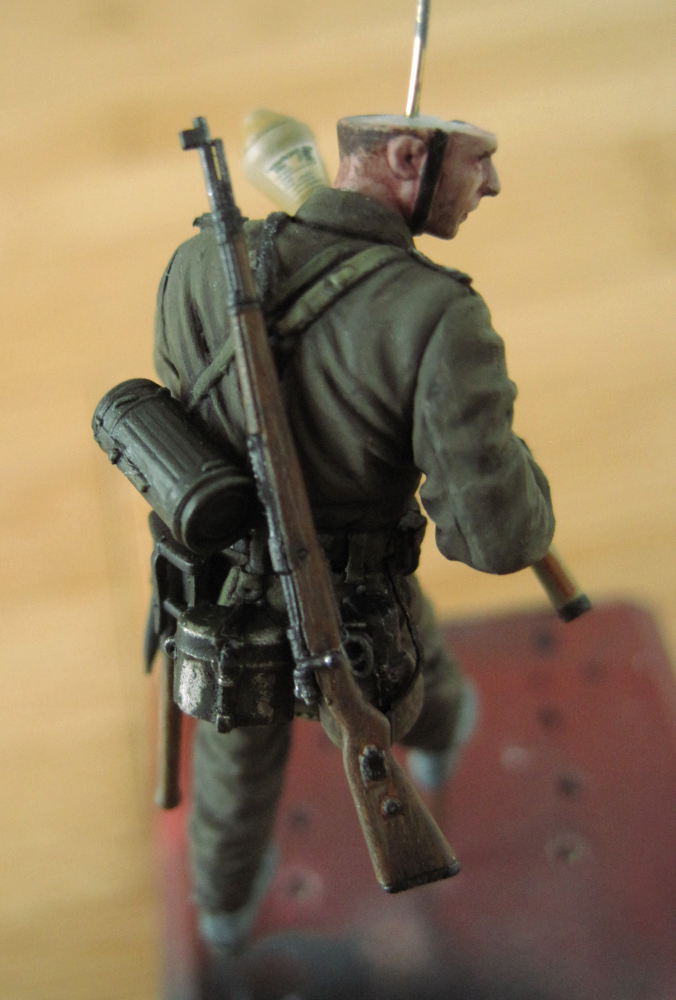
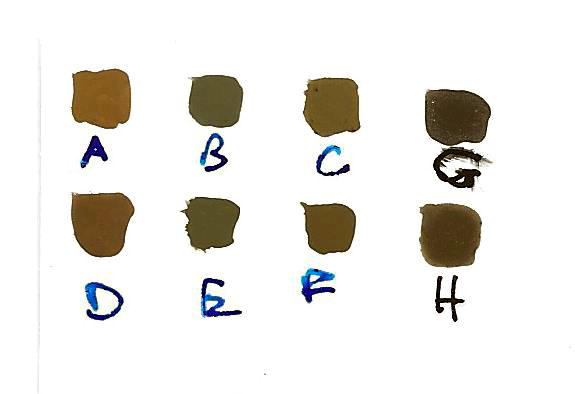
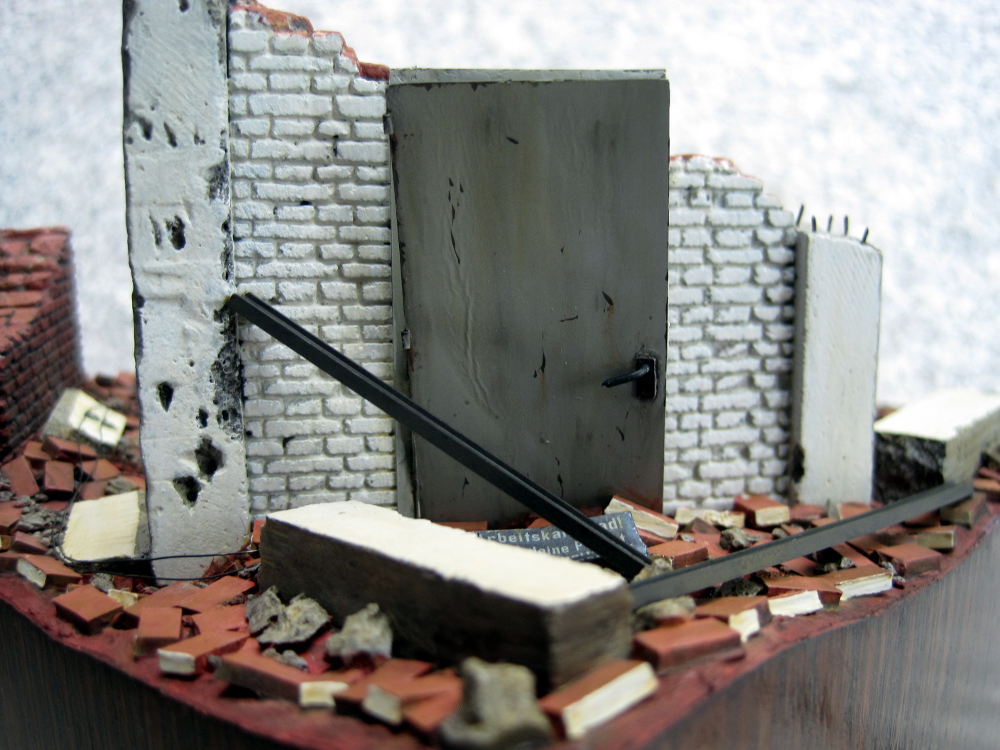
After reading the books I immediately increased my stock of oils and pigments, and also went for the Lifecolor rust set. I also rediscovered a drying retarter for acrylics I bought some time ago.

I will experiment a bit with the new products to enhance the look of my current project. The first thing to test will be the rust colors, then I will try to work with the drying retarder.

Painting the Karabiner Kar98k

One figure is carrying a Karabiner (rifle) on its back, therefore I painted it already:

Karabiner

  • priming by airbrushing Tamiya black
  • Careful drybrushing of the metal parts with Humbrol Silver (011)
  • These areas are then muted with heavily thinned oil color (Paynes Grey)
  • Then the wooden parts are painted using a base paint mixed from  Vallejo 983 (Flat Earth) and 824 (German Cam Orange Ochre)
  • Then fine streaks are applied using sepia ink, Vallejo 871 (Leather Brown), 983 and 824
  • As final touches some point washes and stains are made using black and brown / umber oils
  • The drybrushing with silver is then finally repeated on some exposed areas

Flesh colors

I paint skin colors using both acrylics and enamels.

The colors used are shown below:

Hautfarben

  • B is the base color used for all skin parts. It is mixed from Vallejo Model Color acrylics: 815 (Basic Skintone), 818 (Red Leather), 873 (US Field Drab) and a little 950 (Black)
  • H1 – H3 are the highlight colors, resulting from mixing more and more 815 and 951 (White) to the base color.
  • S1 and S2 are used for shadows. They are mixed from Humbrol 73 (Wine) and 110 (Wood) for S1 and 22 (Black) for S2 respectively.

The highlight colors are heavily thinned and applied in layers. Painting with acrylics is all about controlling the amount of color on the brush, so always thin the color and get rid of excess paint by unloading the brush on a paper towel before approaching the model.

The enamels are also applied heavily thinned and are immediately blended carefully using a clean brush moistened with turpentine.

Figures and heads

Now I finally finished the last figure for now. I also started to paint the heads and hands. The last figure already has its hands attached:

This is how the hands look like:

Haende

The eyes have been painted, and also the heads have been painted in the base color and then highlighted:

Painting Felduniform 44 with Vallejo acrylics

I use a mixture of Vallejo US Olive Drab (889) and English Uniform (921) for painting German Felduniform 44. The original color is slightly more brownish, but I am happy with the color I use.

Below are some color samples:

Farben Felduniform 44


  • A : English Uniform (921)
  • B : Field Grey (830)
  • E: Russian Uniform (924)
  • G: US Olive Drab (889)

C is mixed from 921 and 830, D from 921 and German Cam Black Brown (822). Both look very similar, but I think both are too bright.

F is mixed from 921 and 924. I use color H, mixed from 889 and 921.

Figures – continued

Unfortunately I did not find time to post new material for quite some time. Since the last post I continued painting the figures.

After some critical review, I decided to repaint the uniform of the first figure. The color looks now more natural, and also the shadowing of the creases looks better:

The second figure is also finished for now:

I just started painting the third figure:

After finishing all four figures, I will continue with painting the heads and hands, and then the rifles. Still some way to go…

And of course Merry Christmas and a Happy New Year!

Figures – start

During the last weeks, I built the figures and started painting them. I kept the arms, heads and hands apart for ease of painting. The parts of the gear were then cut into shape using the Dremel tool and a hobby knife to make them fit to the underlying parts of the figures (e.g. the bread bags). I then also added parts of the carrying straps from Milliput.

Then the figures and all parts left were primed using Tamiya grey, and then I started painting them. One figure is now finished except for the boots (I will paint these after the heads and the hands are finished and glued to the figures).

The painted figure:

Almost everything is painted using Vallejo acrylics, only for deeper recesses (gas masket can, canteen, mess kit) a slight oil wash was used. Seams were also highlighted and shadowed using acrylics.

I also started with the second figure:

The uniform jacket is already shadowed and highlighted, outlining is still missing. The belt and the ammunition pouches are also finished, the bread bag received its base color.

German helmets – slate grey

Until now, I have painted the helmets of the Dragon figures. A lot of material dealing with German helmets can be found on the web, these helmets will be painted in slate grey.

I started with priming with Tamiya medium grey and then hand painted the helmets using Vallejo Black Grey with some Russian Uniform added to lighten the color.

Inspired by an example from Calvin Tan (http://zyclyon.blogspot.ch/2011/09/alla-prima-wet-on-wet-with-acrylic.htm), but he is using acrylic color with drying retarder) I added tiny spots of different oils (yellow ochre, burnt umber, black, warm grey) and blended them carefully with a brush dampened with turpentine. You have to work very concentrated and stop blending in time, otherwise the helmet is covered with a single color mix. First, I tried also using blue, but this can result in some ugly greenish tint together with the yellow and orange tones.

When dried, a point wash around the rivets was added. Then, some highlights on the top of the helmets were added using the Vallejo base color lightened with Deck Tan.

Helm 03    Helm 02

The base is waiting for the figures…

Now I finished the bricks and the rubble in the space where the figures are to be placed. And this how it looks like (the holes / brass rods show where the figures will be fixed to):

Sockel 01     Sockel 02

To the right of the Opel I added two burnt out jerry cans:

Kanister 01    Kanister 02

During spring this year, I already started building the figures, and added ammunition pockets made from Milliput:

Patronentaschen 01

Now I will continue to build and paint the figures.


Opel fixed to the base

I added some more details to the base, and finally fixed the Opel to its place. Behind the door I added some steel beams and a sign (from a German wartime factory):

Hinter Tür    Schild hinter Tür

The bricks around the Opel were then blackened with enamel paint and oils:

Unter Kadett schwarz

And this is how the base looks like now:

Now I have to finish the rubble, and then move on to the figures…