Some more details

To make things more interesting, I will add some details to the scene. I bought a bike kit from Masterbox some time ago that also contains some nice PE add-ons. I did not like the thin and fragile plastic bike frame of the kit at all, so I decided to rebuild the bike from brass parts. This also allowed me to keep the wheels and other parts movable, which made painting a lot easier. The kit also contains a hand bag and an umbrella, which I will scatter across the pavement, together with a self made Polish newspaper (from Magic Sculp and a self made decal):

The bike is just being painted (some details and washes are still missing).

Now everything is finished and attached to the base:

Continued to work on the pak crew

In the meantime, I made further progress with the crew for the anti tank gun. The first figure is finished, and already fixed to the base:

Sculpting on the second figure is also finished, and painting is on its way:

The face only received a first layer of color, with the eyes added. The insignia on the helmet are Archer transfers, which are perfectly applicable using their wet transfer paper.

The last figure is still in the sculpting stage:

Now I also finished the second figure:

Finished the running gear of the Panzer I

I also continued to work on the little Panzer I. I added the road wheels, and I am currently glueing the single link tracks together. They are removable (together with the drive sprocket). The wheels are also moveable to faciliate easier painting later on:

I used different brass parts from an Aber PE set, together with styrene sheet leaf springs. The interior will be totally invisible later on, I added it for fun anf to provide more stability.

Started painting the pak gun

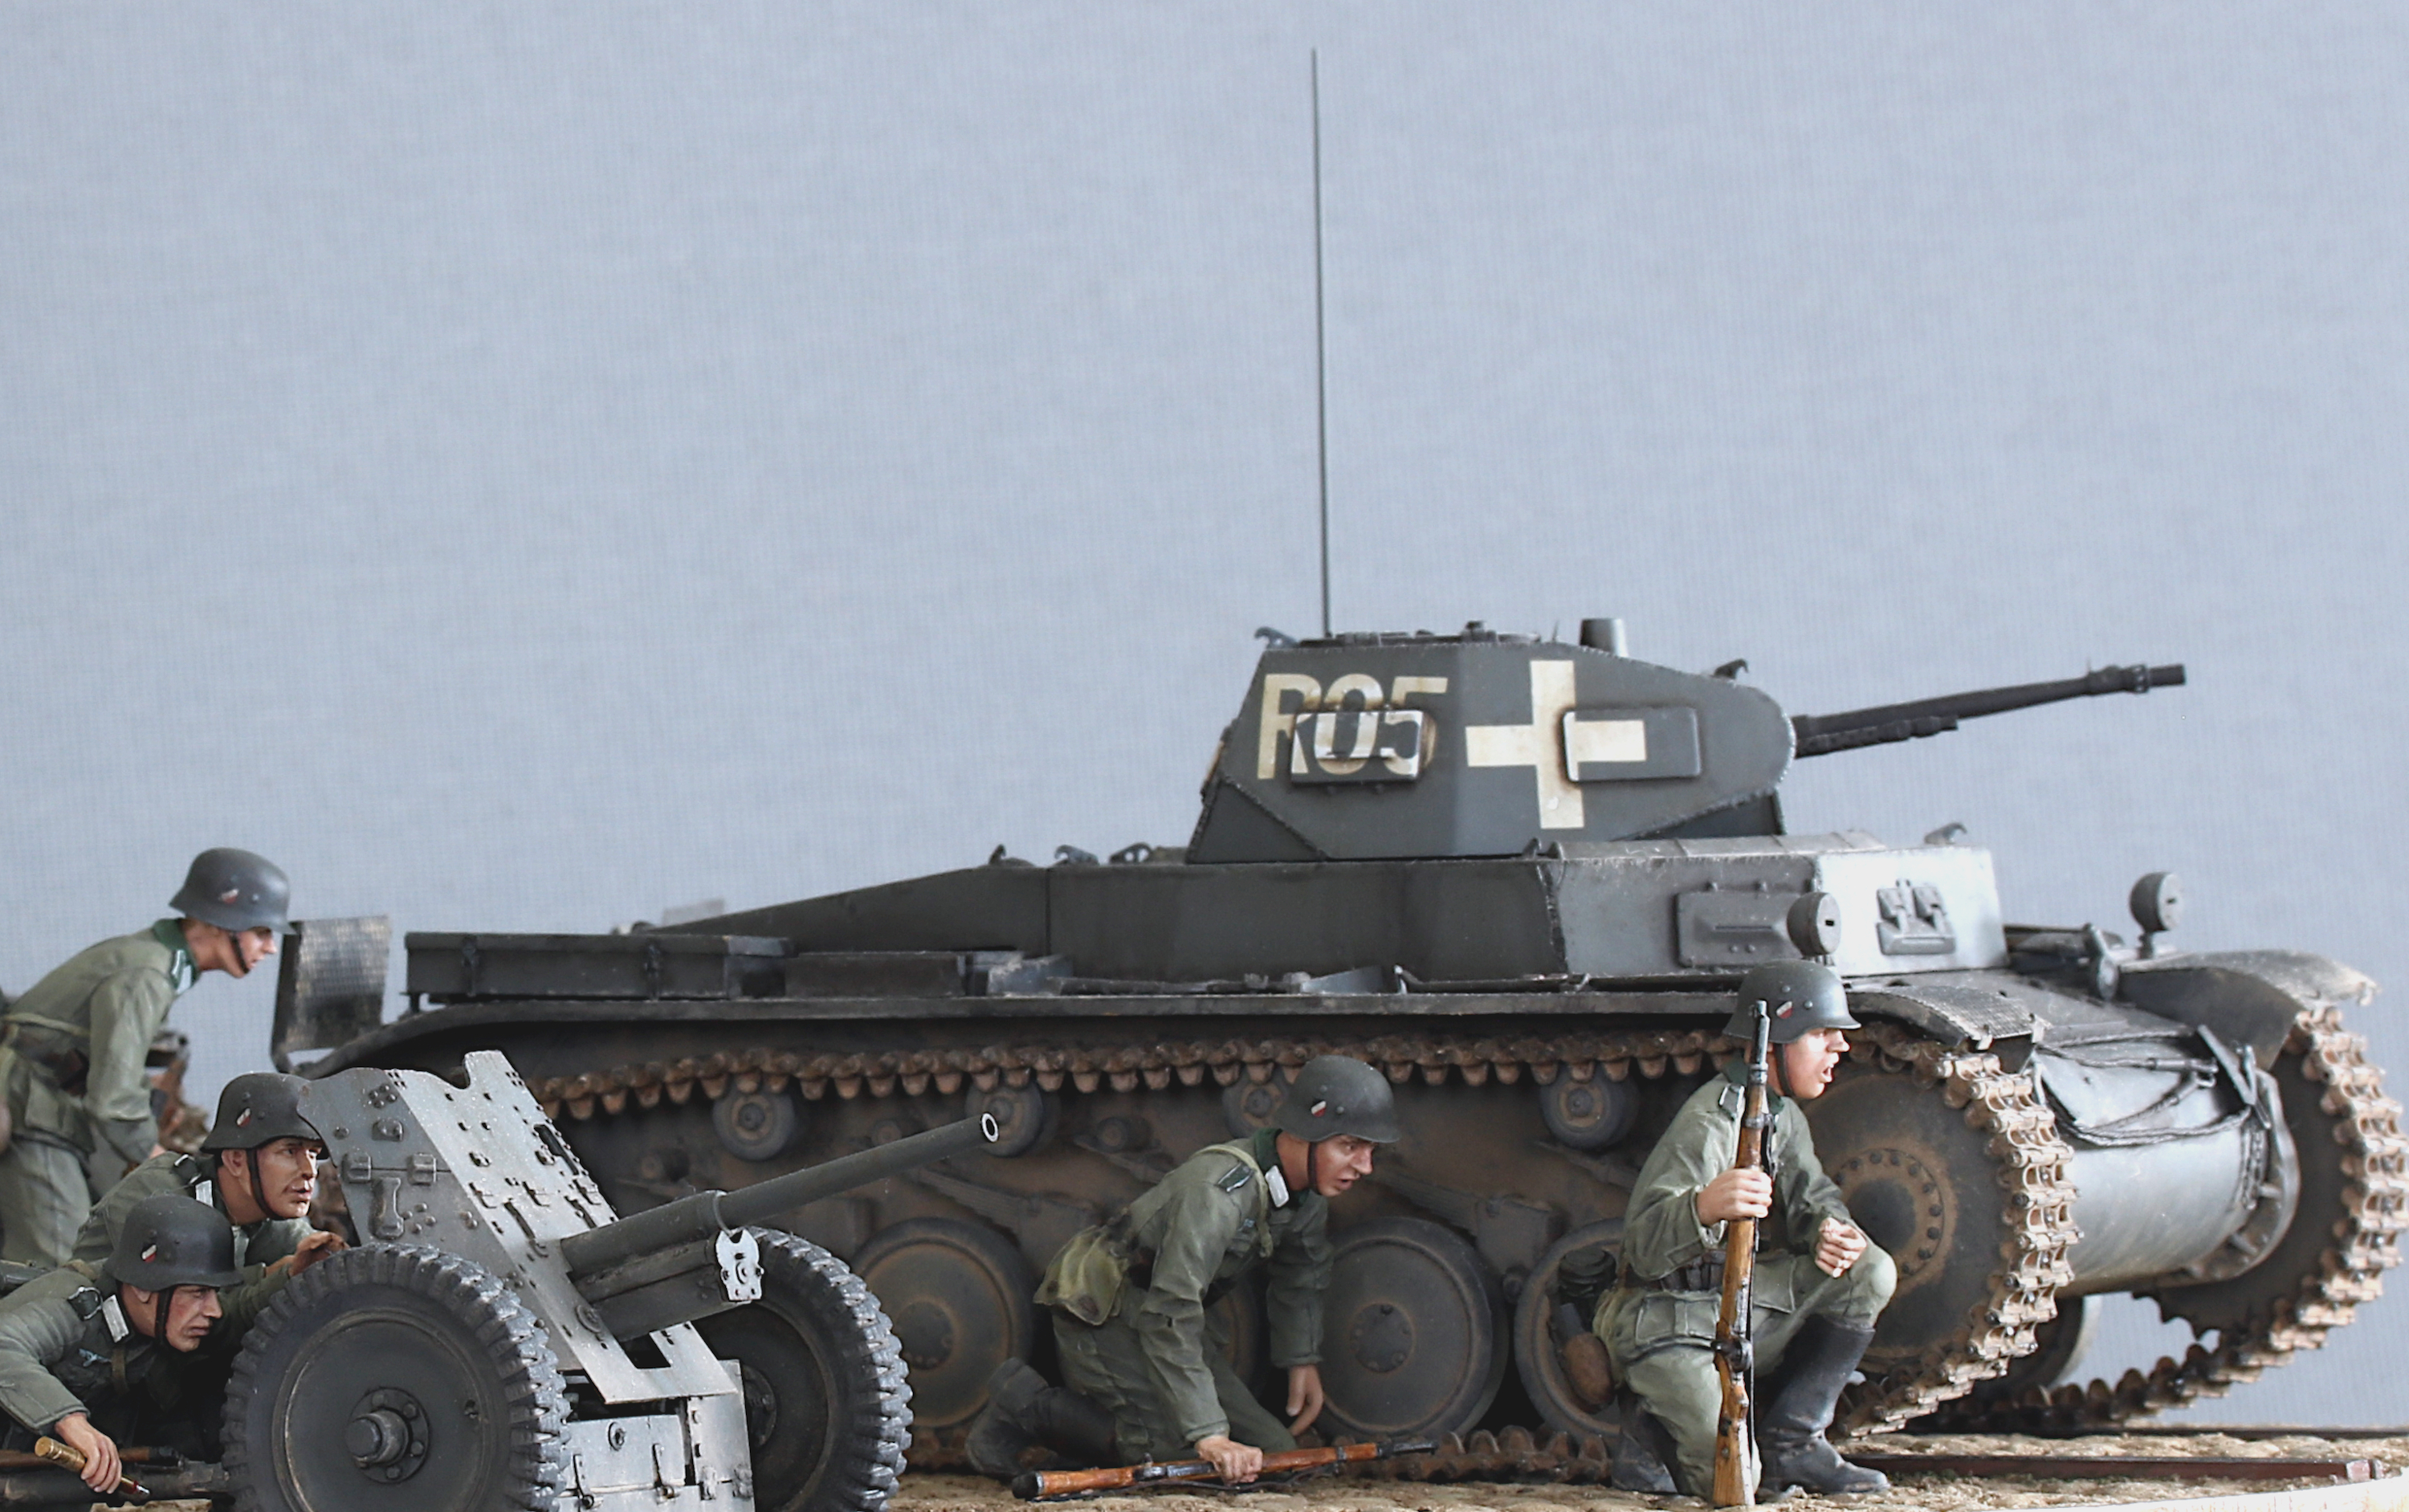
In the meantime I started to paint the pak. I started with primin using Gunze Resin Primer, and then coating the gun with a layer of Tamiya German Grey. This was followed by some subtle sponge chipping, showing red primer marks. These spots were then occasionally painted with a black brown color simulating bare metal.

Then I added a filer using a beige brown oil mixture, followed by a black brown pin wash. To ease painting, I still keep the upper part of the gun separate from the base:

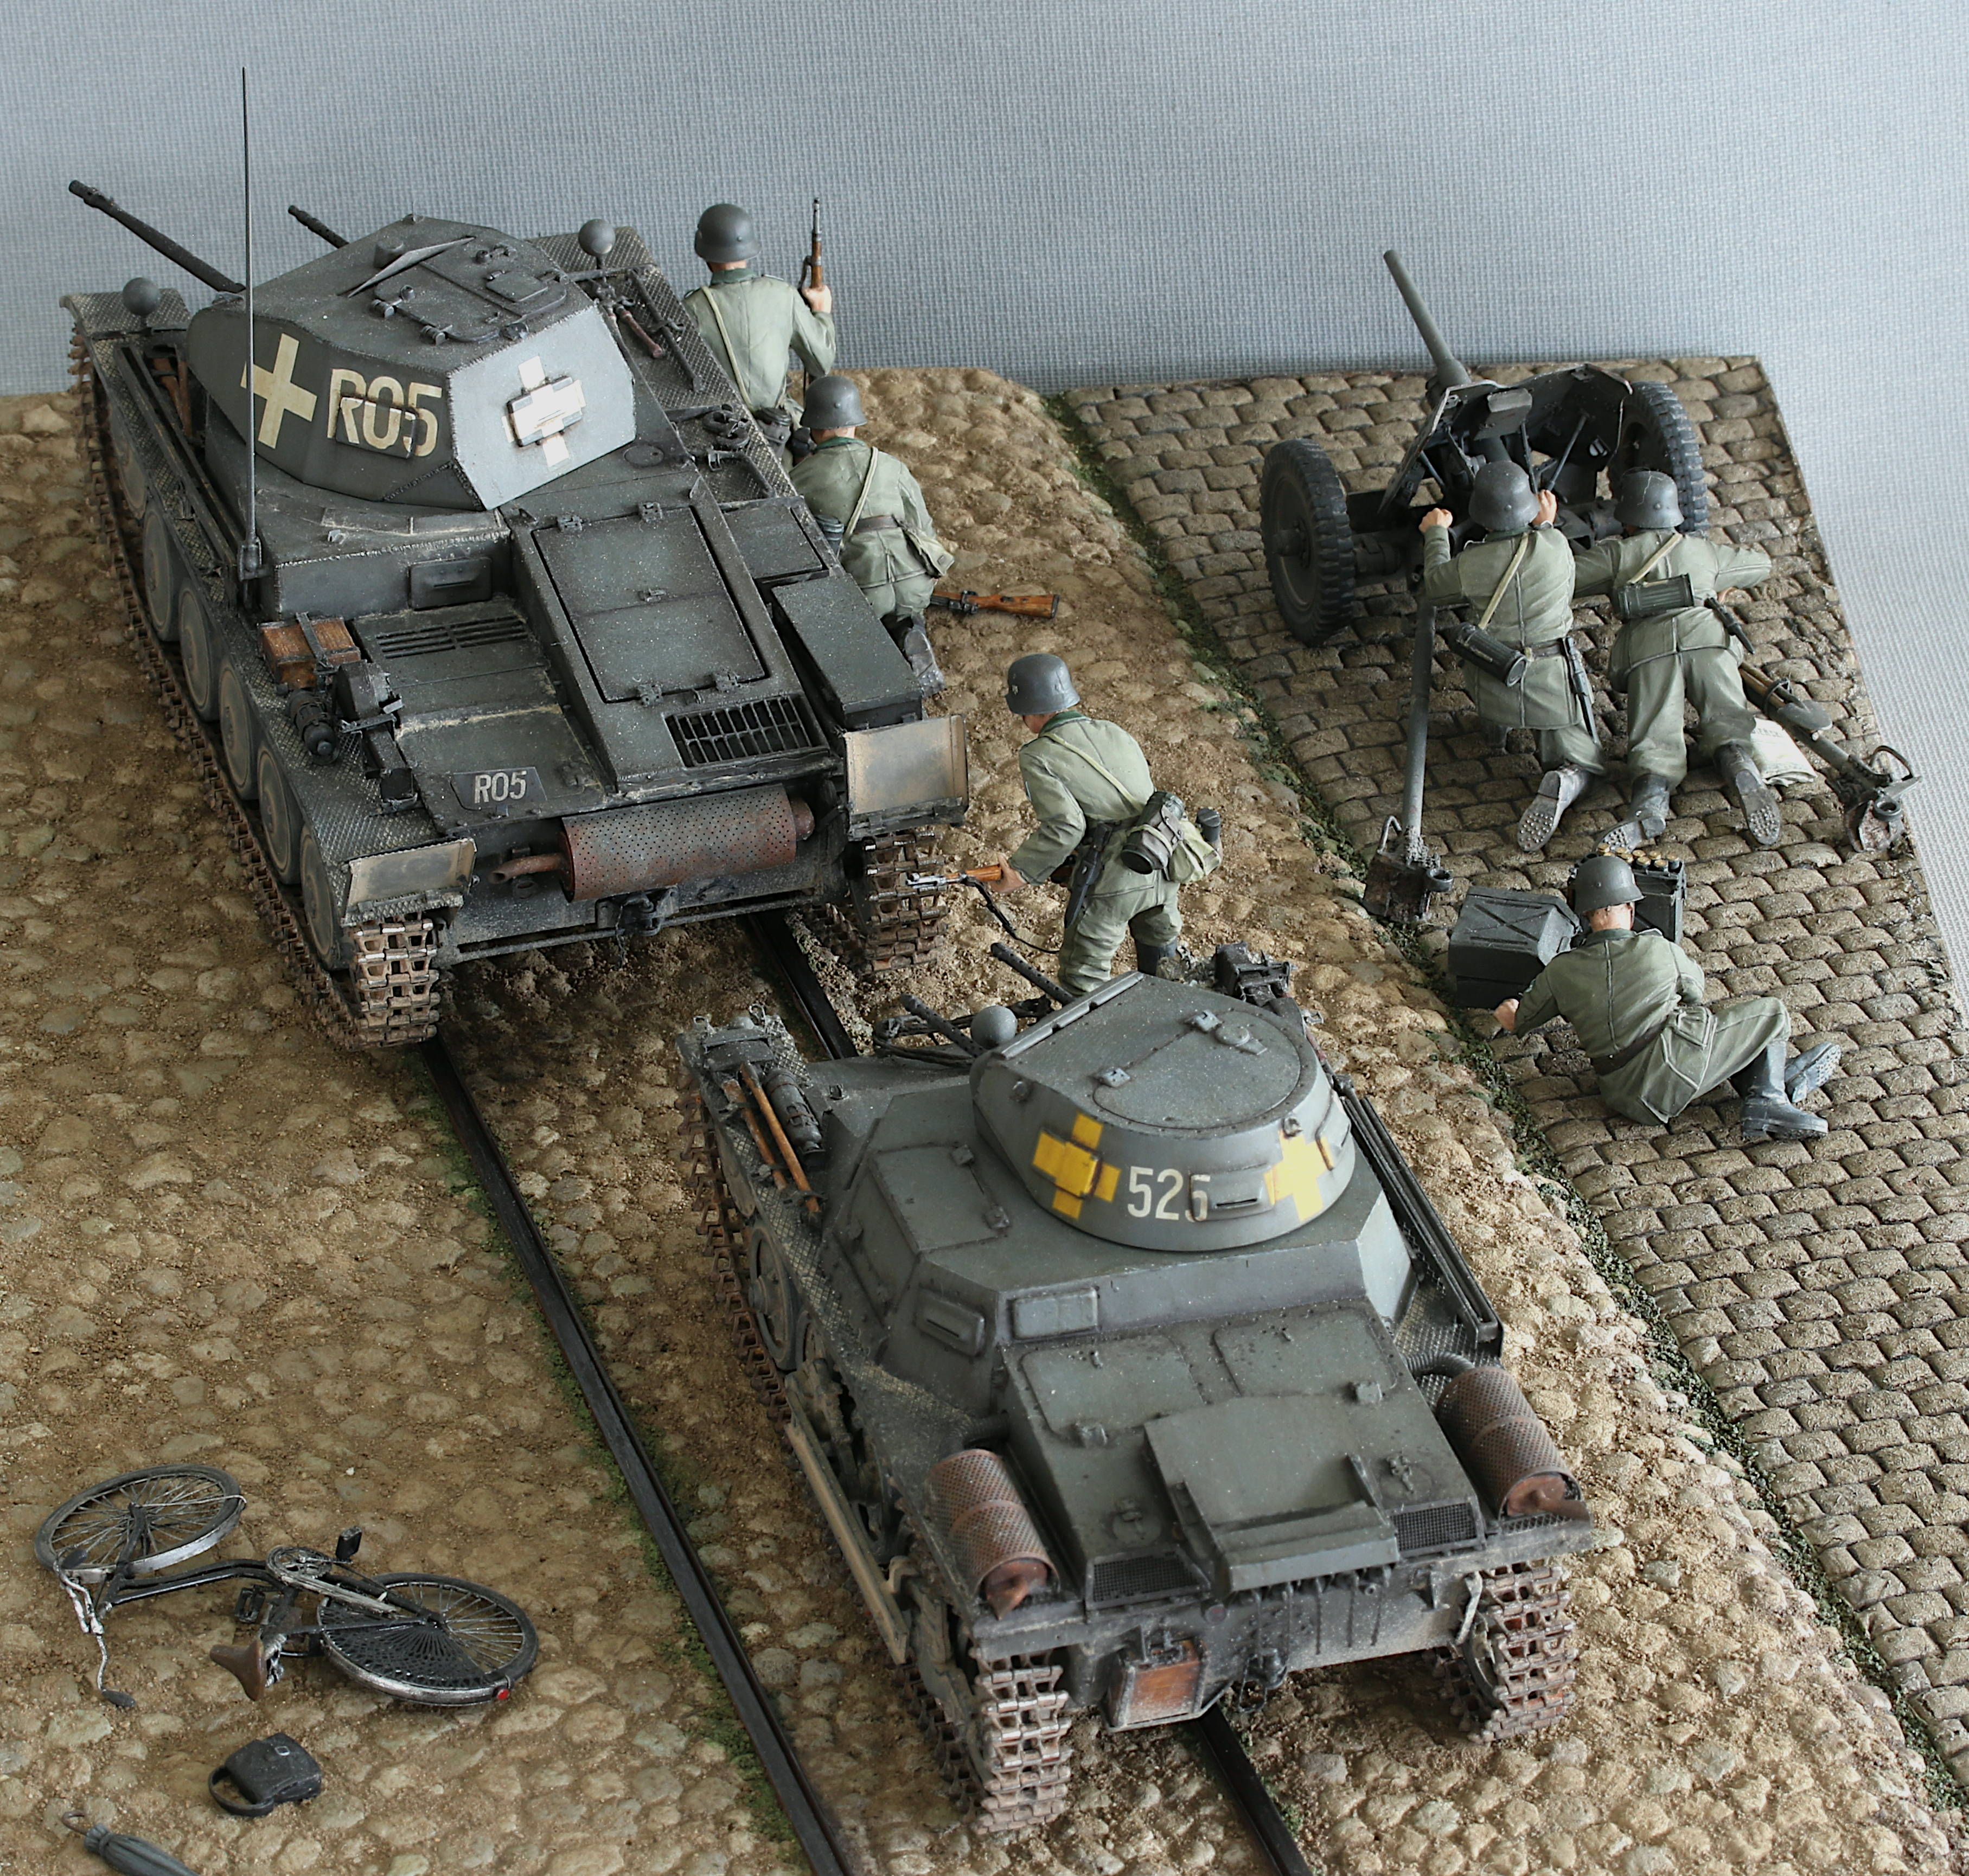
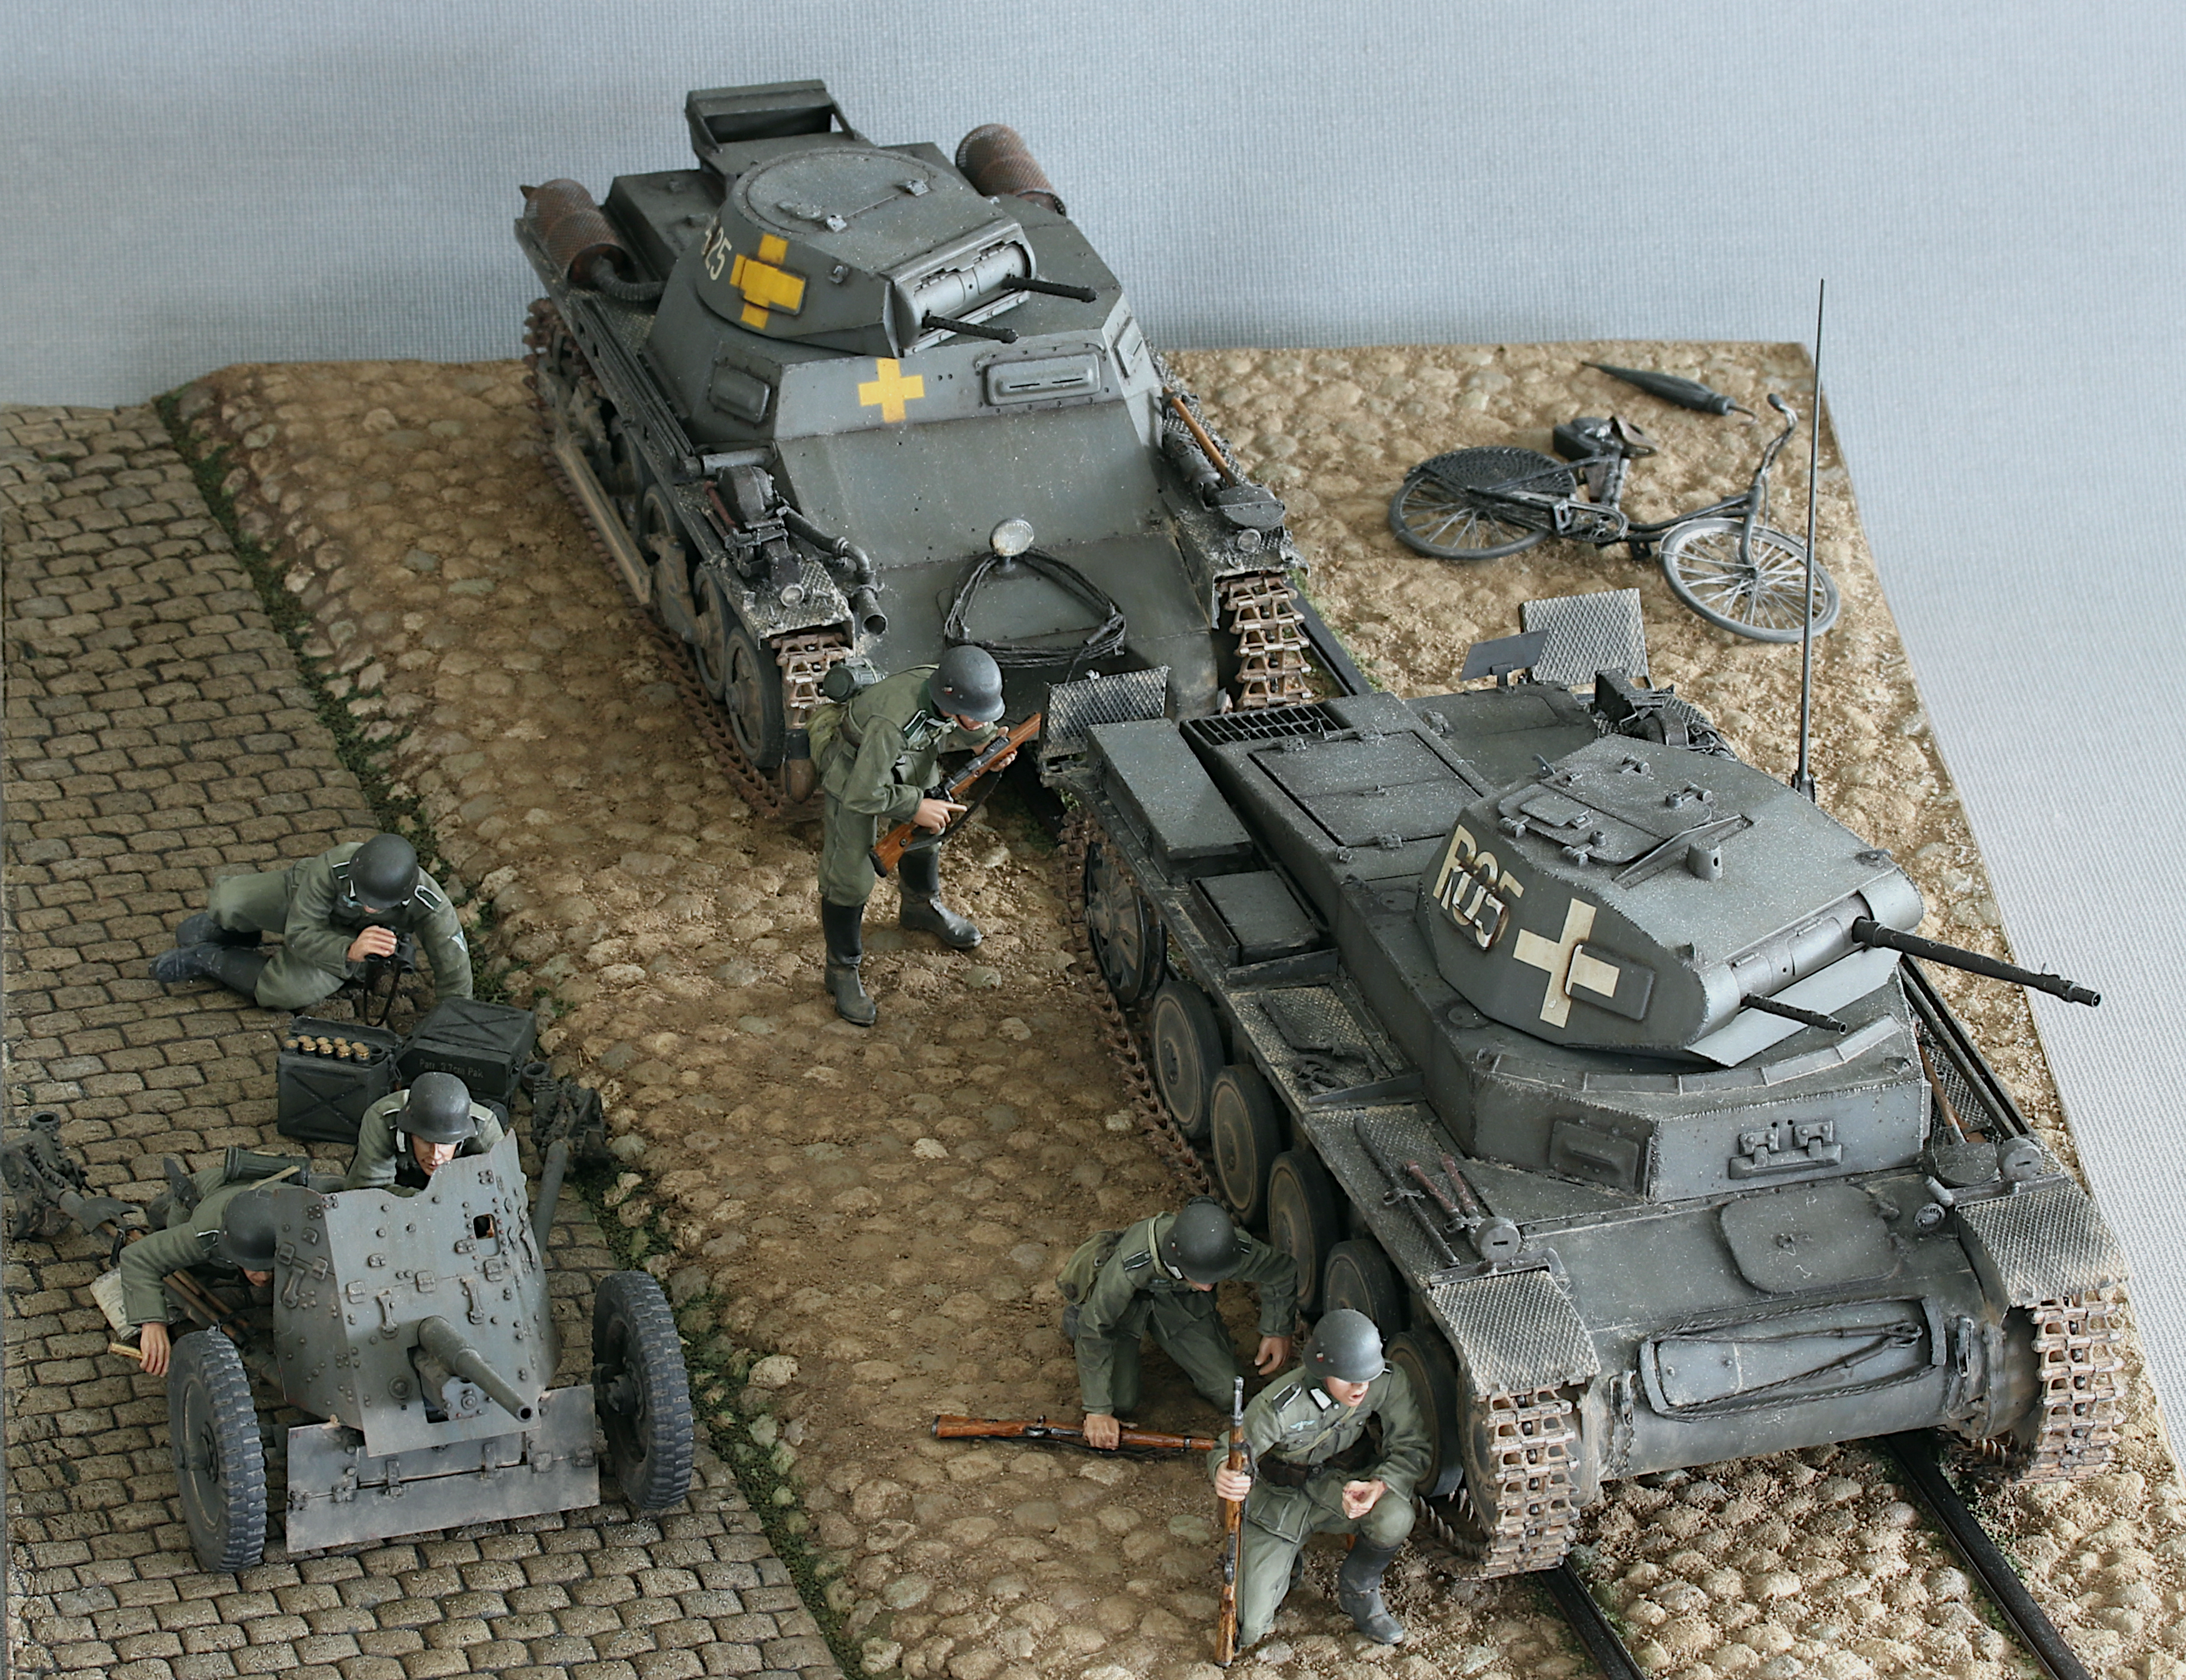
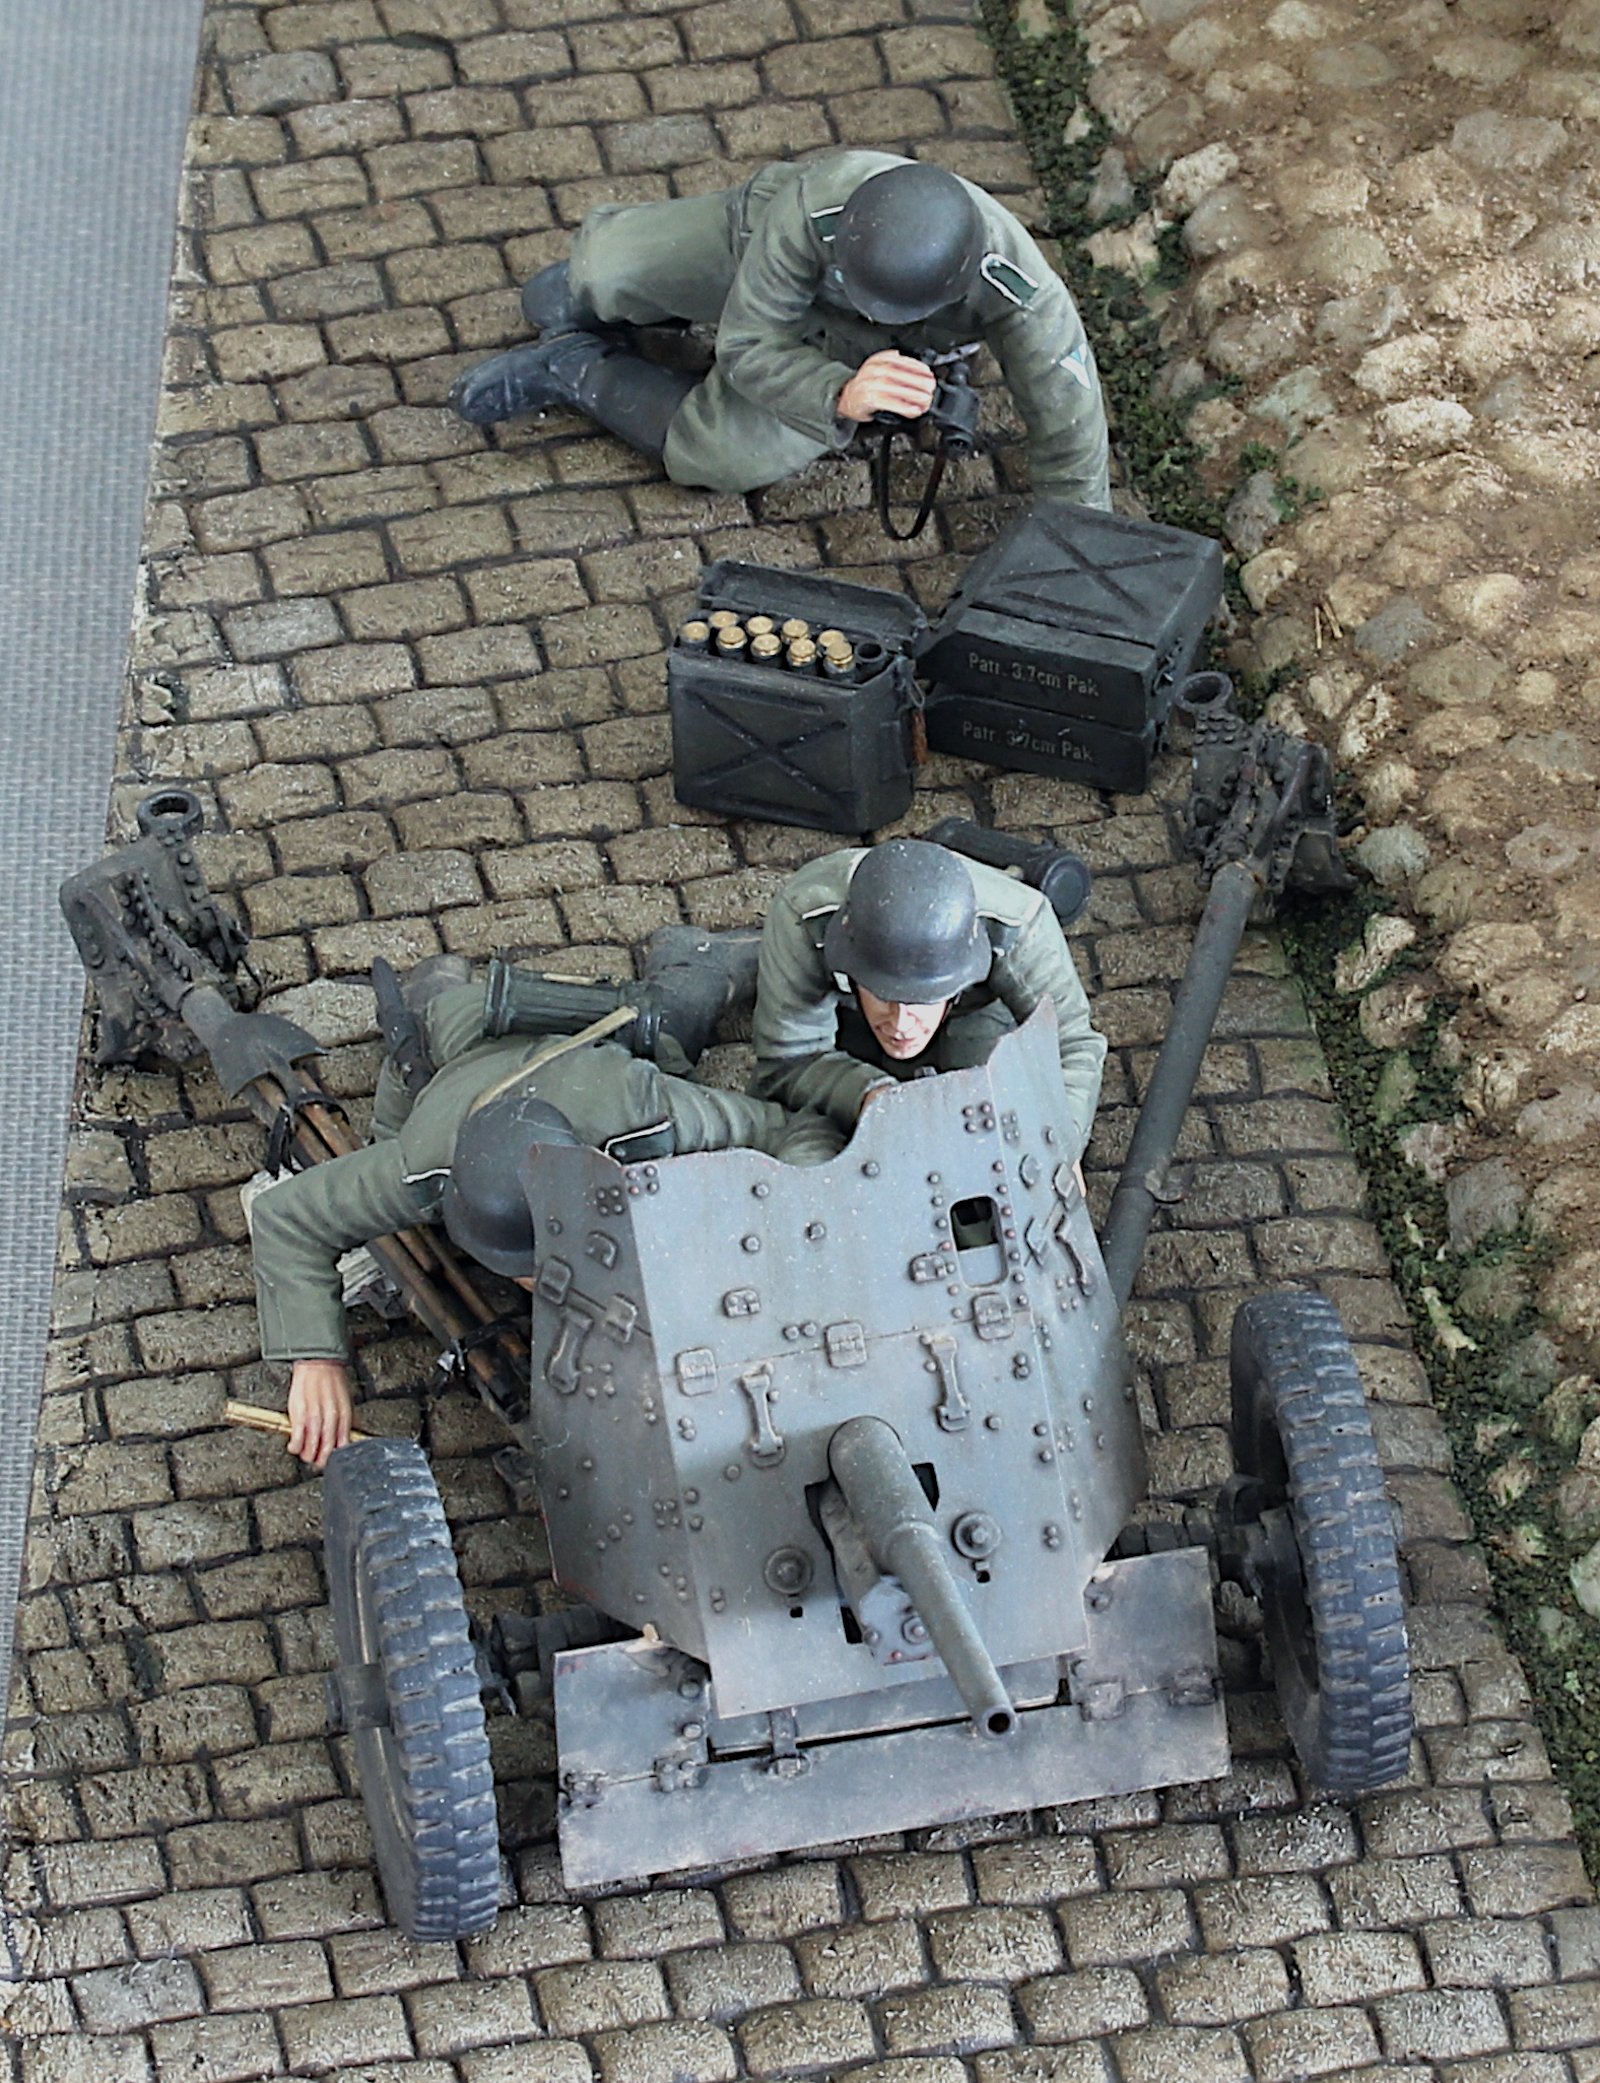
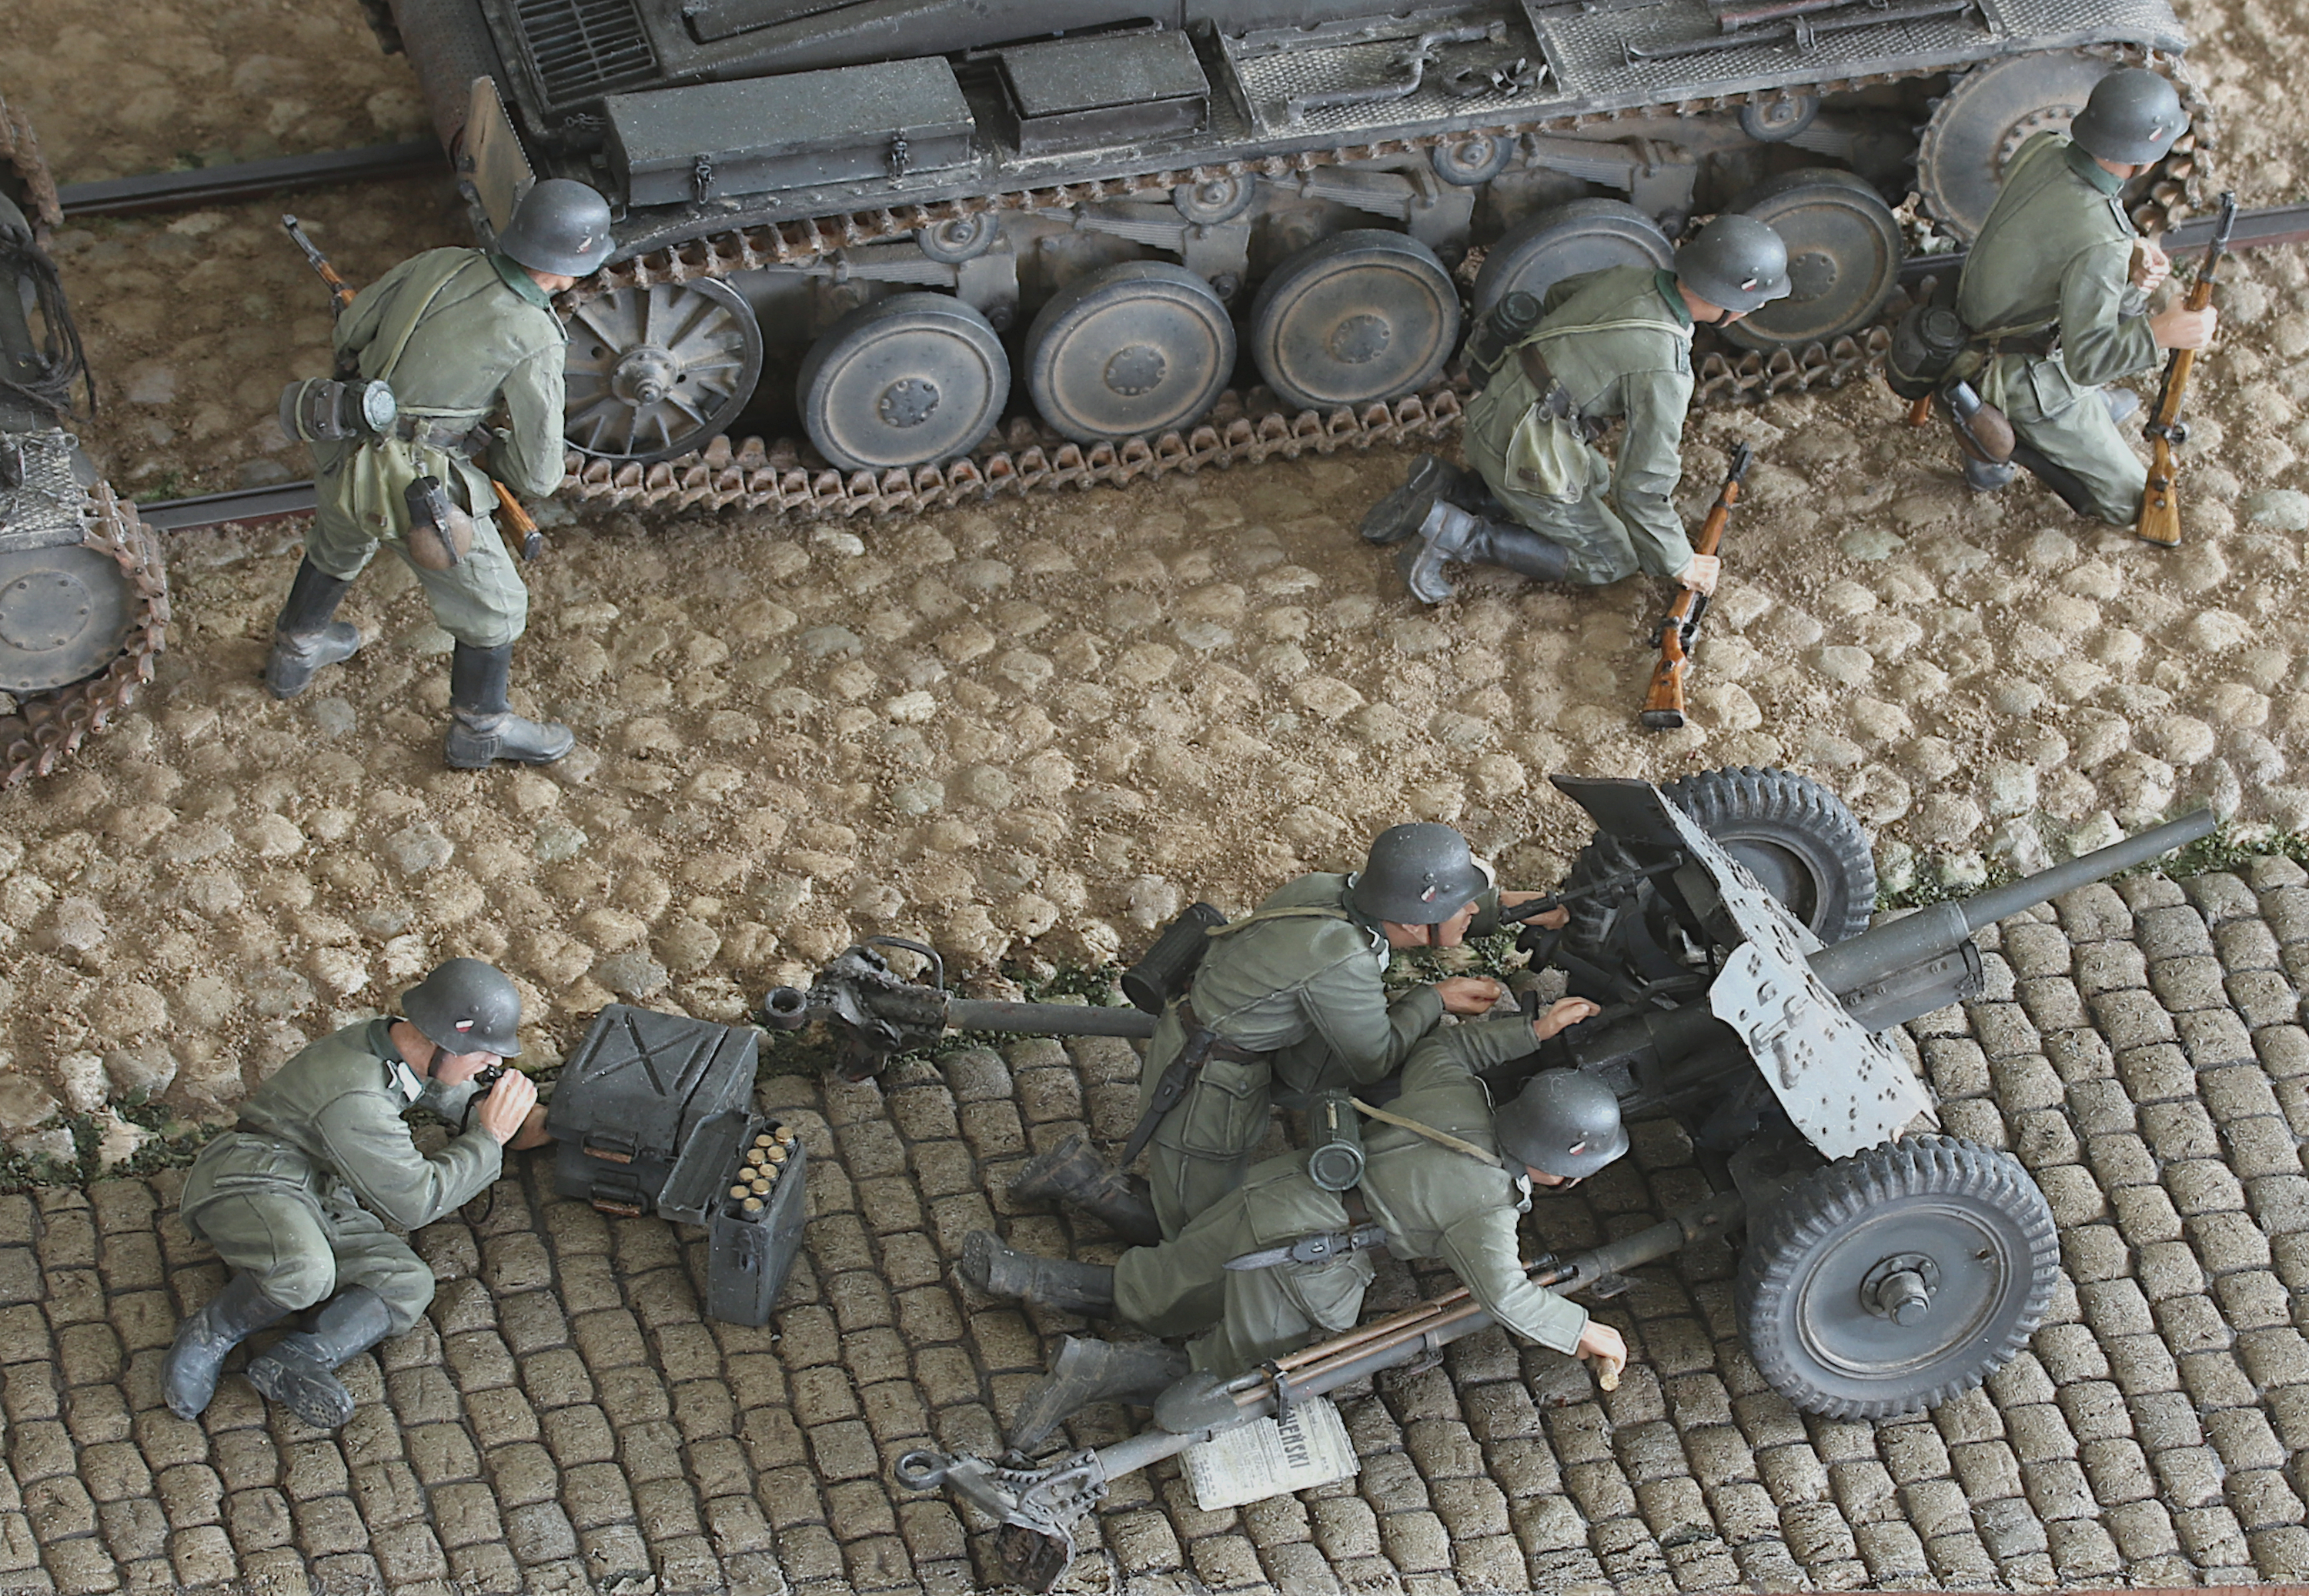
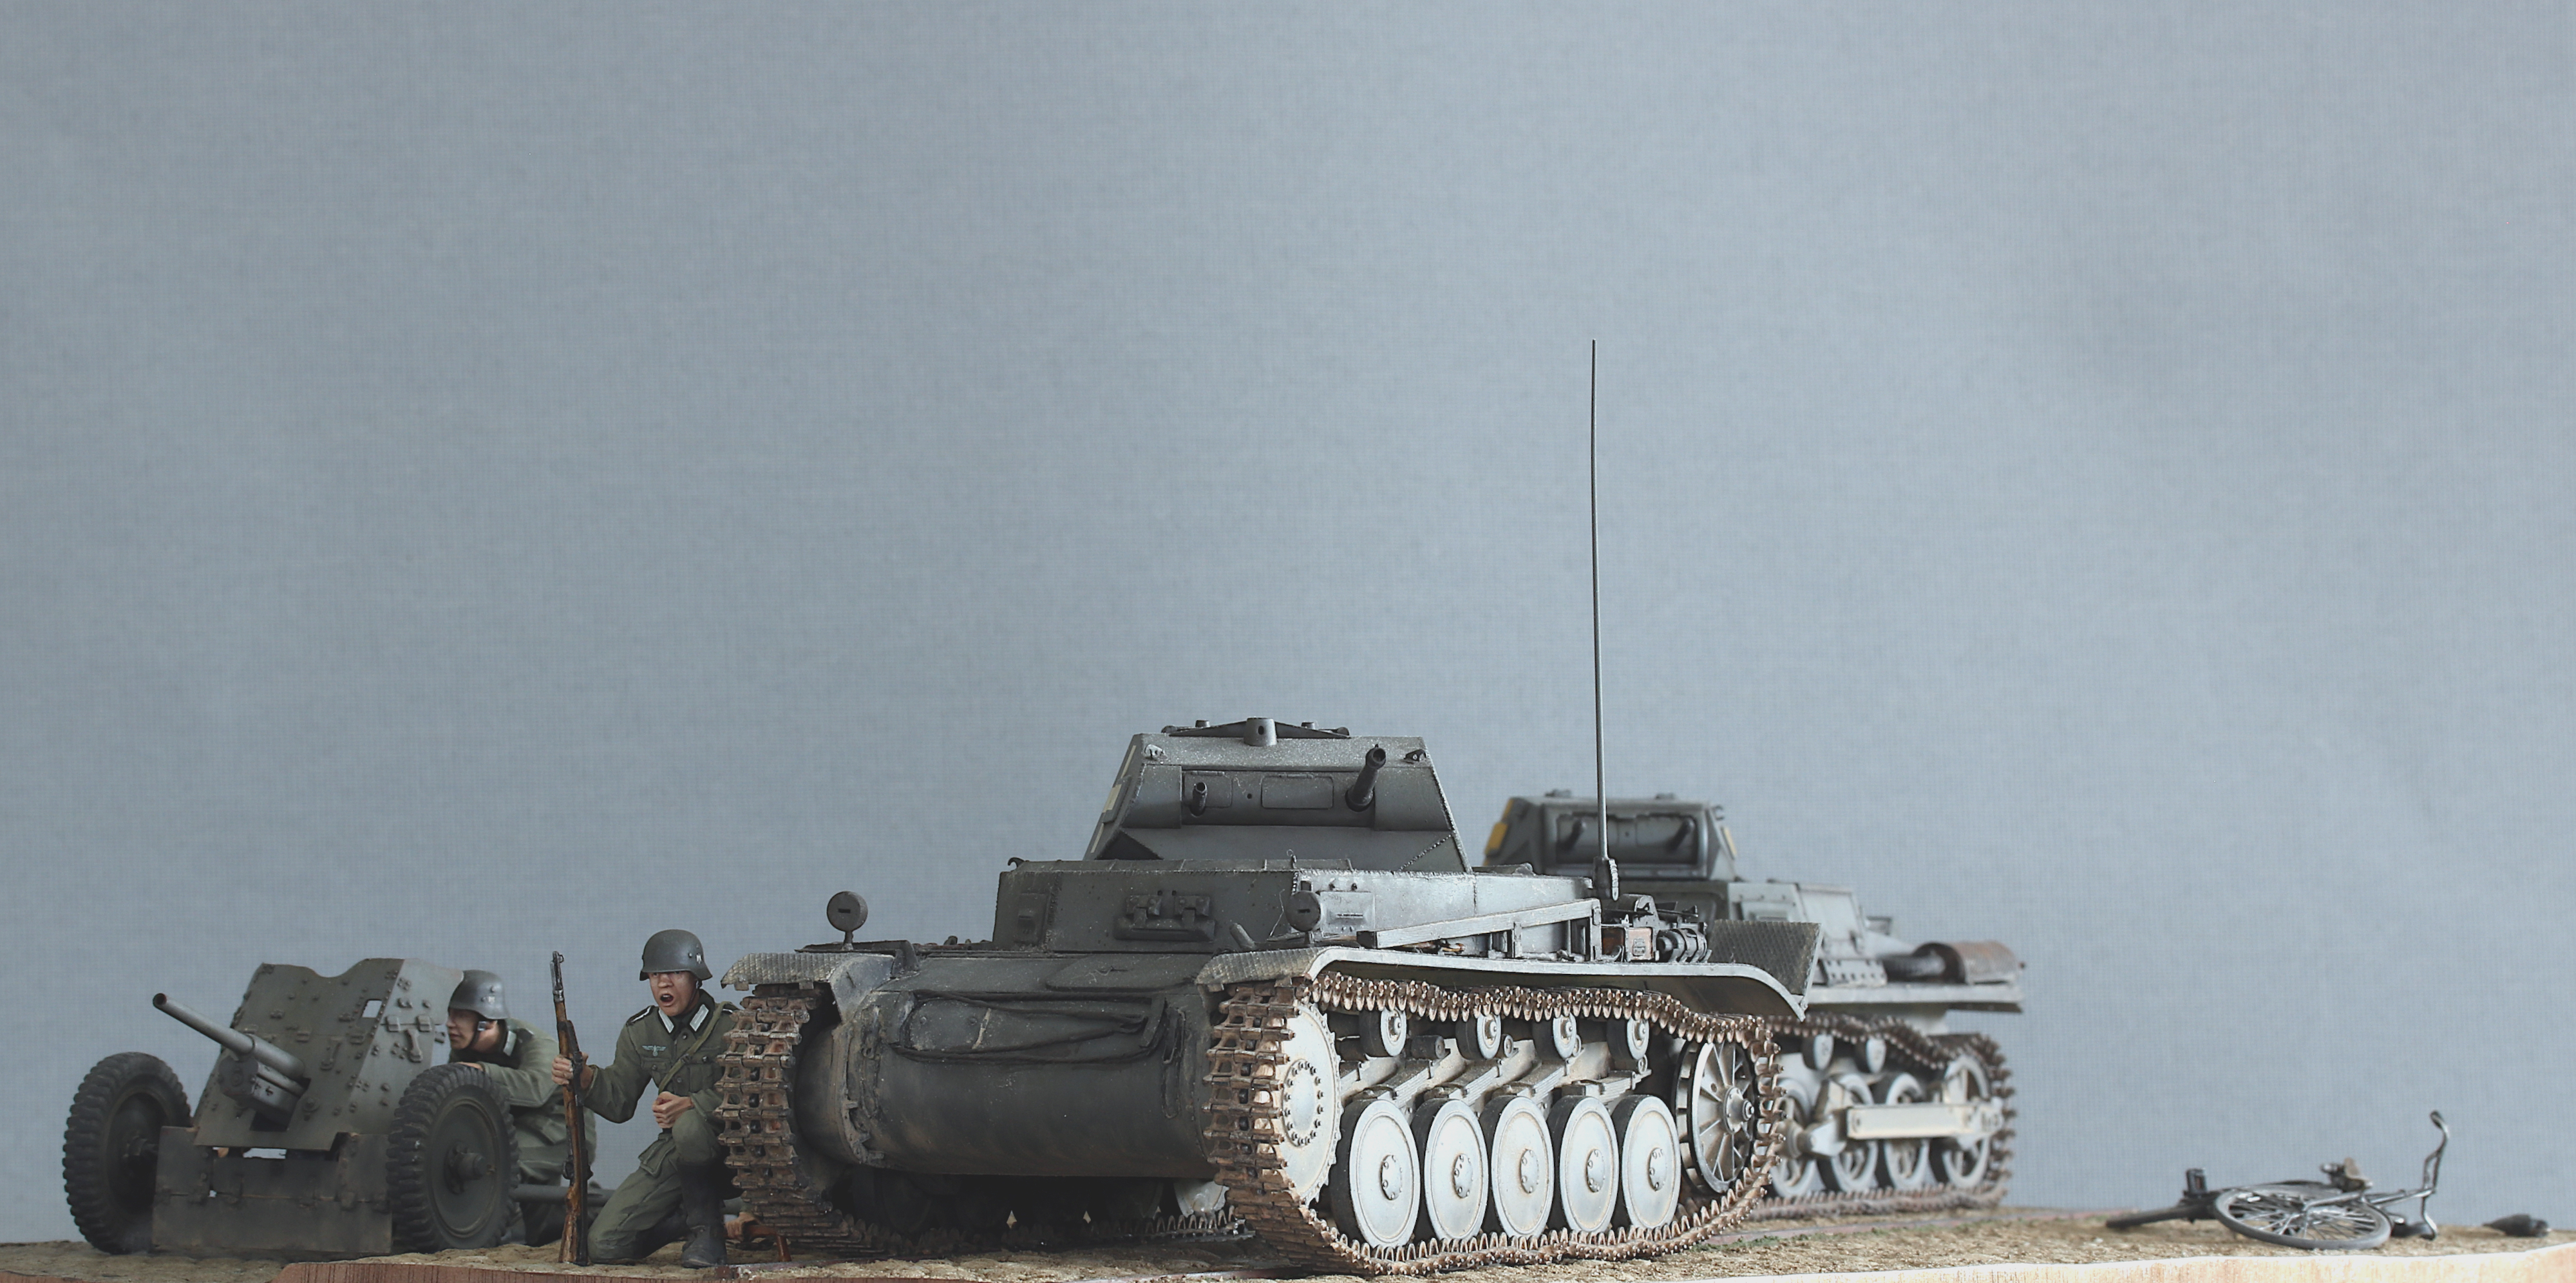
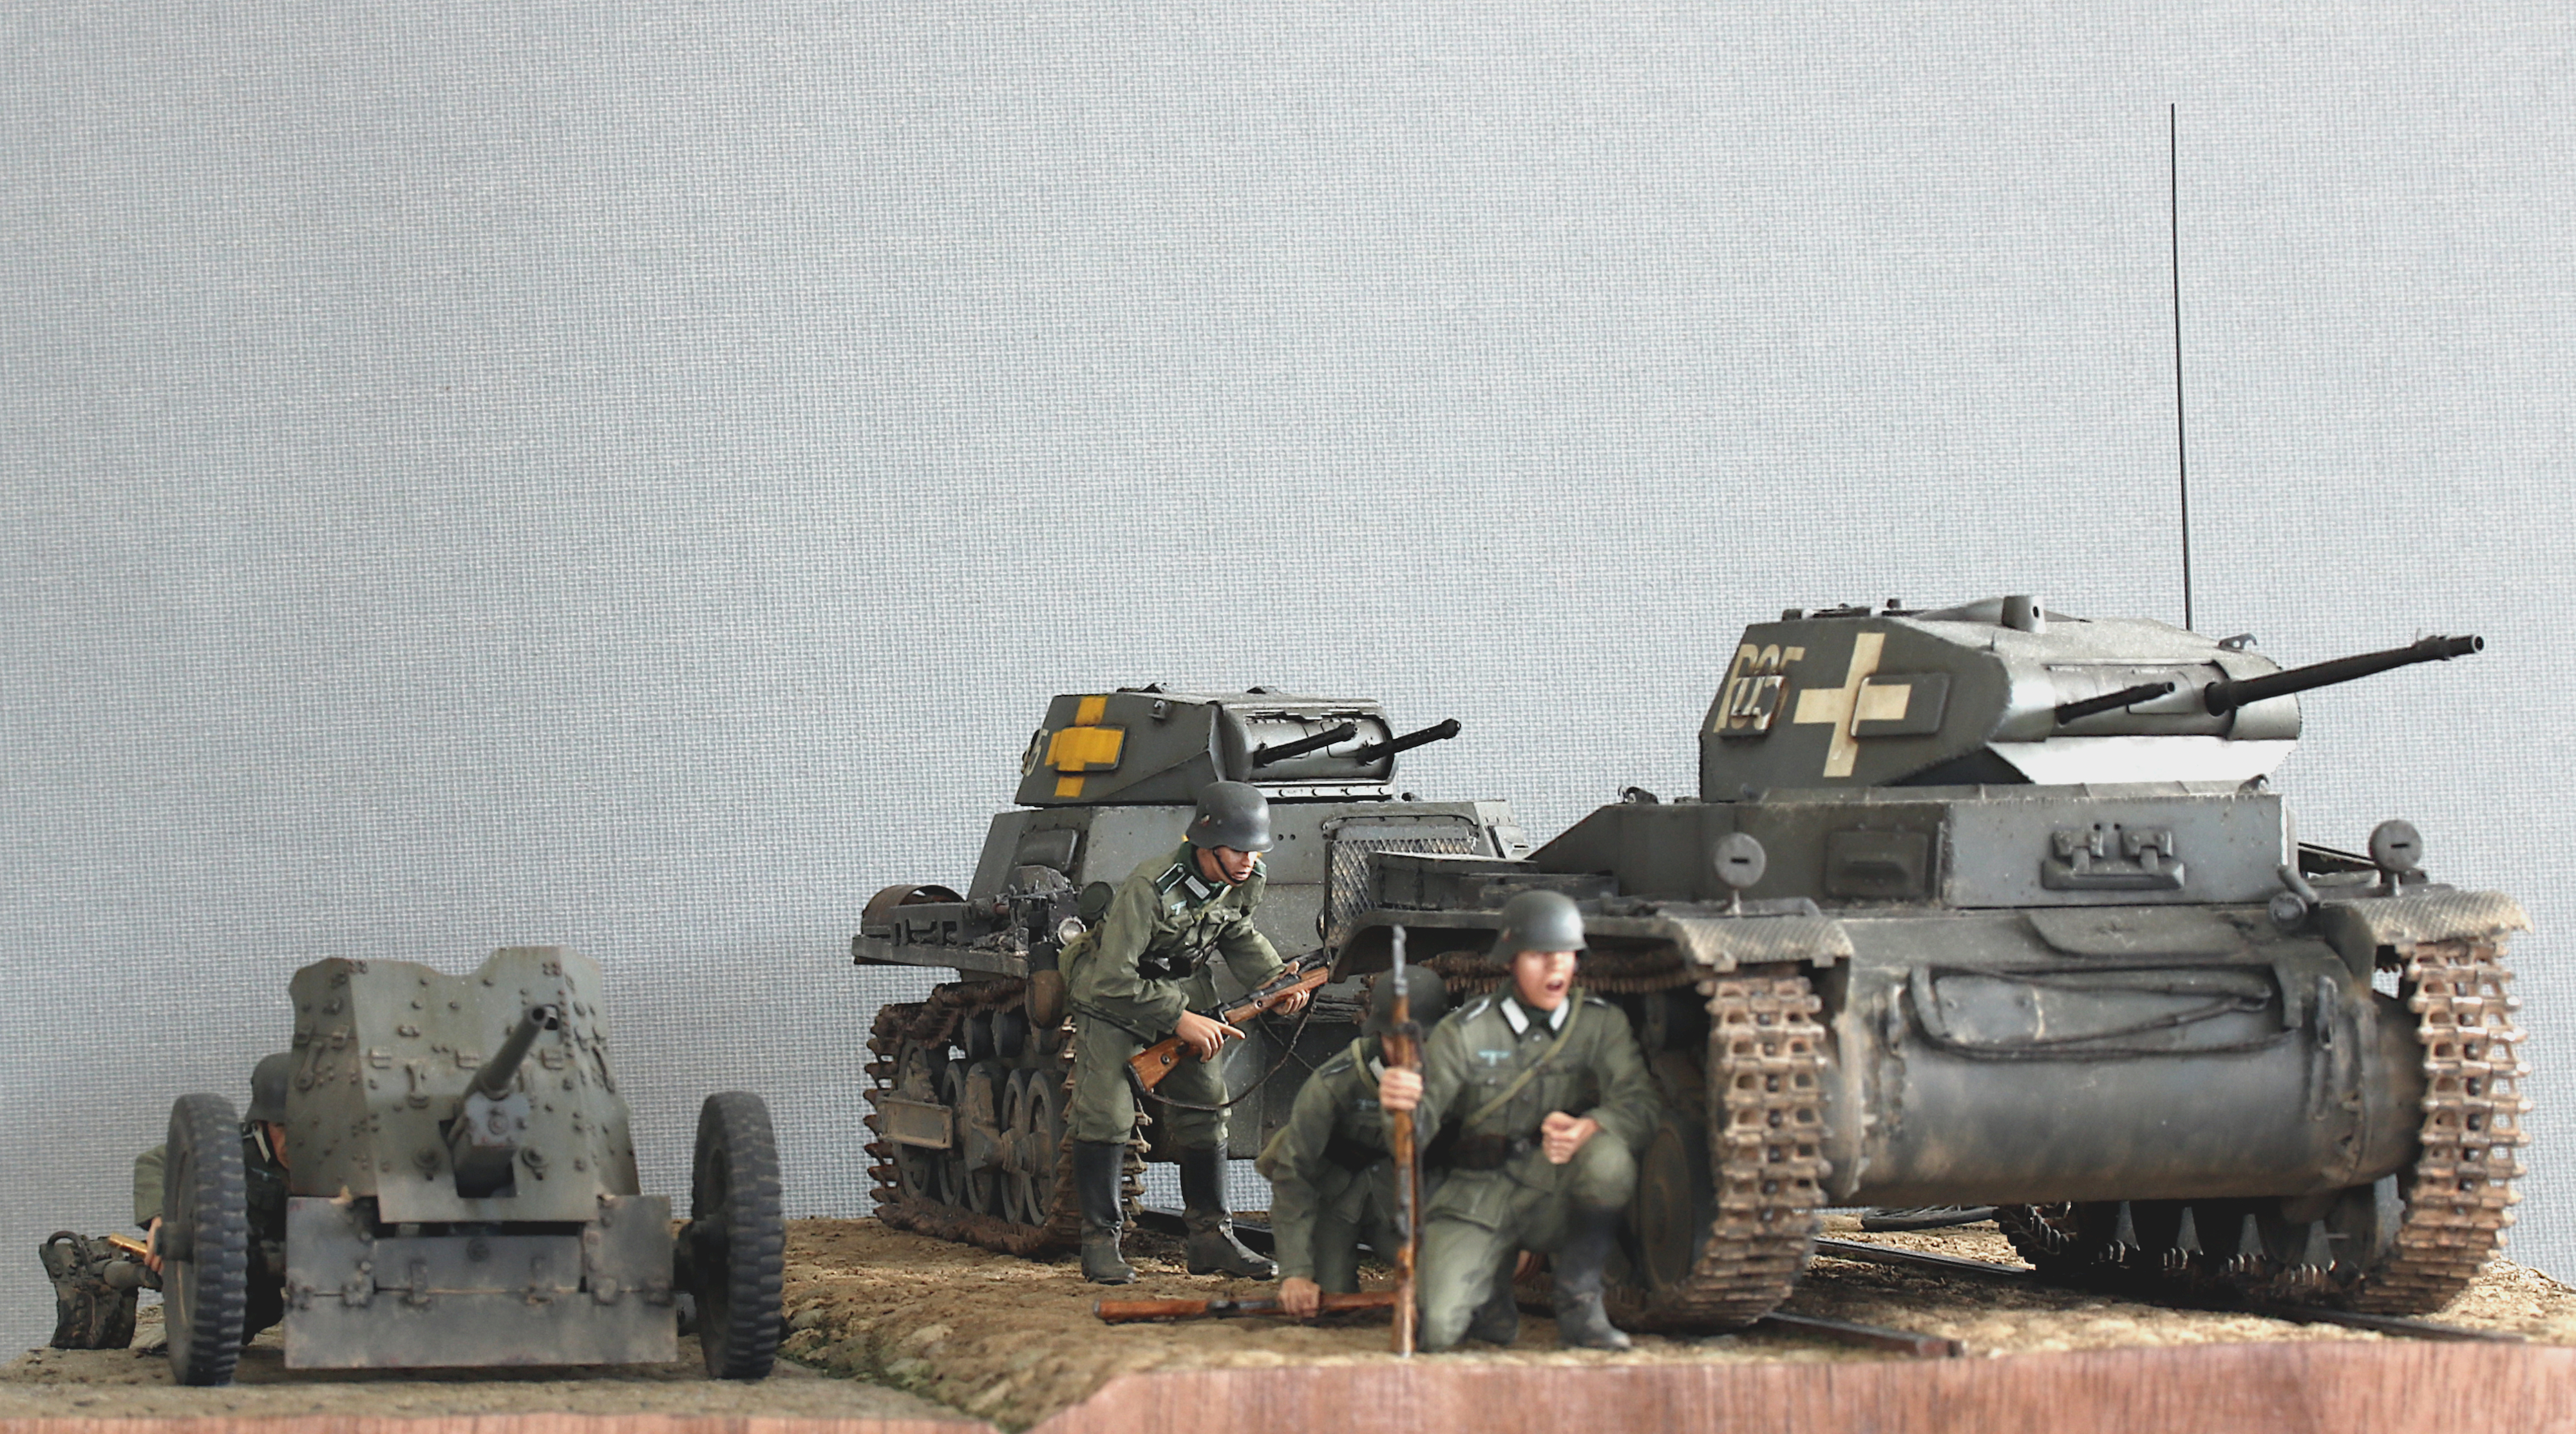
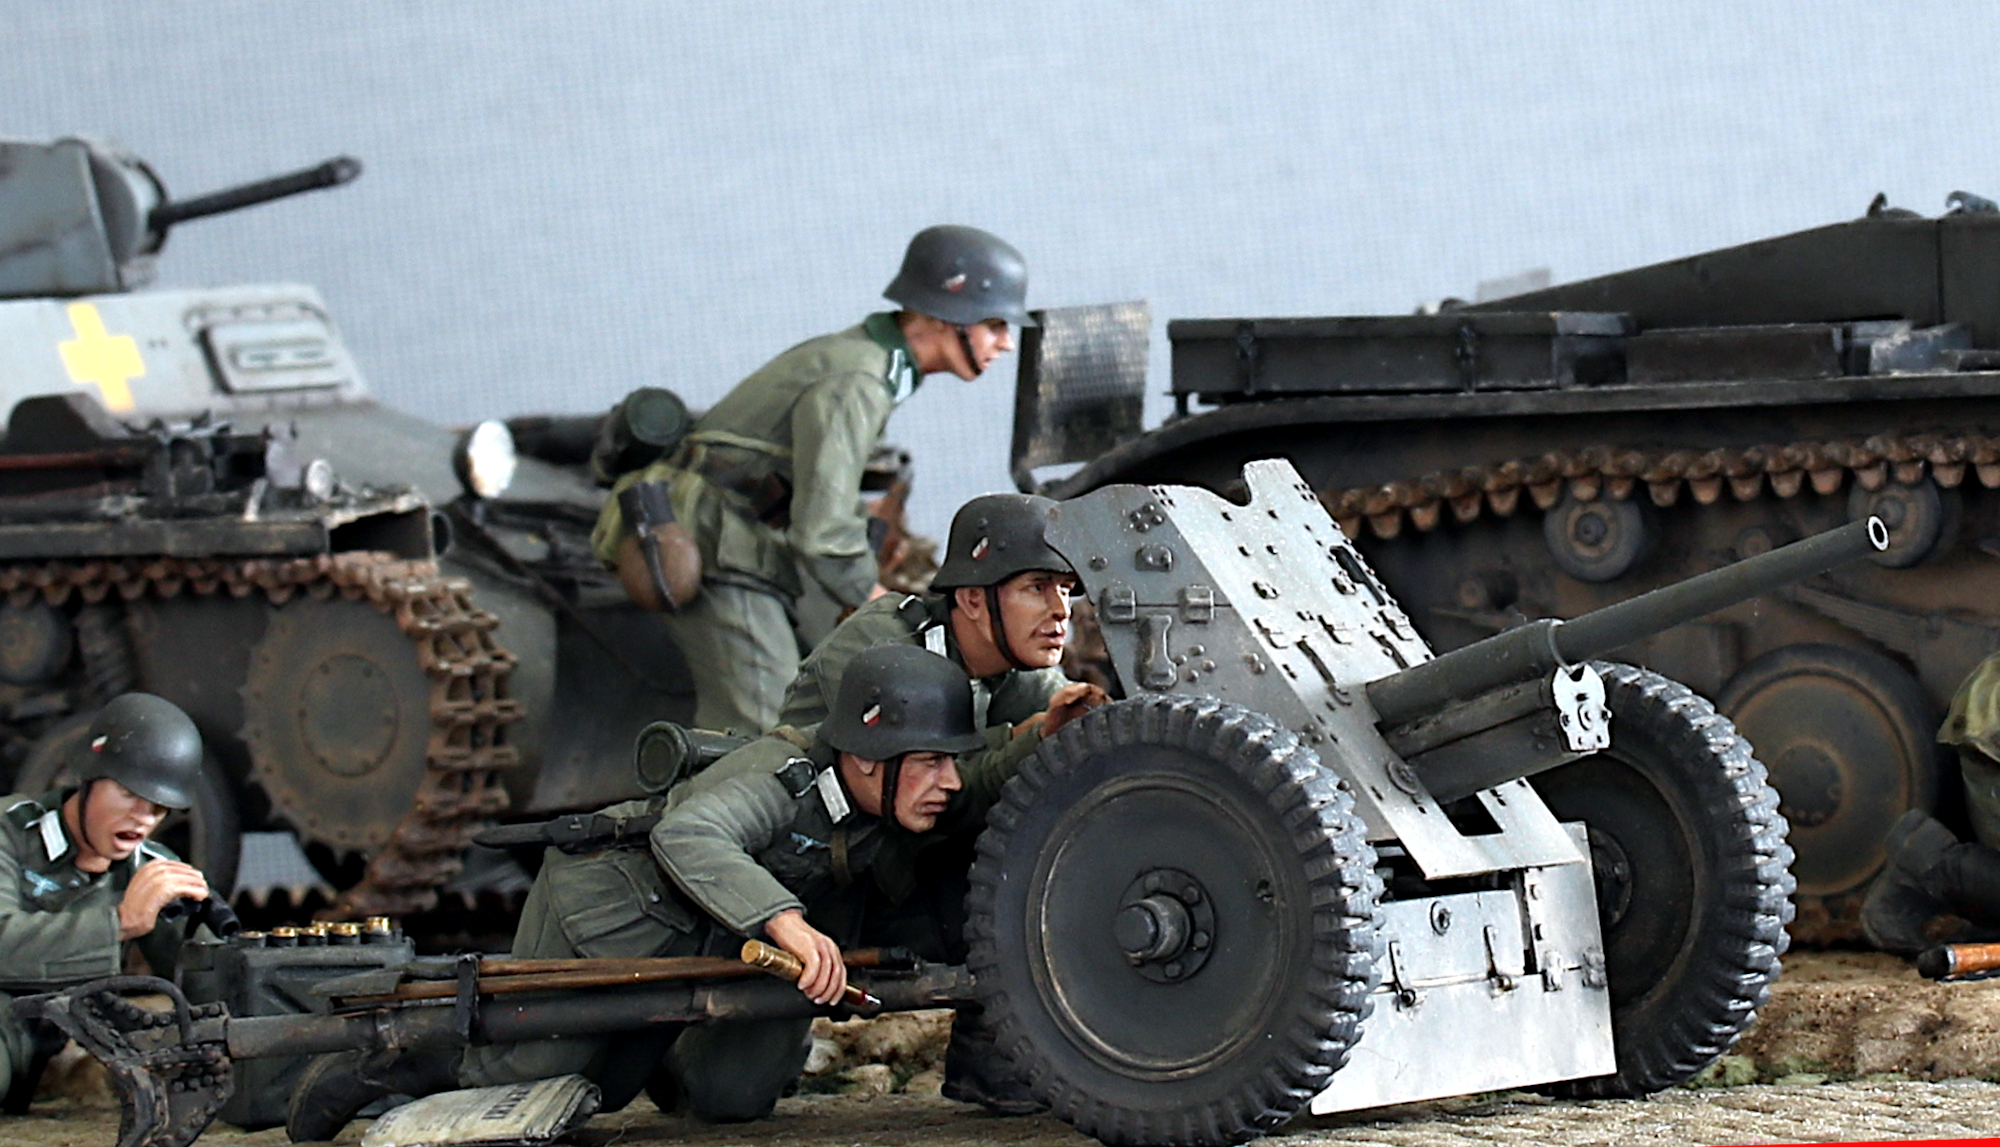
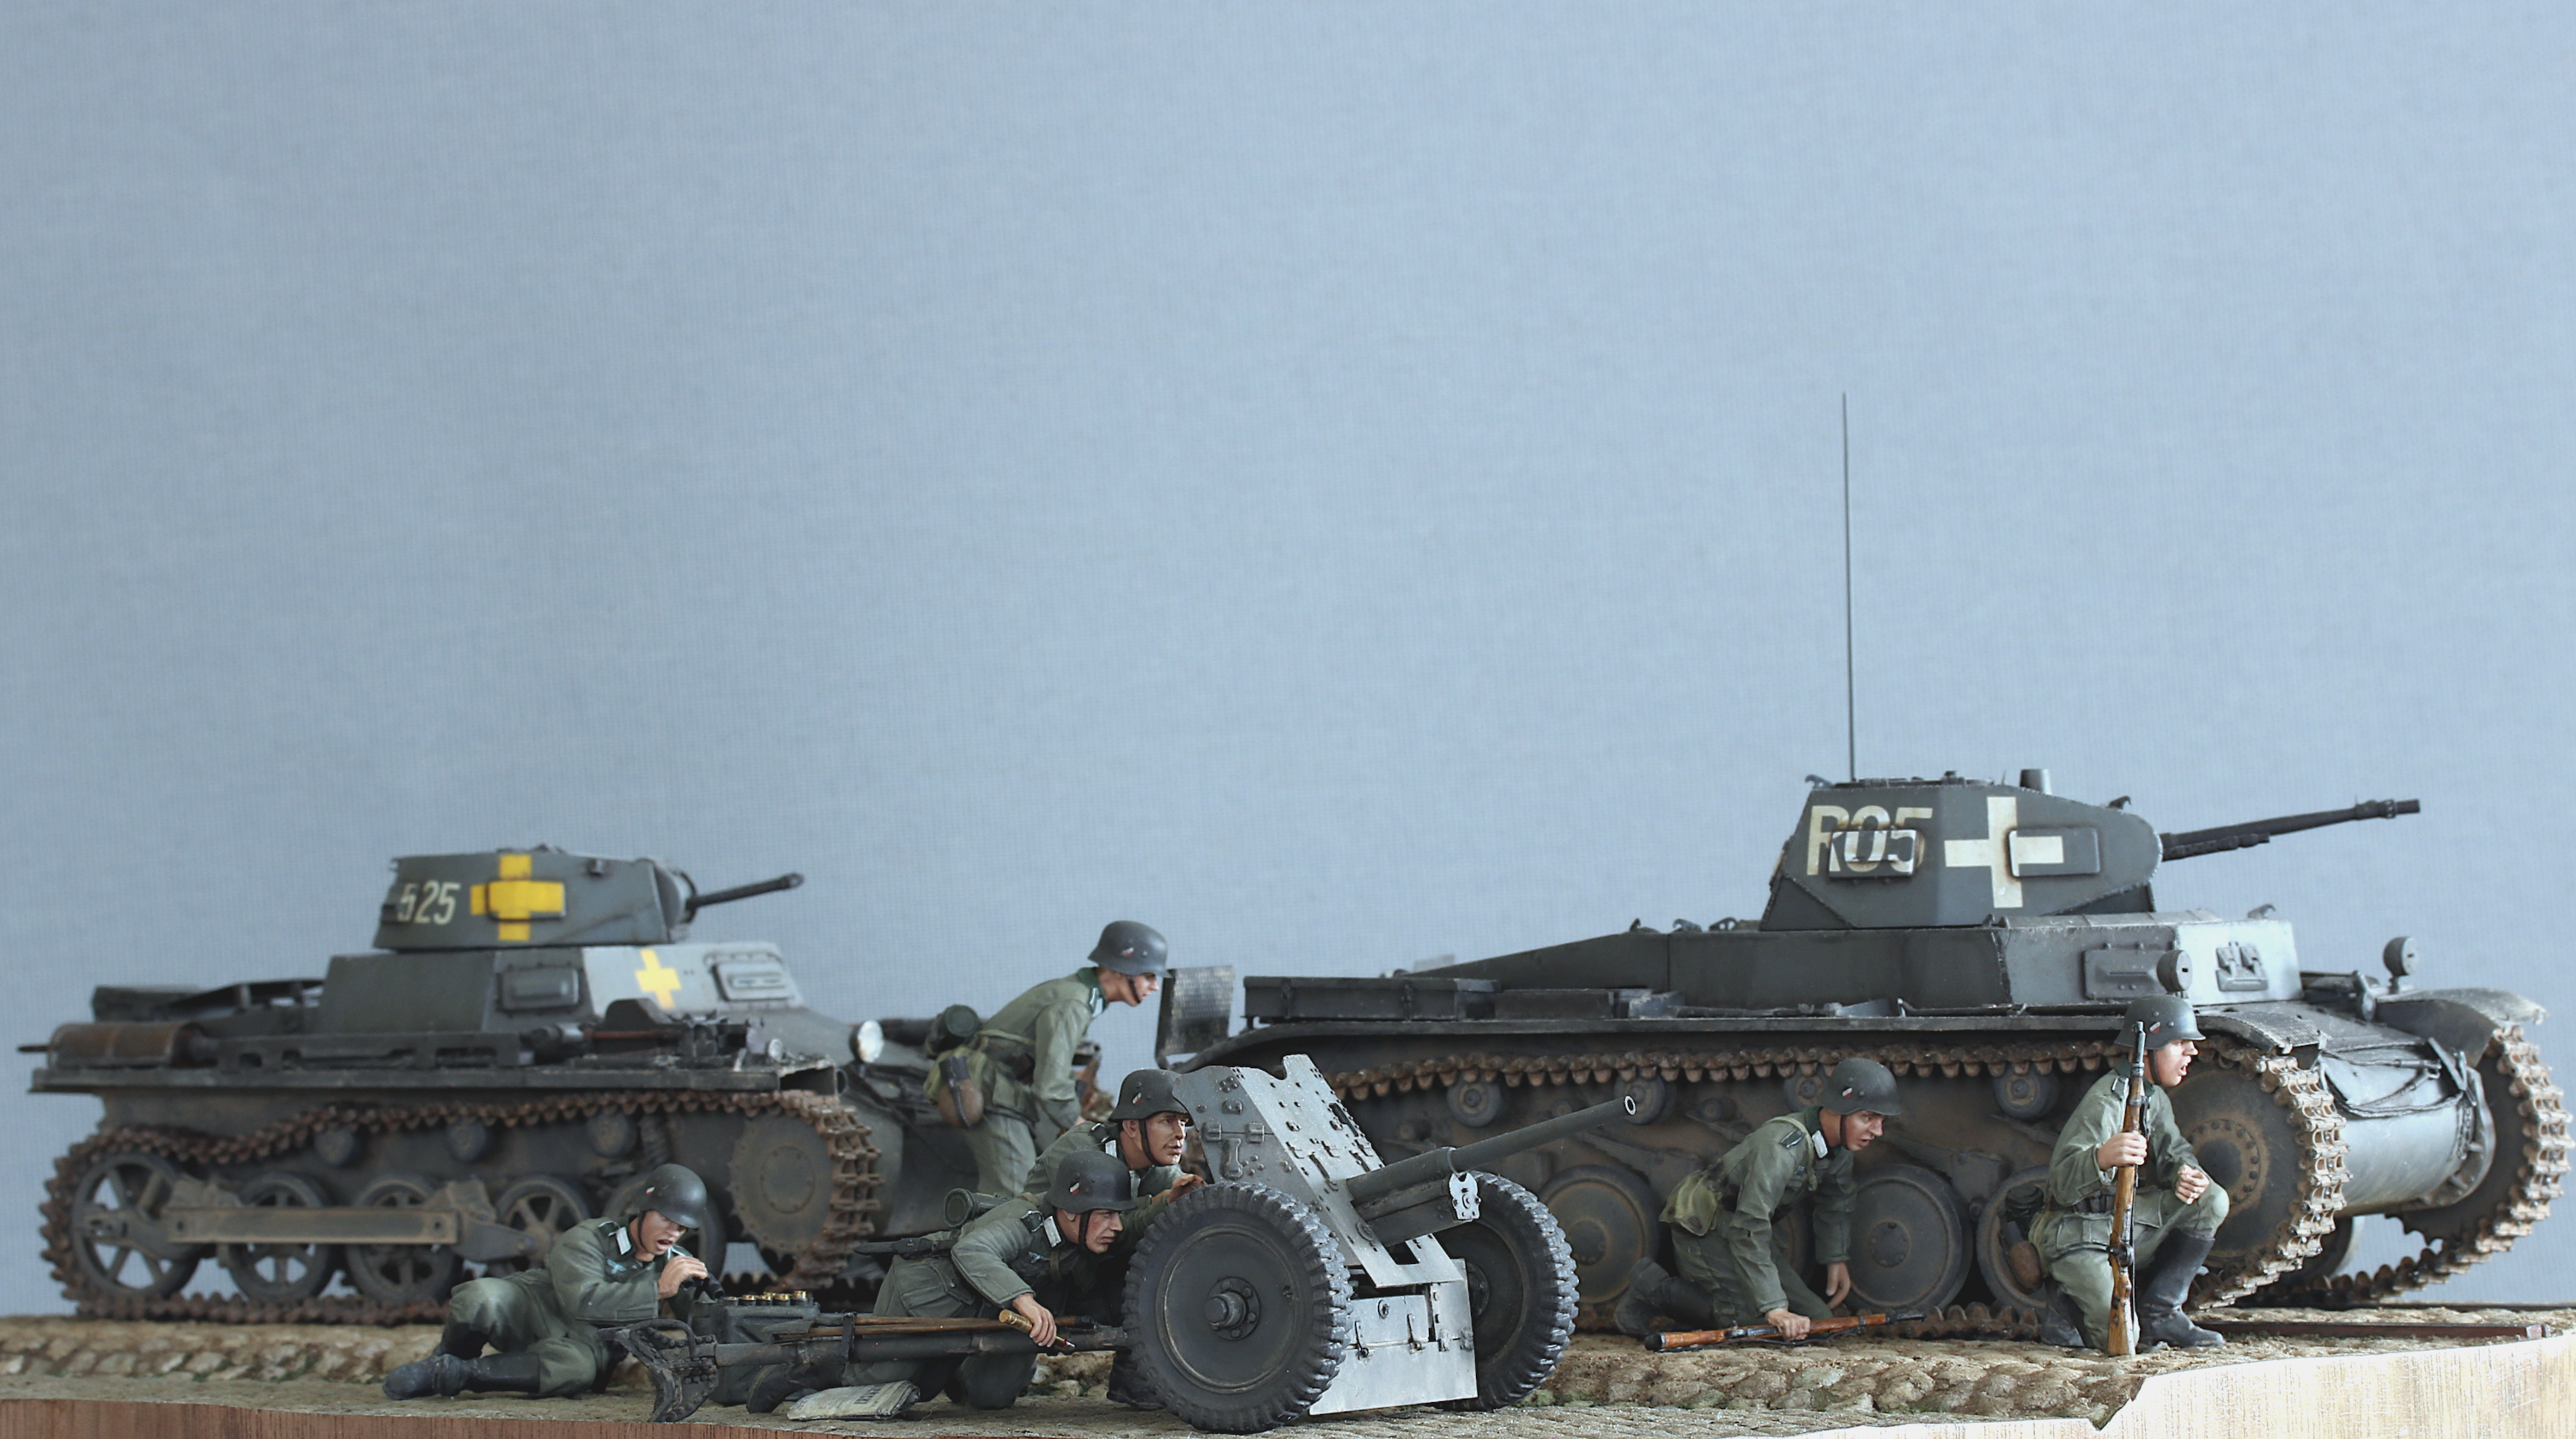
For the pictures, the gun was put together on the base.

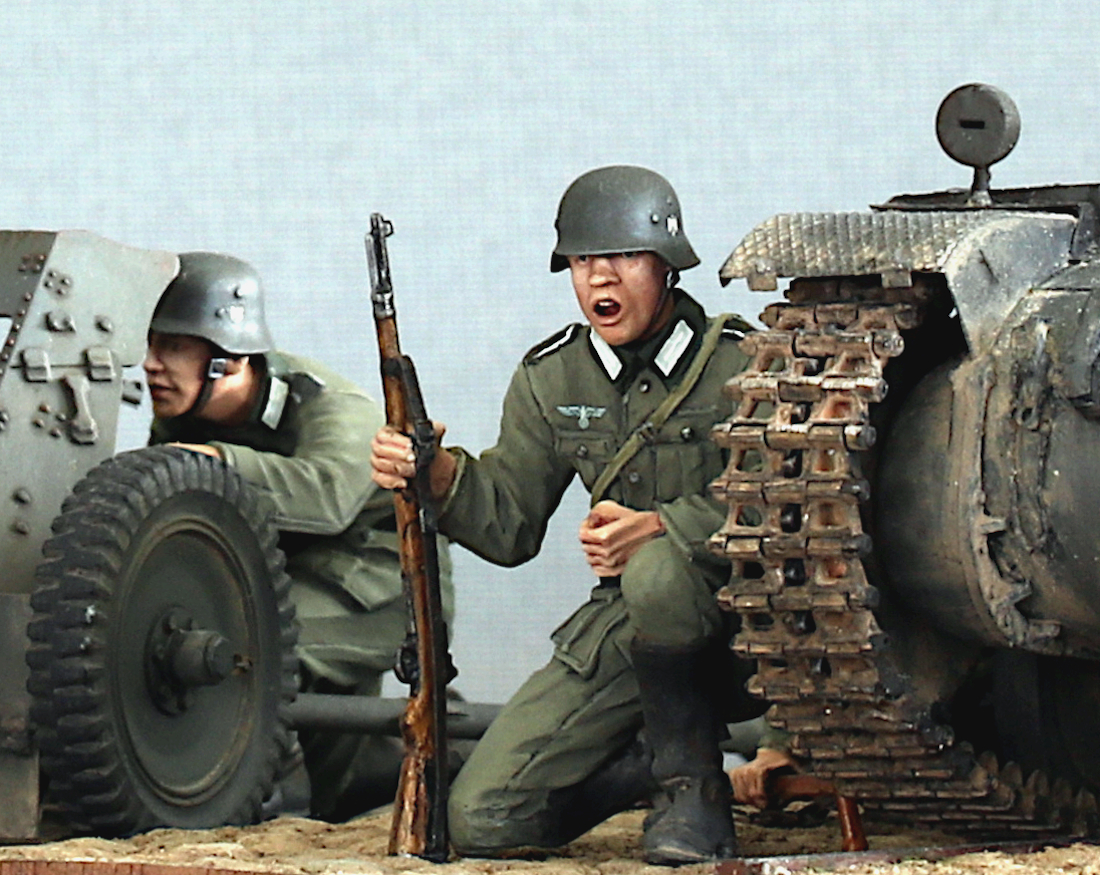
Update: Now the gun is finished, and I fixed it to the base. Currently I am still working on the grenade cases. Then the gun crew will be sculpted…